Author: Peter Forsgard

  • Vintage lenses on Olympus cameras.

    Vintage lenses on Olympus cameras.

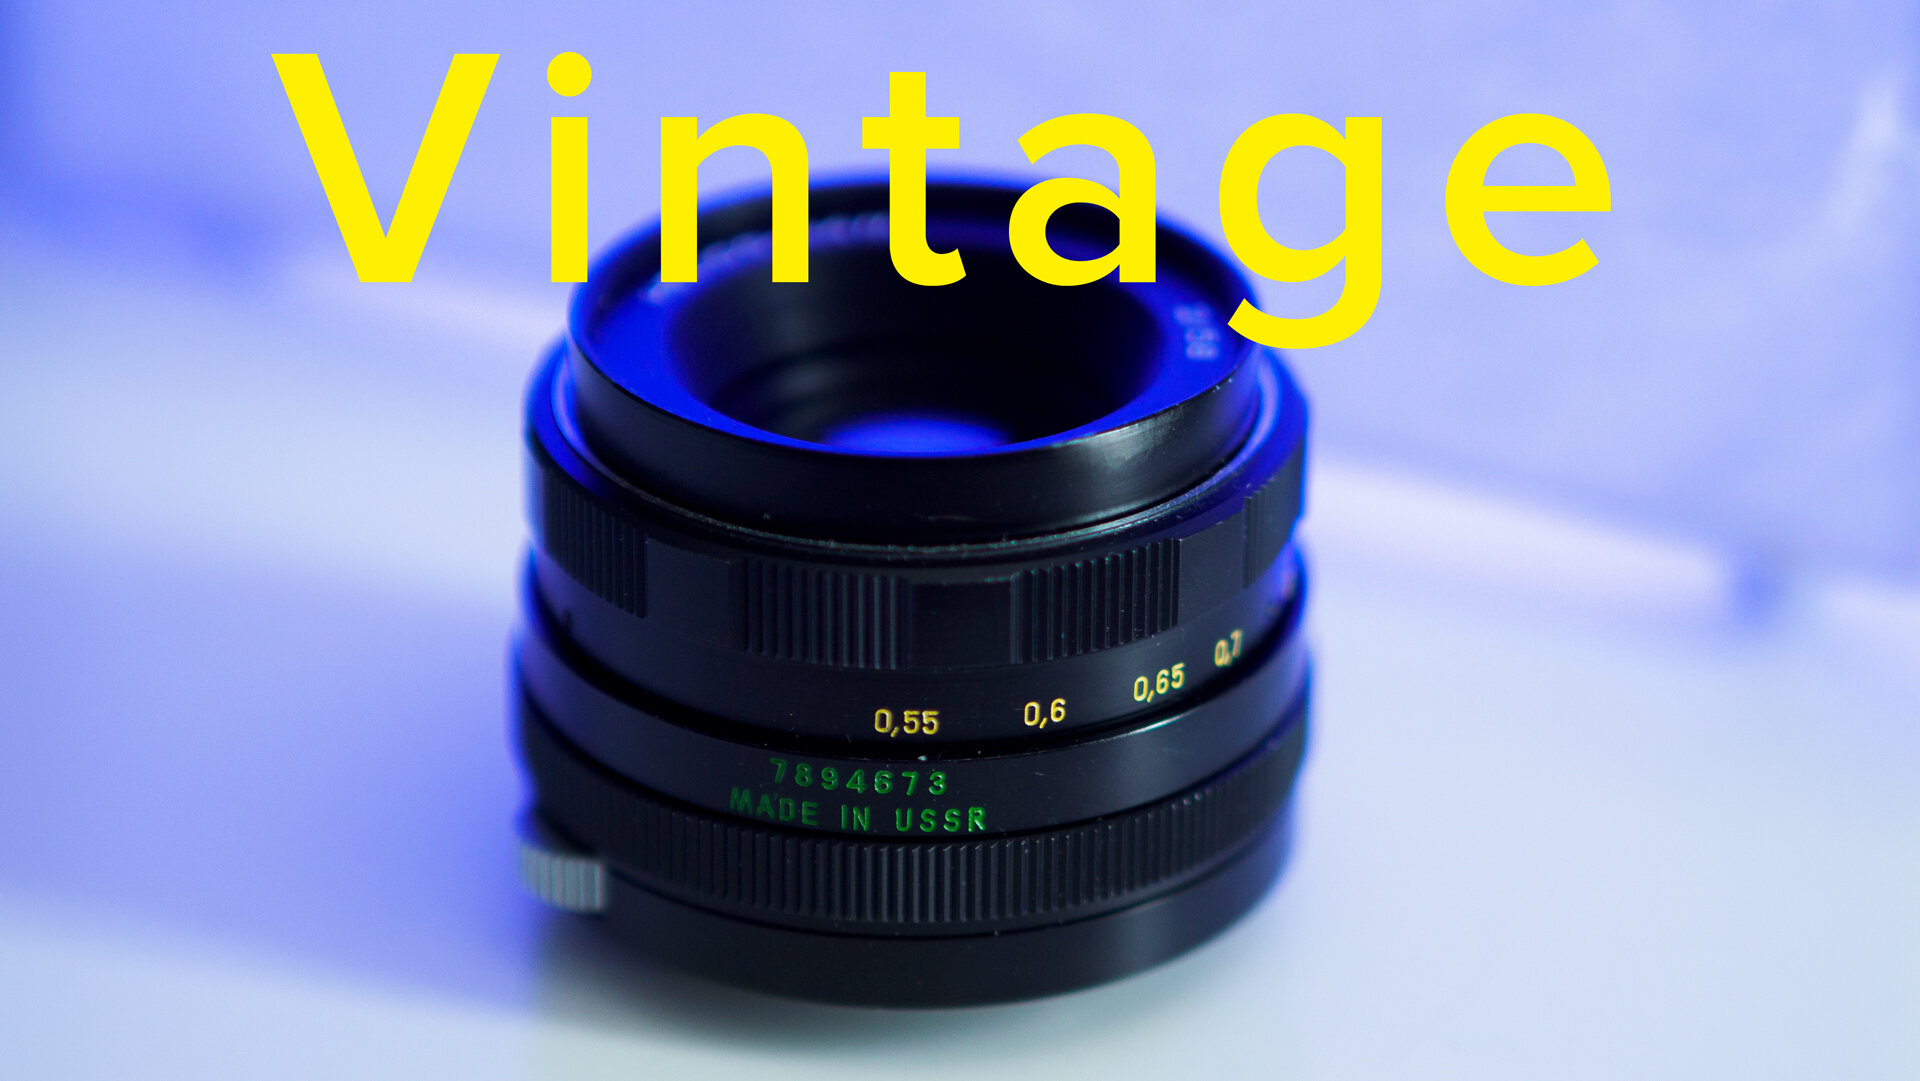
    Vintage lenses are old lenses. There has been a huge amount of lens makers in the world. Usually, vintage lenses differ from modern lenses in two ways. Vintage lenses do not have the same coatings that improve image quality. Also really old lenses are not very well suited for color photography. Those lenses were made in the era when black & white photography was the way to go. Vintage lenses are mostly manual focus. There is also an aperture ring to change the aperture.

    You should try vintage lenses.

    Using vintage lenses is something that you should try if you have never tried it. What is good about the m4/3 system is that you can attach almost any lens that was ever made to your m4/3 camera.

    All you need is a vintage lens and an adapter. Adapters can be found in many camera stores that sell used gear. One great place is a Finnish camera store, called Kamerastore, that is specialized in vintage gear.

    Kamerastore also has a very good selection of adapters for my combinations.

    Why Vintage lenses?

    There are several reasons why using vintage lenses is a great thing.

    The first reason is that manual focusing will slow you down. We tend to rush with automated cameras and having a manual focus lens will make your photography a lot slower. Slower photography means more thinking. More thinking leads easier to better images.

    Using vintage can give you a bit different looking images. Old lenses have all kinds of faults and they might have a very interesting character. The image quality might not be perfect but that is the whole point. the look and feel can be very unique.

    The third reason is that using vintage lenses can be a lot of fun. When having fun you most likely will get better results.

    There is more about vintage lenses in the video above and you can also watch it from this link.
  • Olympus E-M1 MKII 12-40mm f2.8 PRO KIT – [Great deal with a DISCOUNT code]

    Olympus E-M1 MKII 12-40mm f2.8 PRO KIT – [Great deal with a DISCOUNT code]

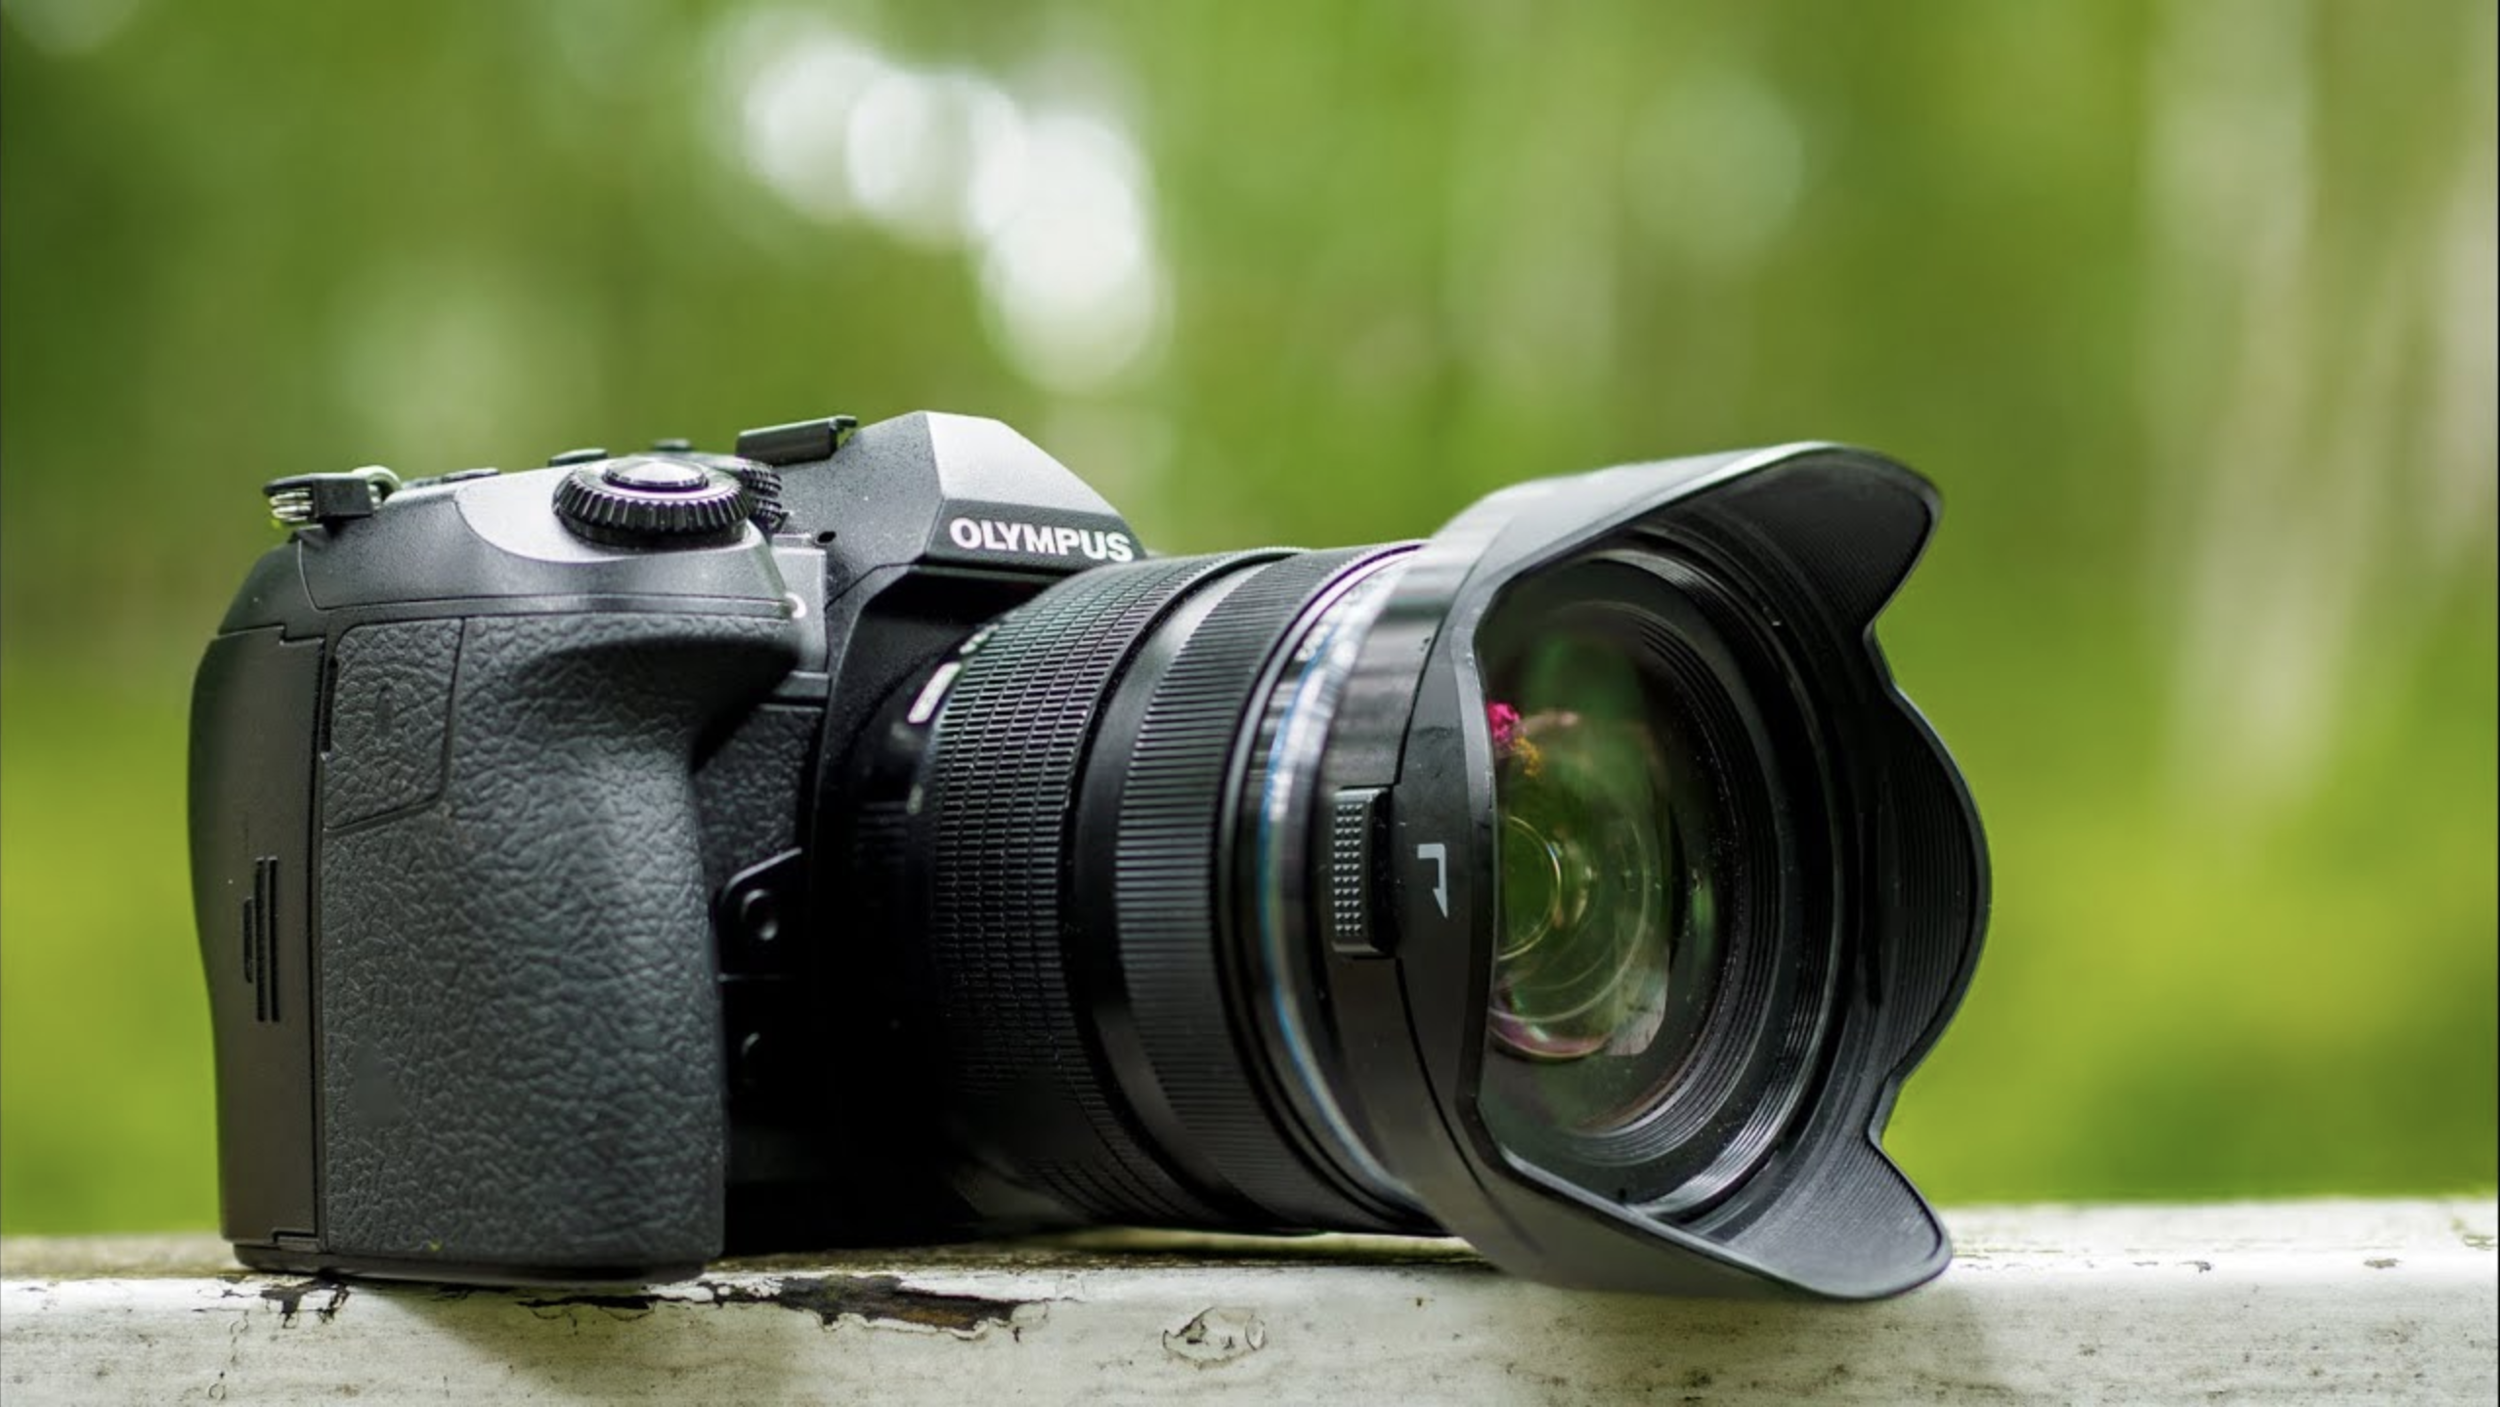
    Olympus has a very good deal on E-M1 MKII and 12-40 f2.8 as a kit.

    This PRO KIT is 25% off from July 30th to August 3rd, 2020 with the promo code OMD2020.

    The offer is valid in Europe, the USA, and Canada.

    The promo code is OMD2020 and below are the links to Olympus online store to get the deal:

     https://learnandsupport.getolympus.com/build-your-om-d-bundle

    In this sponsored video about the E-M1 MKII 12-40 f2.8 PRO KIT I go trough the most important things to consider if you are planning to get this great combo with this great deal.

  • How to get sharp images – 4 tips

    How to get sharp images – 4 tips

    _5004291.jpg

    Always when people are talking about lenses sharpness comes up. How sharp is it? That is a ubiquitous question. I understand that image sharpness is essential in many cases. Client work is one example. Presenting unsharp images to a client might be the last time you present images to that particular client unless the unsharpness is the style agreed on in the brief before the photoshoot.

    What do I mean about unsharp? It is not slightly out-of-focus images, but it is intentionally soft images where softness is a big part of the story.

    What can you do to make sure that you get sharp images?

    1. Use quality lenses

    The first thing to do is to use quality lenses. Unfortunately, sharp lenses are more expensive than unsharp lenses. But then, of course, we must consider where those images are being published. The bigger the print, the better the lens (and camera) should be. But if the images are for, let’s say, shared Instagram, then the sharpness can be a bit less. Of course, sharpness can be important on Instagram, too. However, when images are published on social media, slightly out-of-focus images look sharp. The photos are pretty small when viewed on social media on a mobile phone.

    2. Use image stabilizer

    Modern cameras have excellent image stabilizers. The most common is the so-called IBIS, an in-body image stabilizer. The sensor moves and reduces image shake. That will help you achieve sharp images even with longer shutter speeds. Several-second shutter speeds are no problem with modern cameras. Gone are those days when the fastest shutter speed that could be used without the fear of a camera shake was equal to the focal length you used. If you had a standard lens like 50mm on your SLR, the fastest safe shutter speed was about 1/60s.

    3. Know your cameras focusing method

    _5005303.jpg

    It is essential to know your camera. The focusing method of your camera is one of the things that is good to know. Most modern lenses have autofocus. That is a good start. Choose the focusing point/points that you need to use. You should be okay in most cases, and the autofocus works perfectly. It is also a good thing to learn manual focus. Modern cameras have helped with that. Focus peaking and magnifying are suitable methods to get help from the camera. Learn your camera and see if your camera has focus peaking and/or magnification.

    4. Have a firm grip when photographing

    Holding the camera properly and having a steady body when making images it will help a lot. A lot of camera shake happens when you are not holding the camera properly when pressing the shutter. So, having a good grip when pressing the shutter button is essential.

    When choosing a camera, you must test how it feels in your hand. The feel is, in many ways, more important than one other particular feature in a camera. Get a camera that feels good in your hand rather than choose it because it has a slightly faster image per the second number.

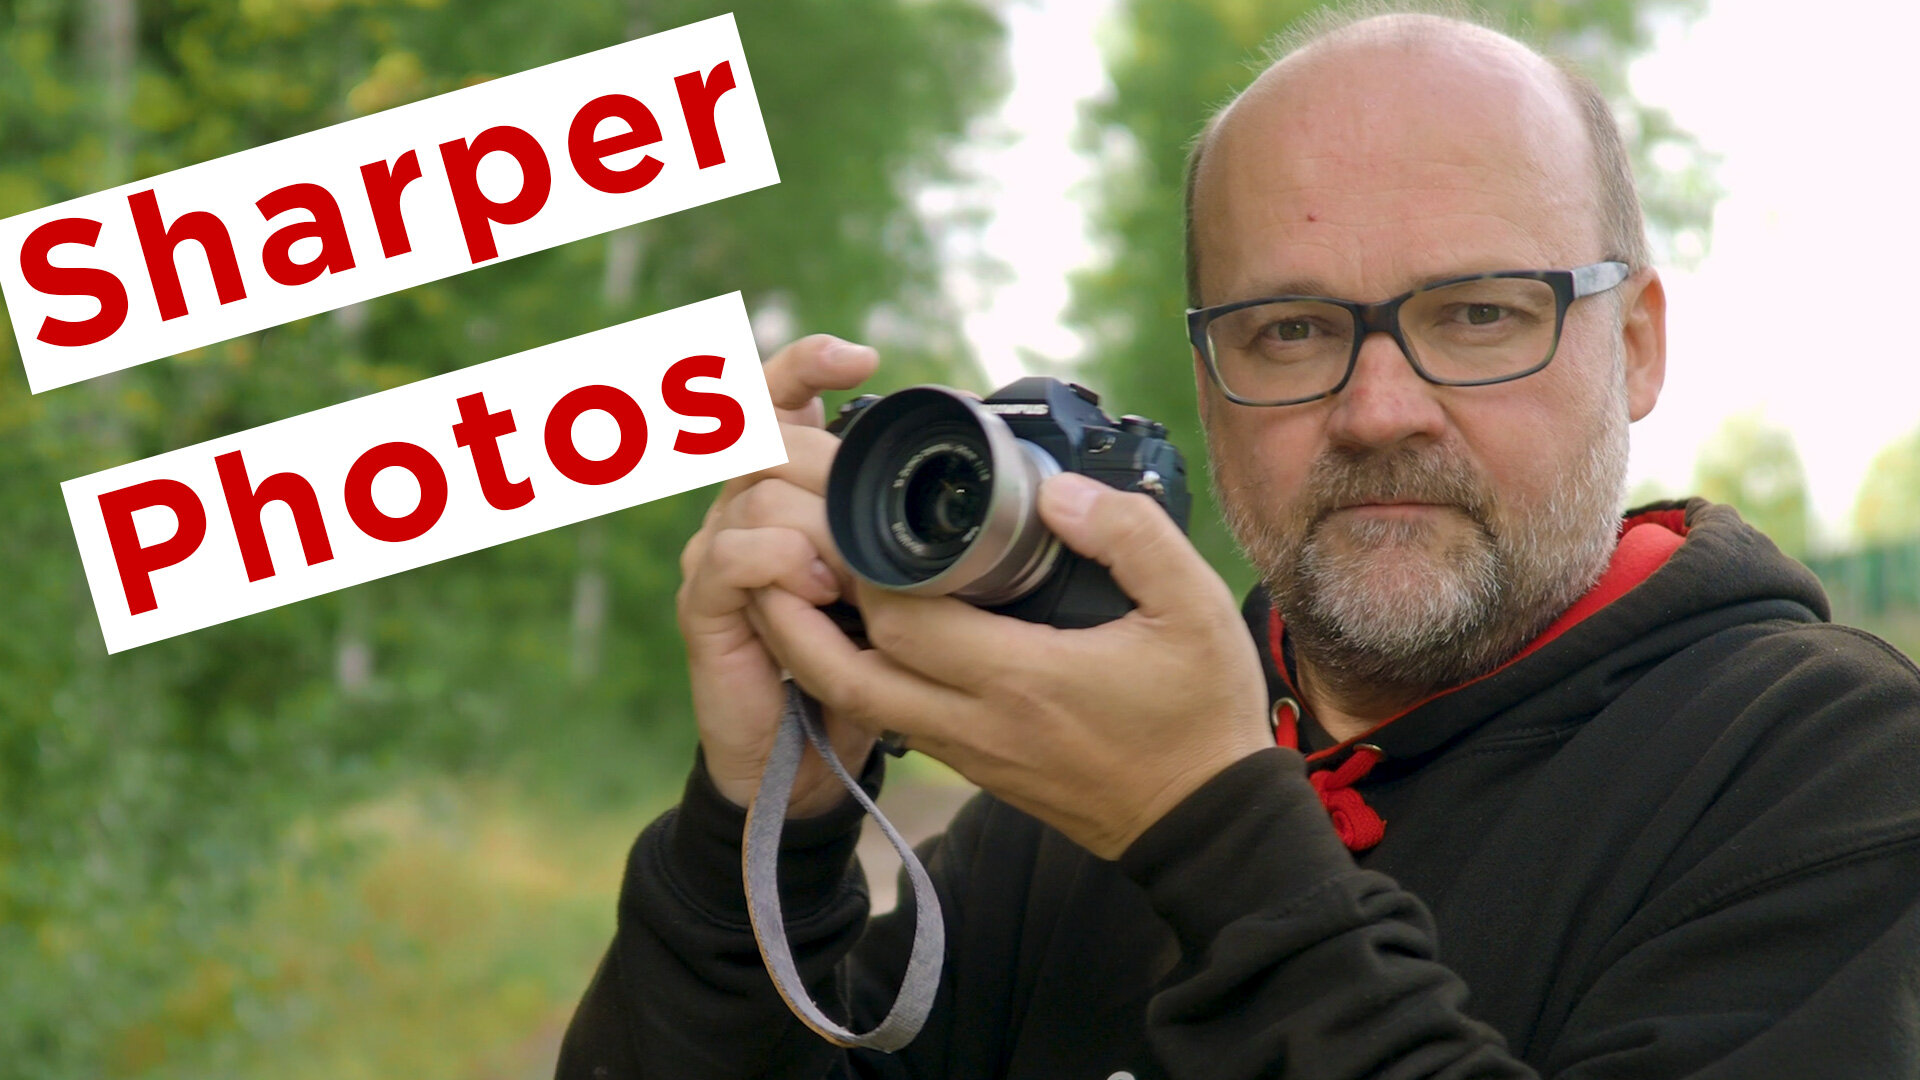
    In the video at the beginning of this blog post are more tips about getting sharper images.

    Do you have any tips of your own about getting sharper images?