Category: 52 Assignments 2024

  • Capturing Motion Magic: The Thrill of Kinetic Photography

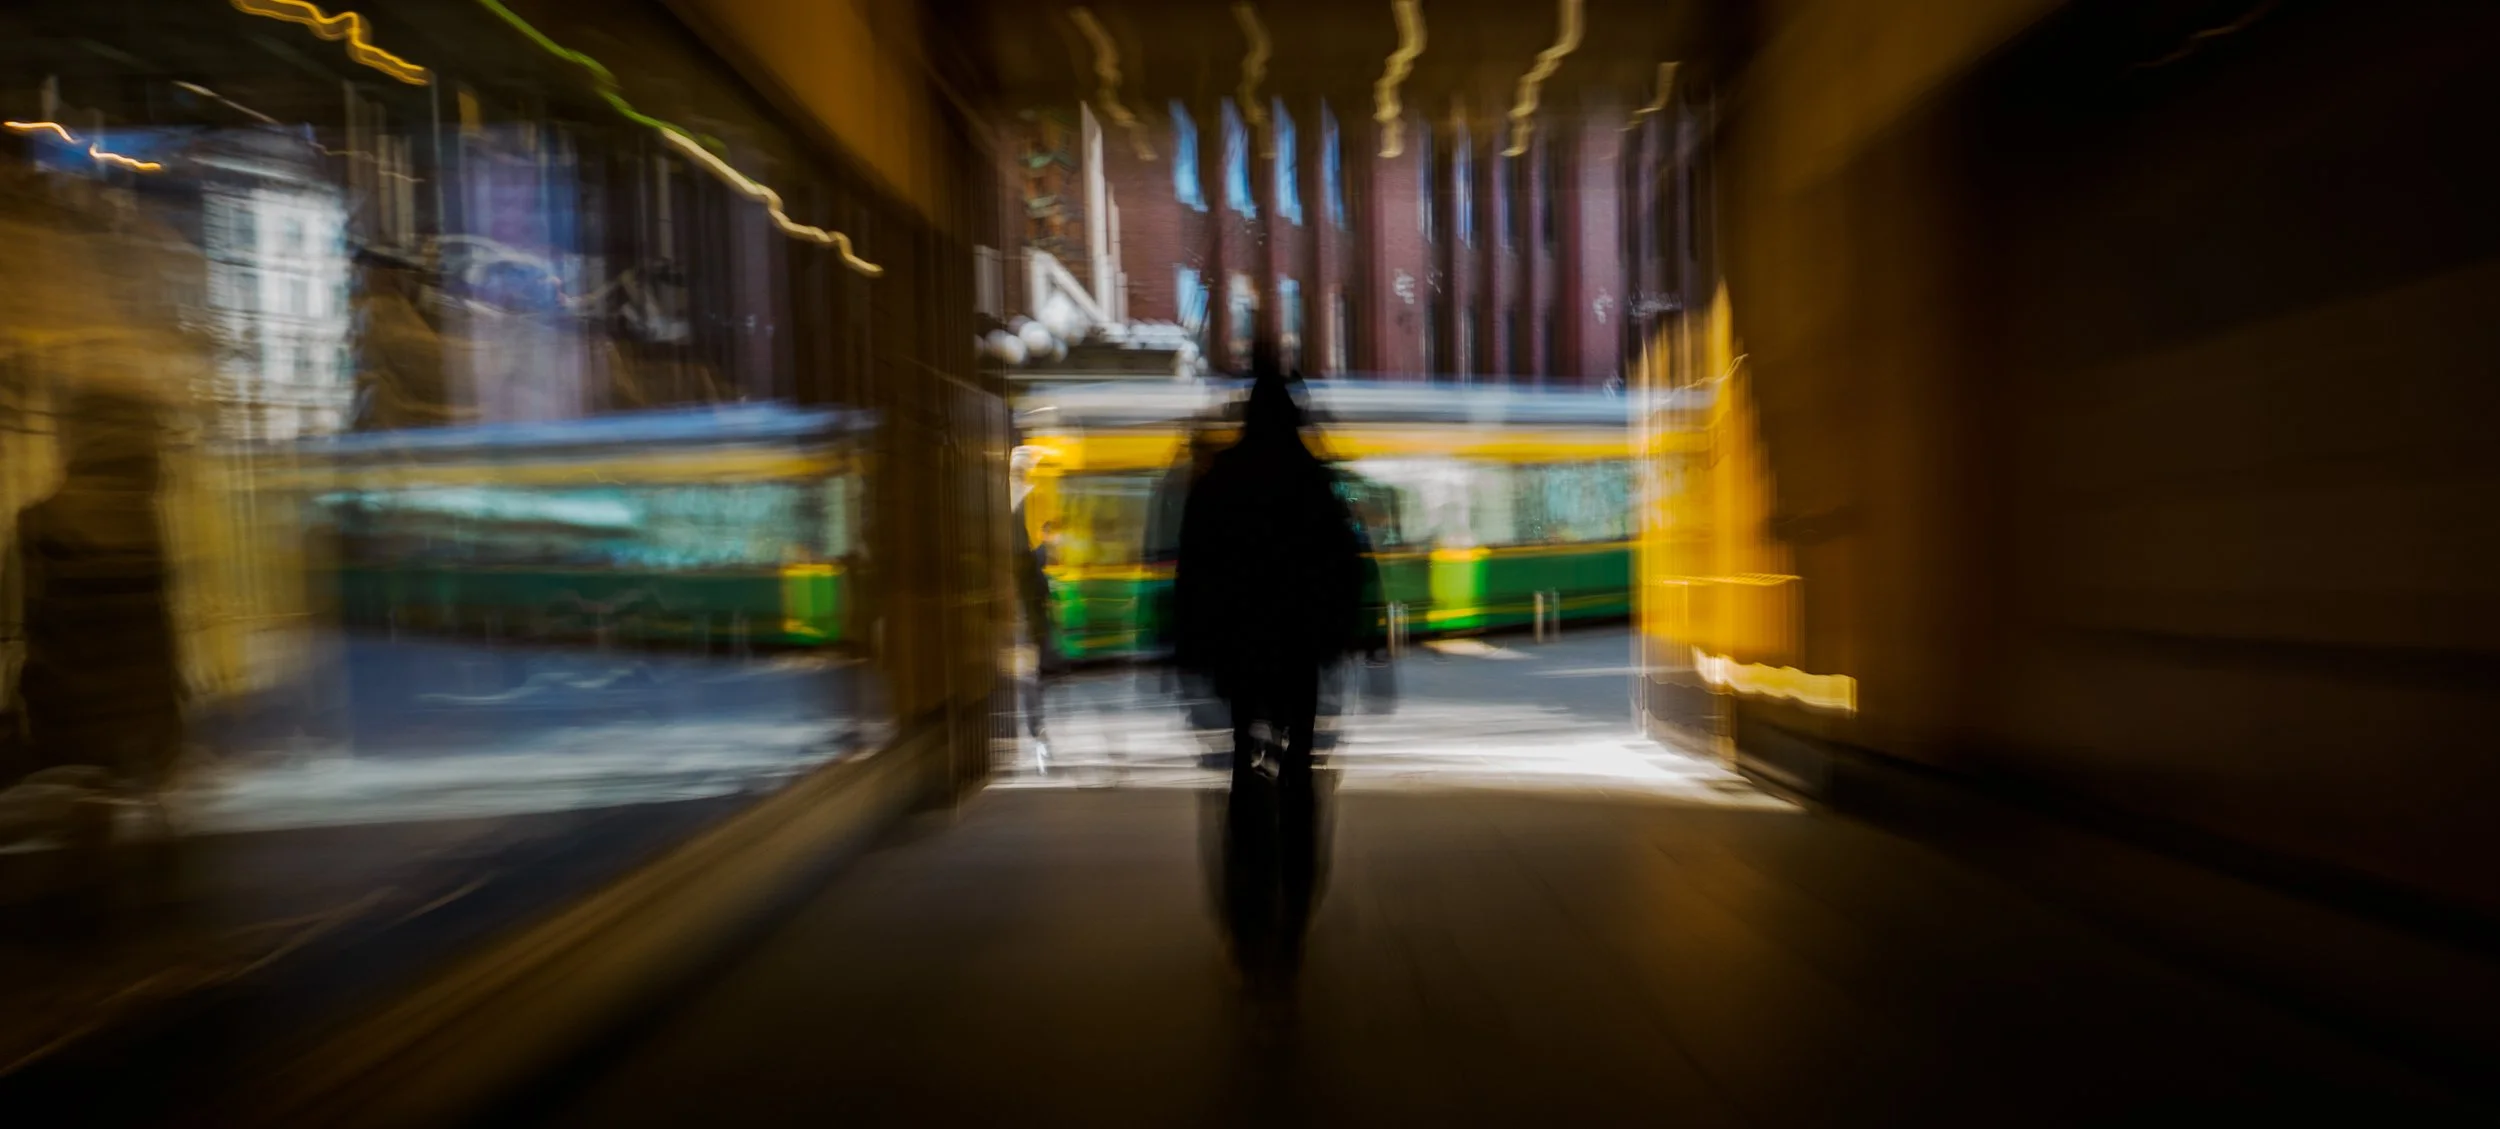
    Kinetic photography stands out by turning motion into an art form. This technique involves moving the camera during exposure, creating images that are vibrant, abstract, and full of energy. It’s a creative playground for photographers who love experimenting and pushing boundaries.
    What is Kinetic Photography?

    Kinetic photography, also known as camera-toss photography or motion blur photography, is all about introducing deliberate camera movement during a long exposure. Instead of freezing for a moment, it stretches it, using motion to paint with light and color.

    The Basics of Kinetic Photography.

    1. Long Exposure: Use a slow shutter speed. Start with 1/15th of a second and experiment from there.

    2. Motion: Move, shake, or toss your camera while taking the picture. Ensure safety and use a strap!

    3. Light Sources: Experiment with different light sources, like city lights at night or bright objects.

    Do not forget Safety.

    • Secure Your Gear: Always use a neck strap or wrist strap.

    • Start Small: Begin with gentle movements.

    • Be Aware of Your Surroundings: Ensure you’re in a safe area, especially if trying camera tossing.

    Tips for Stunning Kinetic Photographs.

    • Start in Low Light: Evening or night settings work best to capture light trails.

    • Experiment with Patterns: Move the camera in circles, waves, or zigzags.

    • Play with Settings: Adjust ISO, aperture, and shutter speed for different effects.

    • Focus: Pre-focus your camera before moving it.

    • Post-Processing: Enhance colors and contrast in editing software for added effect.

    Creative Ideas.

    • City Lights: Capture the lights of a cityscape at night.

    • Nature’s Canvas: Use the natural light in forests or gardens.

    • Abstract Art: Create completely abstract pieces with light and color.

    • Use an ND filter to make long exposures in bright sunlight.

    Challenges and Overcoming Them.

    • Unpredictable Results: Embrace the unpredictability as part of the fun.

    • Too Much Blur: If the image is too blurry, shorten the exposure time or reduce the movement.

    • Finding the Right Light: Experiment in different lighting conditions to find what works best.

    Conclusion.

    Kinetic photography is for those who love to experiment and embrace a bit of unpredictability in their work. It’s about letting go of perfection and enjoying the process of creating something unique and dynamic. So, grab your camera, find some light, and start moving!
  • Double the Creativity: Exploring the World of Double Exposure Photography

    Double the Creativity: Exploring the World of Double Exposure Photography

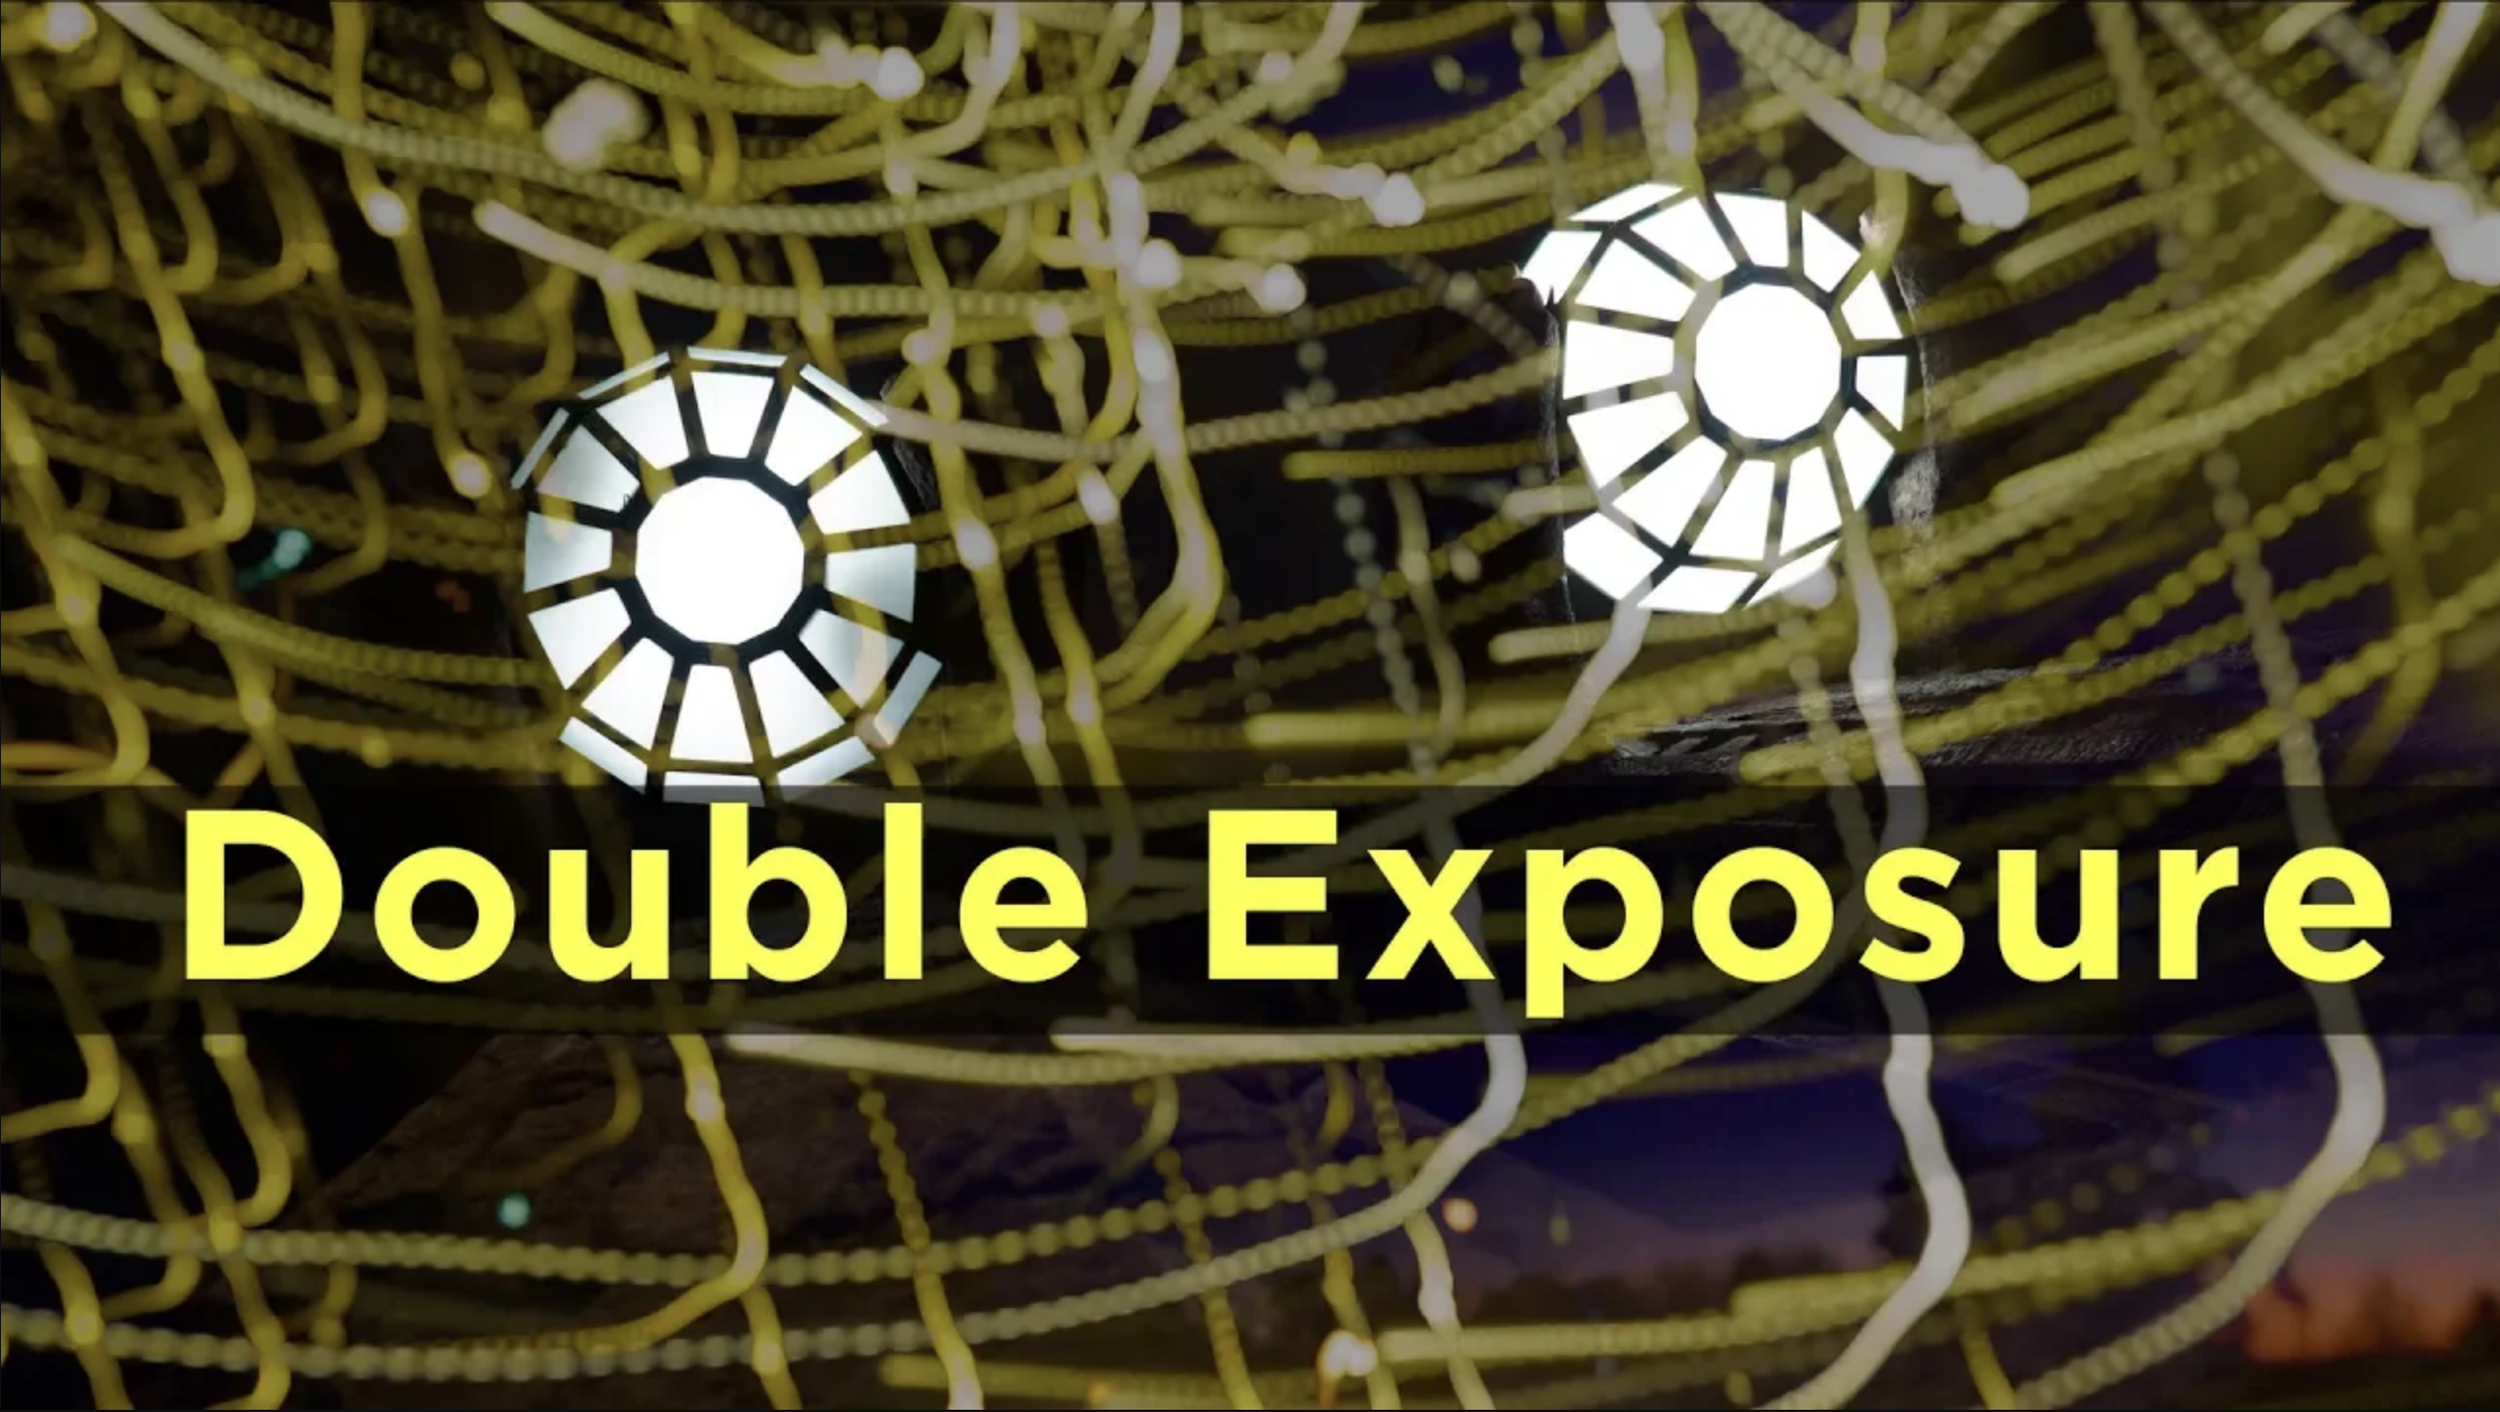
    Double/Multiple exposure photography is a captivating technique that merges two or more distinct images into a single frame, creating a surreal and dreamlike composition. It combines art and imagination, where two worlds meet to tell a more profound story.

    What is Double or Multiple Exposure?

    Double exposure involves combining two different images into one. Multiple Exposure combines three or more images. Traditionally, this was done by exposing the same frame to two or more different images. In the digital age, photo editing software often achieves this effect, allowing for more control and creativity.

    The Appeal of Double Exposure

    This technique is loved for its ability to convey complex emotions and narratives. It can juxtapose a portrait with a landscape, blending human emotion with the beauty of nature, or combine two completely different scenes for a striking contrast.

    How to Create a Double-Exposure in Camera?

    Most modern digital cameras have multiple image features. It might be called double exposure or similar.

    Some cameras can show the previous images as an overlay. That helps a lot when making the second image. There also might be blending modes available.

    Try to find something dark to put the subject on the second image when photographing. The second image will be more visible from a dark background. Like many other experimental photography, multiple exposure is a trial-and-error type of photography.

    Refer to your camera manual for more information on using the multiple exposure feature.

    Creative Ideas for Multiple Exposures in Camera

    1. Portrait and Nature: Merge a portrait with a natural element like trees, flowers, or clouds.

    2. Cityscapes: Blend different architectural elements or combine day and night scenes.

    3. Abstract Art: Create abstract compositions using textures, patterns, or colors.

    How to Create a Double-Exposure in Post Production?

    1. Choose Your Images: Start with two images that complement each other. One is typically a portrait; the other can be a texture, landscape, or other imagery.

    2. Editing Software: Use a photo editing tool like Photoshop. Place your images on separate layers.

    3. Blending: Experiment with blending modes. Typically, ‘Screen’ or ‘Multiply’ modes are used.

    4. Fine-tuning: Adjust opacity, contrast, and colors to blend the images seamlessly.

    Tips for Successful Double Exposures

    • Contrast is Key: Look for high-contrast images for more striking results.

    • Simple Backgrounds: For portraits, a simple background helps in blending.

    • Theme and Story: Think about the story or theme you want to convey.

    • Experiment: Don’t be afraid to try different combinations.


    Some more Inspirational Ideas

    • Nature Meets Urban: Combine a cityscape with a forest or mountain scene.

    • Seasonal Fusion: Mix images representing different seasons.

    • Emotion and Environment: Blend a portrait with an environment that reflects the subject’s mood.


    Conclusion

    Double exposure photography is more than just a technique; it’s a form of artistic expression. It allows photographers to explore their creativity and see the world in a new and imaginative way. Whether you’re a professional or a hobbyist, double exposure invites you to experiment and reinterpret your surroundings, one exposure at a time.

    What is 52 Assignments?

    52 Assignments have an assignment for every week in 2024. It is a motivational set of photography assignments that will boost your photography in 2024. More info about it from this blog post.

  • Illuminating the Dark: The Magic of Light Painting and Long Exposure Photography

    Imagine transforming the night into a canvas and light into your brush. This is the essence of light painting, a photographic technique that merges long exposure with creative illumination. It’s not just photography; it’s an art form where darkness and light work together to create mesmerizing images. Light painting is not easy and might require a few tries to create an image that you have in your mind. Do not be disappointed if the first try does not come out as planned.

    Light Painting and Long Exposure is the first assignment in the 52 Assignments photo project. I have written down a few things about Light Painting that might help you.

    What is Light Painting?

    Light painting is a photographic technique where exposures are made by moving a hand-held light source or the camera. In a dark environment, a camera is set to a long exposure, and a light source, such as a flashlight, LED lights, or even a smartphone, is used to ‘draw’ in the air. The camera captures the light trails, creating a stunning and ethereal image.

    The Role of Long Exposure

    Long exposure is crucial in light painting. It involves leaving the camera’s shutter open for an extended period, usually seconds or minutes, to capture the faintest traces of light. This technique records the light trails and beautifully blurs moving elements like water or clouds, adding a dreamy quality to the image.


    Getting Started with Light Painting

    You do not need any special equipment to start making light paintings or start long-exposure photography. All cameras can make long exposures. Here are a few things that will help to start.

    1. Equipment: You’ll need a camera capable of manual settings, a tripod, and a light source. You can always make the light streaks by moving the cameras.

    2. Setting Up: Choose a dark location and set your camera on a tripod. Use manual mode, setting a low ISO and narrow aperture. Start with an exposure of 10-30 seconds. If you have a camera that has so-called LiveComposite, use that. LiveComposite is a unique feature that helps create long exposure. Most Olympus and OM SYSTEM cameras have that feature. If you are unfamiliar with Live Composite, watch my videos about it.

    3. Creating Art: Activate the shutter and paint in the air using your light source. Experiment with different movements and colors.

    Tips and Tricks

    – Safety First: Be aware of your surroundings, especially in the dark.

    – Experiment: Try different light sources and movements.

    – Use a Remote: Use a remote shutter release to avoid camera shake. Many cameras have an app that can control the camera. Use that if you do not have a remote shutter.

    – Collaborate: Work with friends to create complex light paintings.

    Conclusion

    Light painting and long-exposure photography open up a world of creative possibilities. They allow photographers to bend light to their will, creating surreal and captivating images. It’s a reminder of the power of imagination and the magic that can happen in the dark. If you want more advanced light painting, watch my video about photographer Hannu Huhtamo. He specializes in Light Painting.


    What is 52 Assignments?

    52 Assignments have an assignment for every week in 2024. It is a motivational set of photography assignments to boost your photography in 2024. More info about it can be found in this blog post.