Tag: photography tips

  • Mastering Exposure – [3 Tips to Get the Right EXPOSURE]

    Mastering Exposure – [3 Tips to Get the Right EXPOSURE]

    Getting your exposure correct is one of the most important things if you want your image quality to be the best possible. Of course, a great image is more than just exposure, but it is an important thing.

    3 tips for better exposure

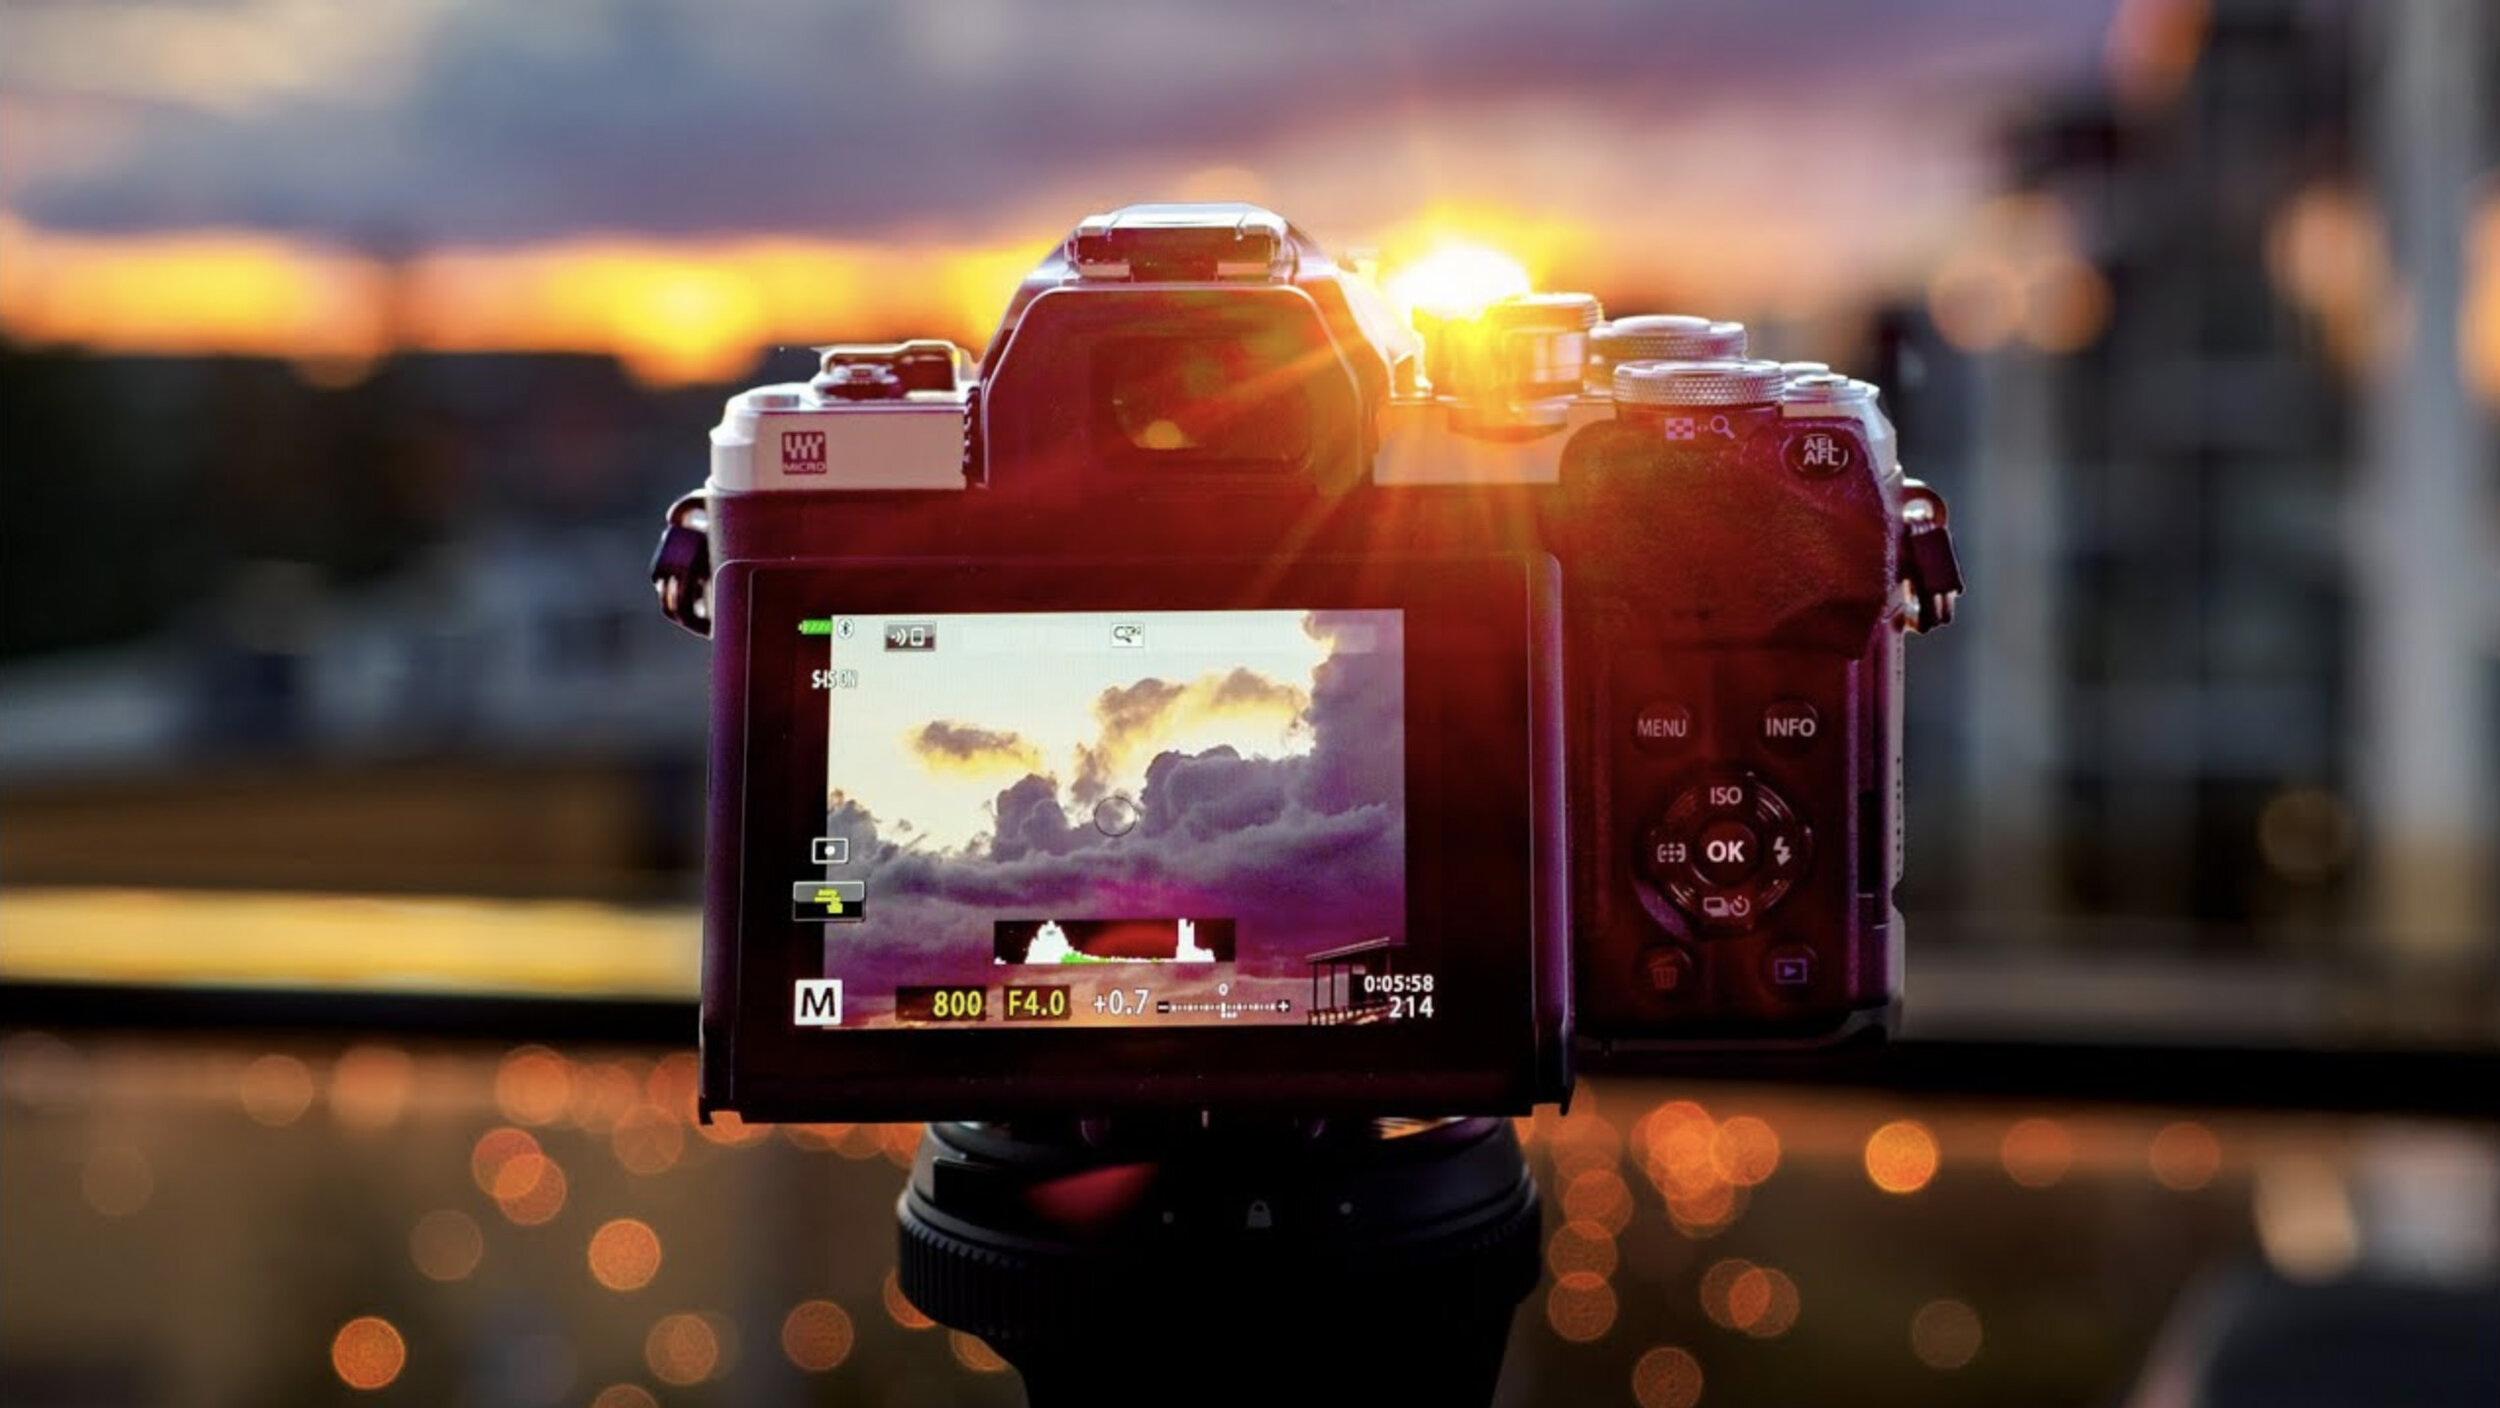
    The first tip is to learn the way your camera makes the exposure. What I mean by that is the different metering modes. Learn the different metering modes to get the best exposure.
    image_001.jpg

    The second tip is to use raw and ETTR. Using raw you have the possibility to expose to the right. The reason to use ETTR (Exposure to the Right) is that then the sensor is capturing the most amount of data. The image quality is the best possible. The reason for that is the way the sensor captures data. There is more information in the highlights than there is in the shadow areas.

    An image that is exposed using ETTR will look a bit washed out. It is too bright. The image needs post-production. Lowering the exposure and highlights will make the image better looking.

    This only works for raw and should not be used when shooting jpegs.

    When using ETTR it is crucial that you do not clip the highlights like always, no matter what the exposure method is.

    Usually, an image that has been photographed using ETTR has most of the info on the right side of the histogram. But if you have an image where you have a white bird and a dark background will have a lot of info on the shadow. The histogram looks like the image is exposed to the left. But it still can be an ETTR image. It depends on where the brightest spot is on the histogram. If it is just on the histogram value 254-255 then it is ETTR.
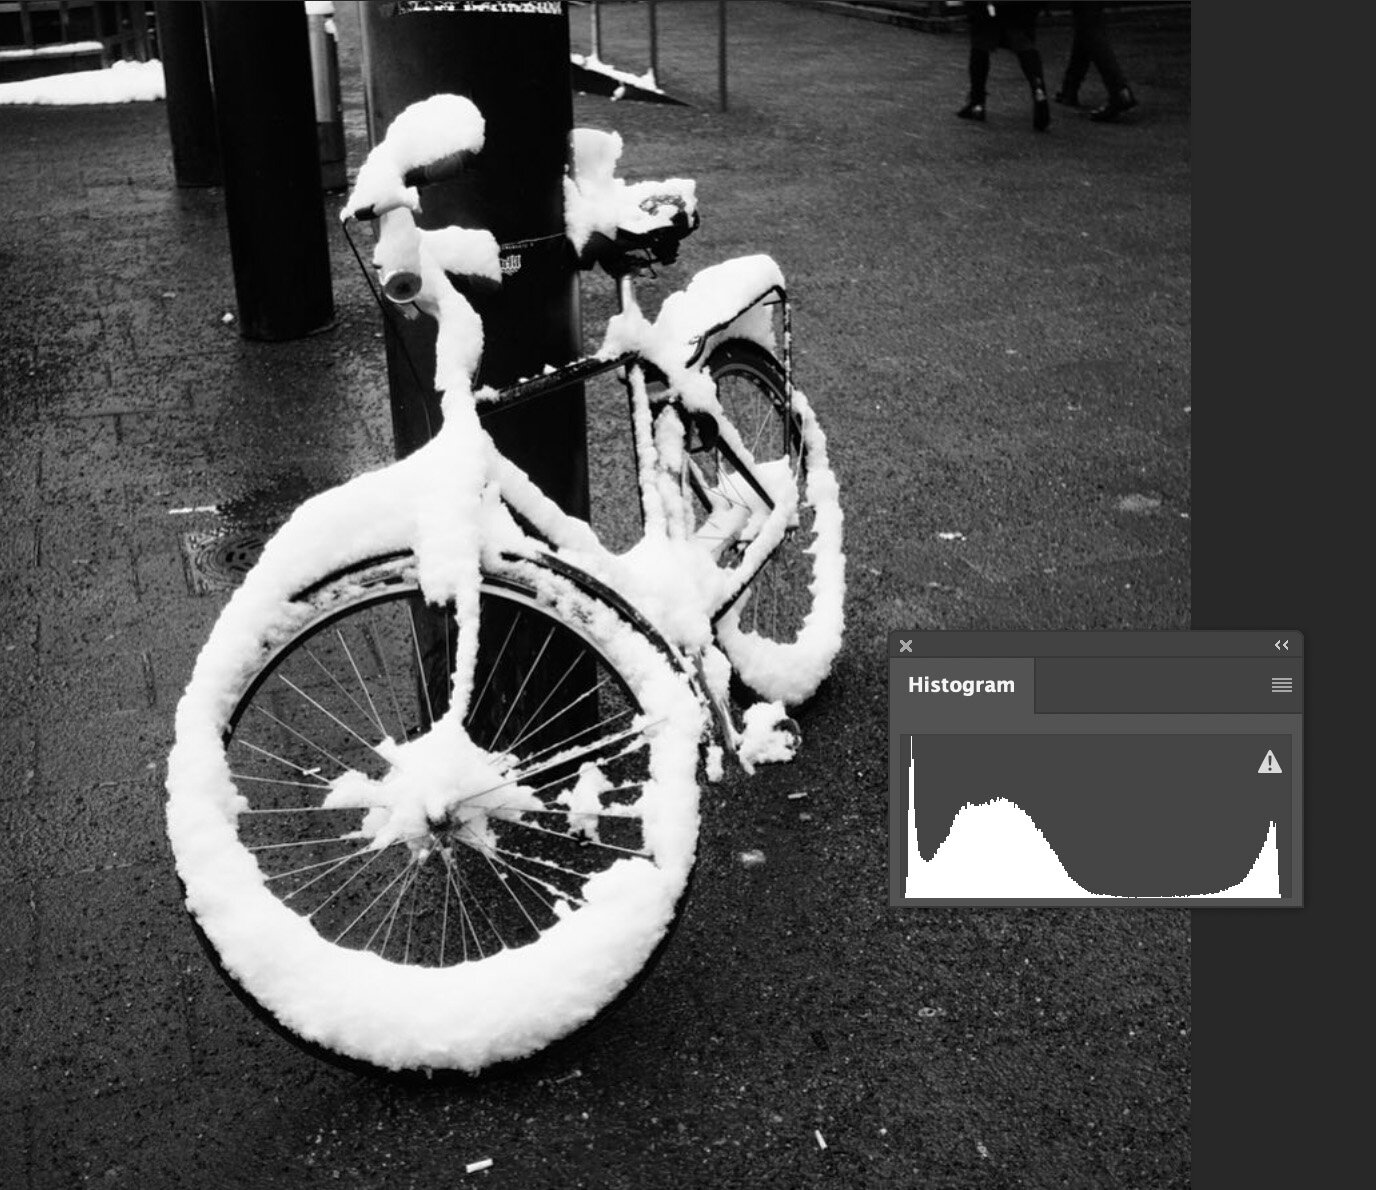
    This is an example of an image that is ETTR even though the histogram might not look like it. As you see the snow on the bike is not over exposed. The whites pixel is around 254.
    This is an example of an image that is ETTR even though the histogram might not look like it. As you see the snow on the bike is not over exposed. The whites pixel is around 254.

    The third tip is to use Exposure Bracketing. This is very handy when you use jpg as your file format. This is the way to make sure you have the best possible exposure for your jpg. Having 5 or 3 different exposure from the same scene will help you get the perfect shot.
    More tips on my video about Mastering Exposure.

  • Olympus OM-system 180mm f2 lens – A Stunning lens from the 80s.

    Olympus OM-system 180mm f2 lens – A Stunning lens from the 80s.

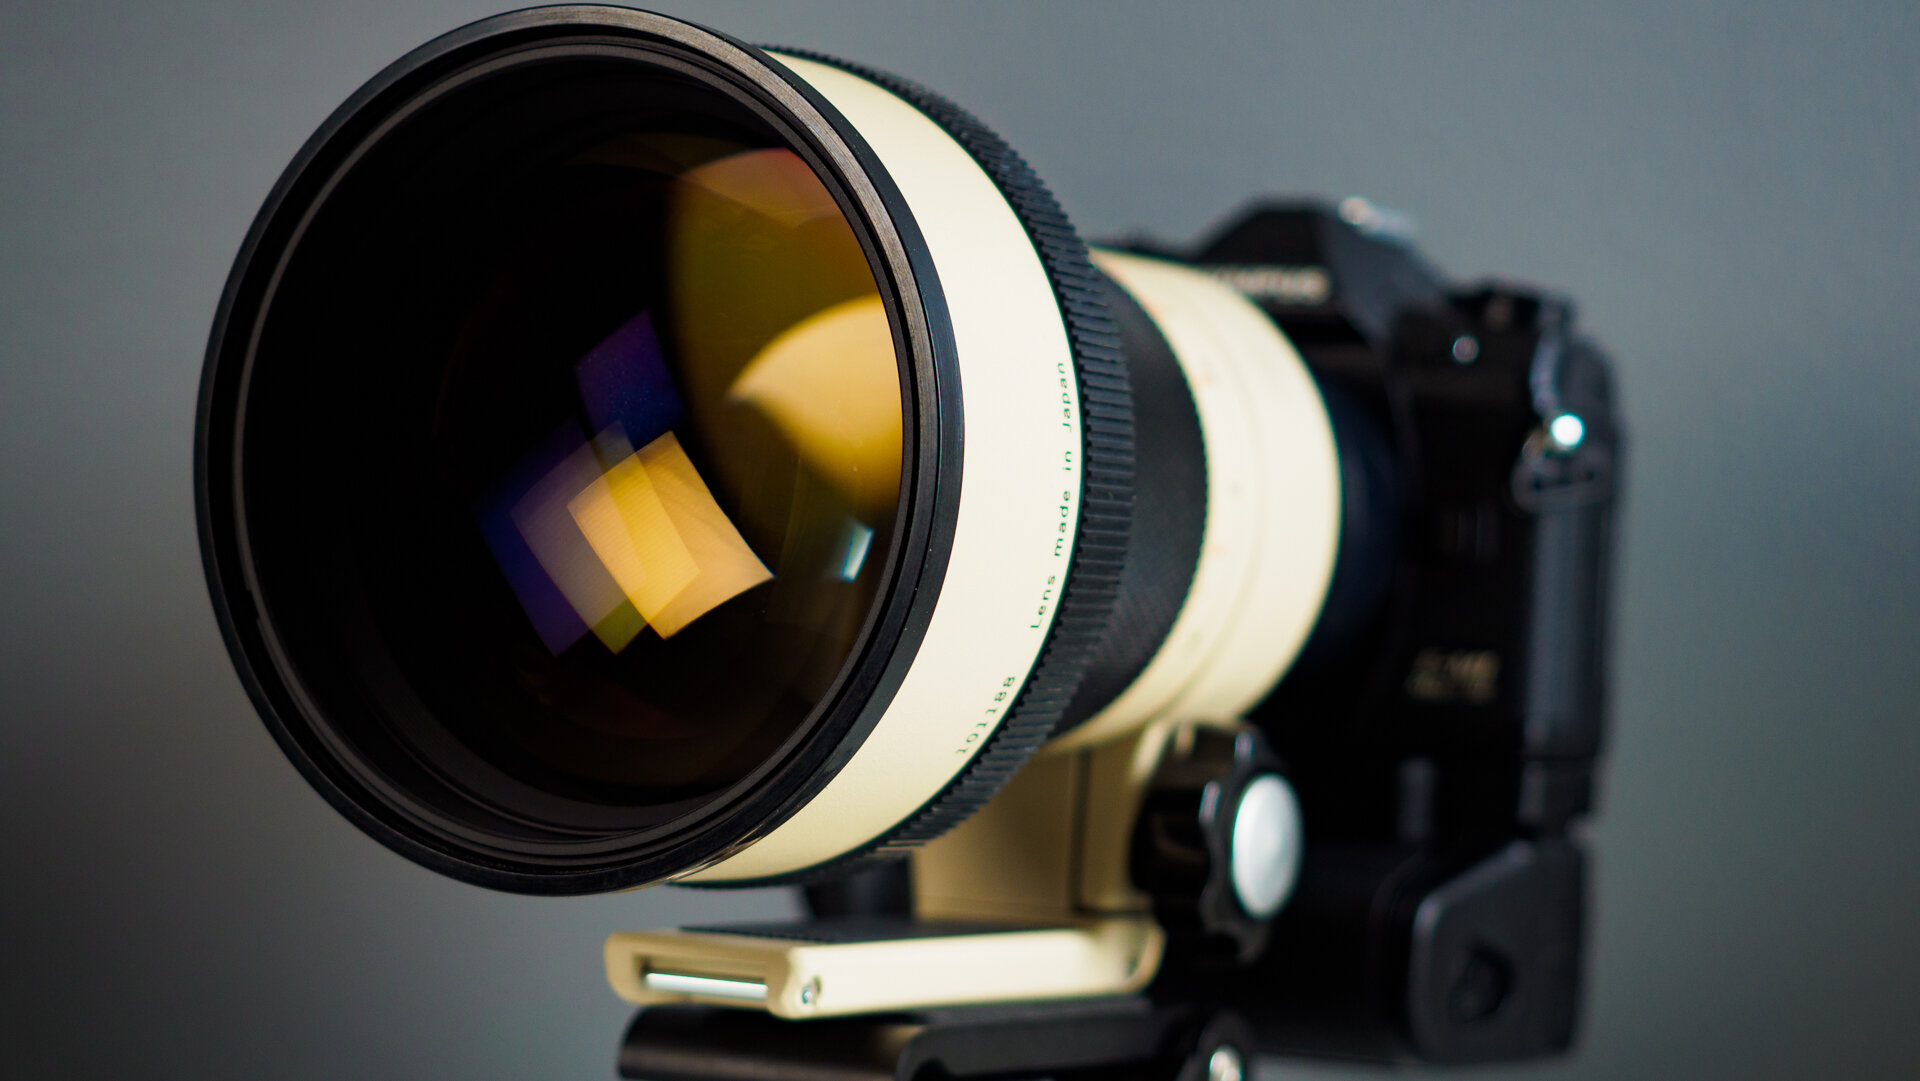
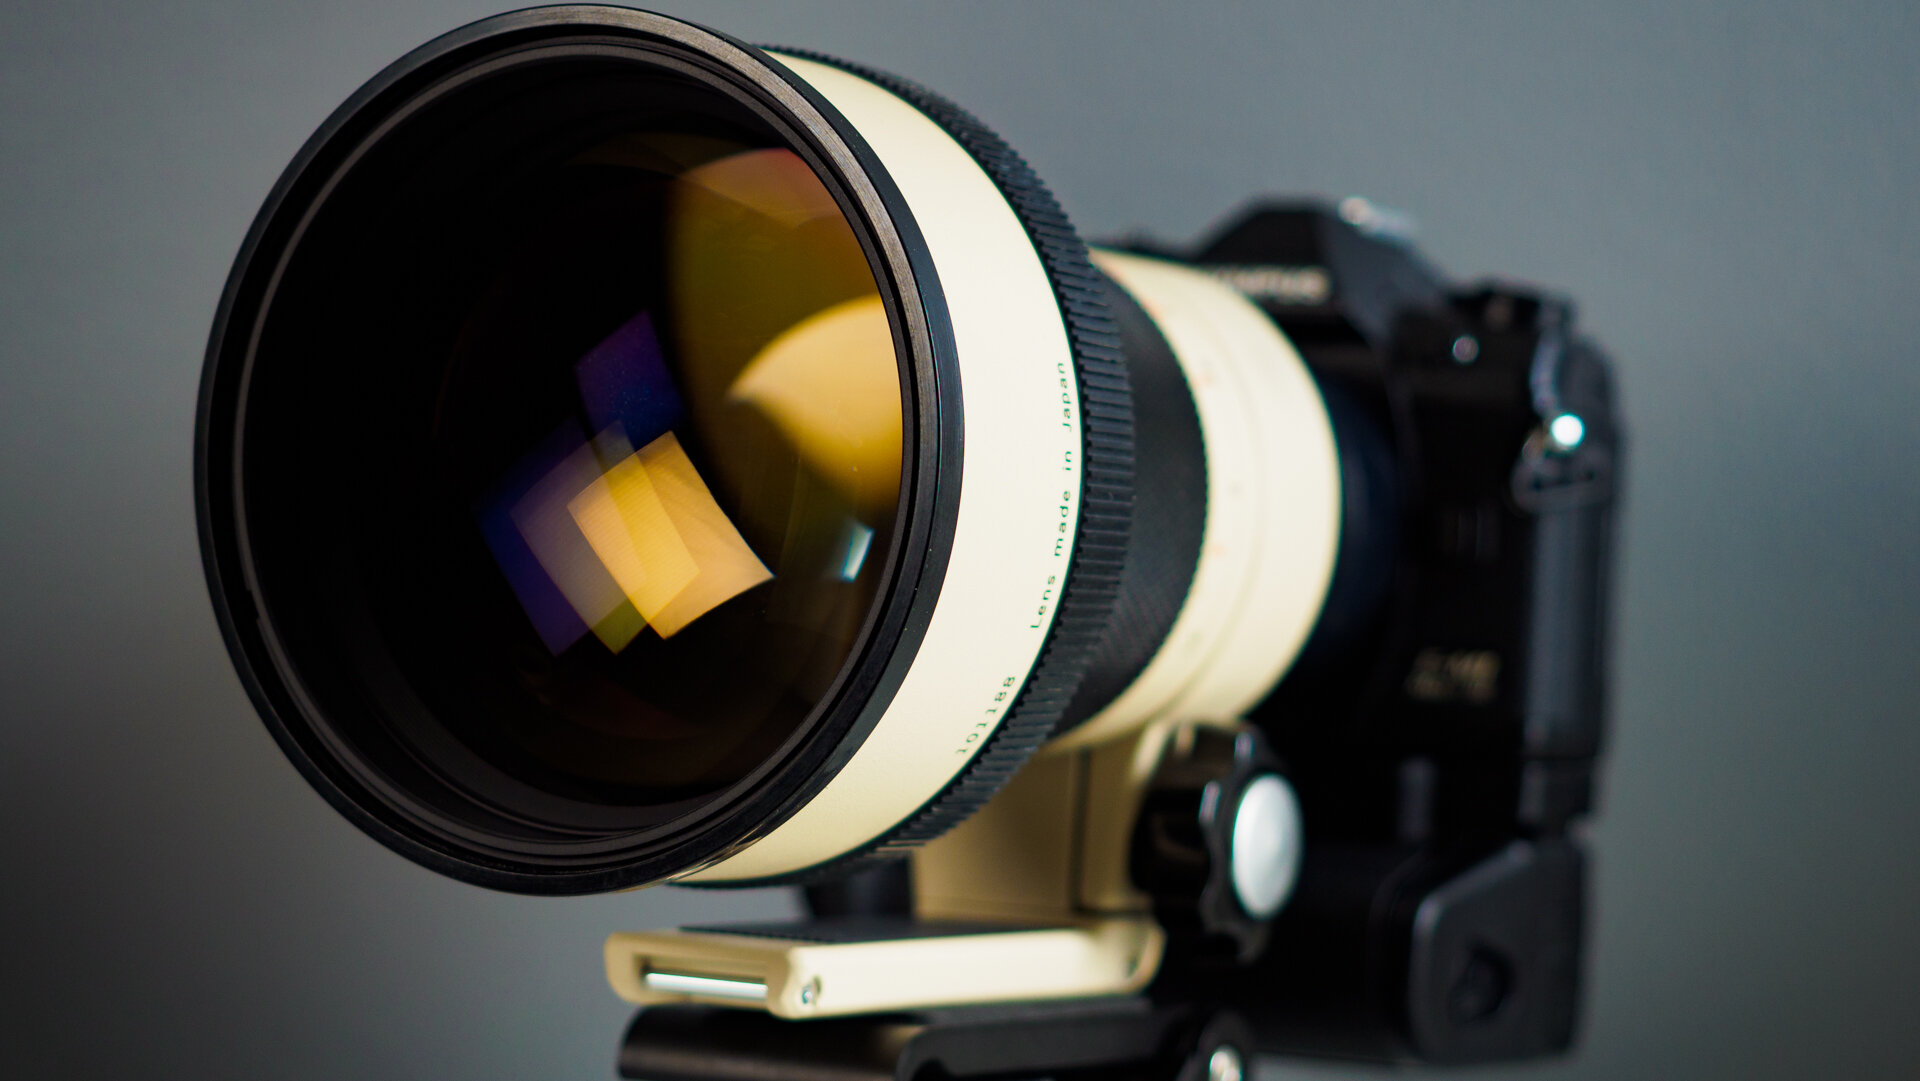
    I had a chance to test a very rare lens. An Olympus super-telephoto lens from the early 80s. The lens is Zuiko Auto-T 180mm f2 ED-IF. Back then the OM-system bodies that Olympus had were OM-3 and OM-4. Olympus had a very nice line up of Zuiko lenses for those cameras and other OM-system bodies. The one line-up they did not have, was pro-grade fast telephoto lenses.

    _7180731.jpg

    Olympus made several fast telephoto lenses. One of them was the 180mm f2 lens that I had the chance to test. Other lenses were 100mm f2.0, 250mm f2.0 and a 350mm f2.8. This way Olympus was able to offer fast telephoto lenses to pros. All these lenses are very rare and cost quite a lot of money.

    You can still find them on eBay. The prices are from several thousand all the way up to 10K. That is a lot of money for a lens. Some of them were sold in Japan. That will add up to costs.

    Olympus OM-D E-M1 MKIII, Zuiko 180mm f2, 1/2500s f2, ISO64, © Peter Forsgard
    Olympus OM-D E-M1 MKIII, Zuiko 180mm f2, 1/2500s f2, ISO64, © Peter Forsgard

    As I said on the video that I made about the 180mm f2 lens, the image quality is stunning. Not much to complain.

    OIympus M-1, Zuiko 180mm f2, film Ilford X"2© Peter Forsgard
    OIympus M-1, Zuiko 180mm f2, film Ilford X"2© Peter Forsgard

    Of course, the lenses are full manual. The lens has an aperture ring and it is manual focus. I tried with two cameras. One of them was my Olympus M-1. The first SLR from Olympus. Unfortunately, the shutter was not very consistent and the images did no come out the way I wanted.

    I was able to use it also with the E-M1 MKIII. I had an adapter from Novoflex. With that, it worked very well. The focusing was quite easy, thanks to focus peaking and magnify features that help a lot. I am not very experienced using manual focus for moving subjects so I concentrated on more easy subjects.

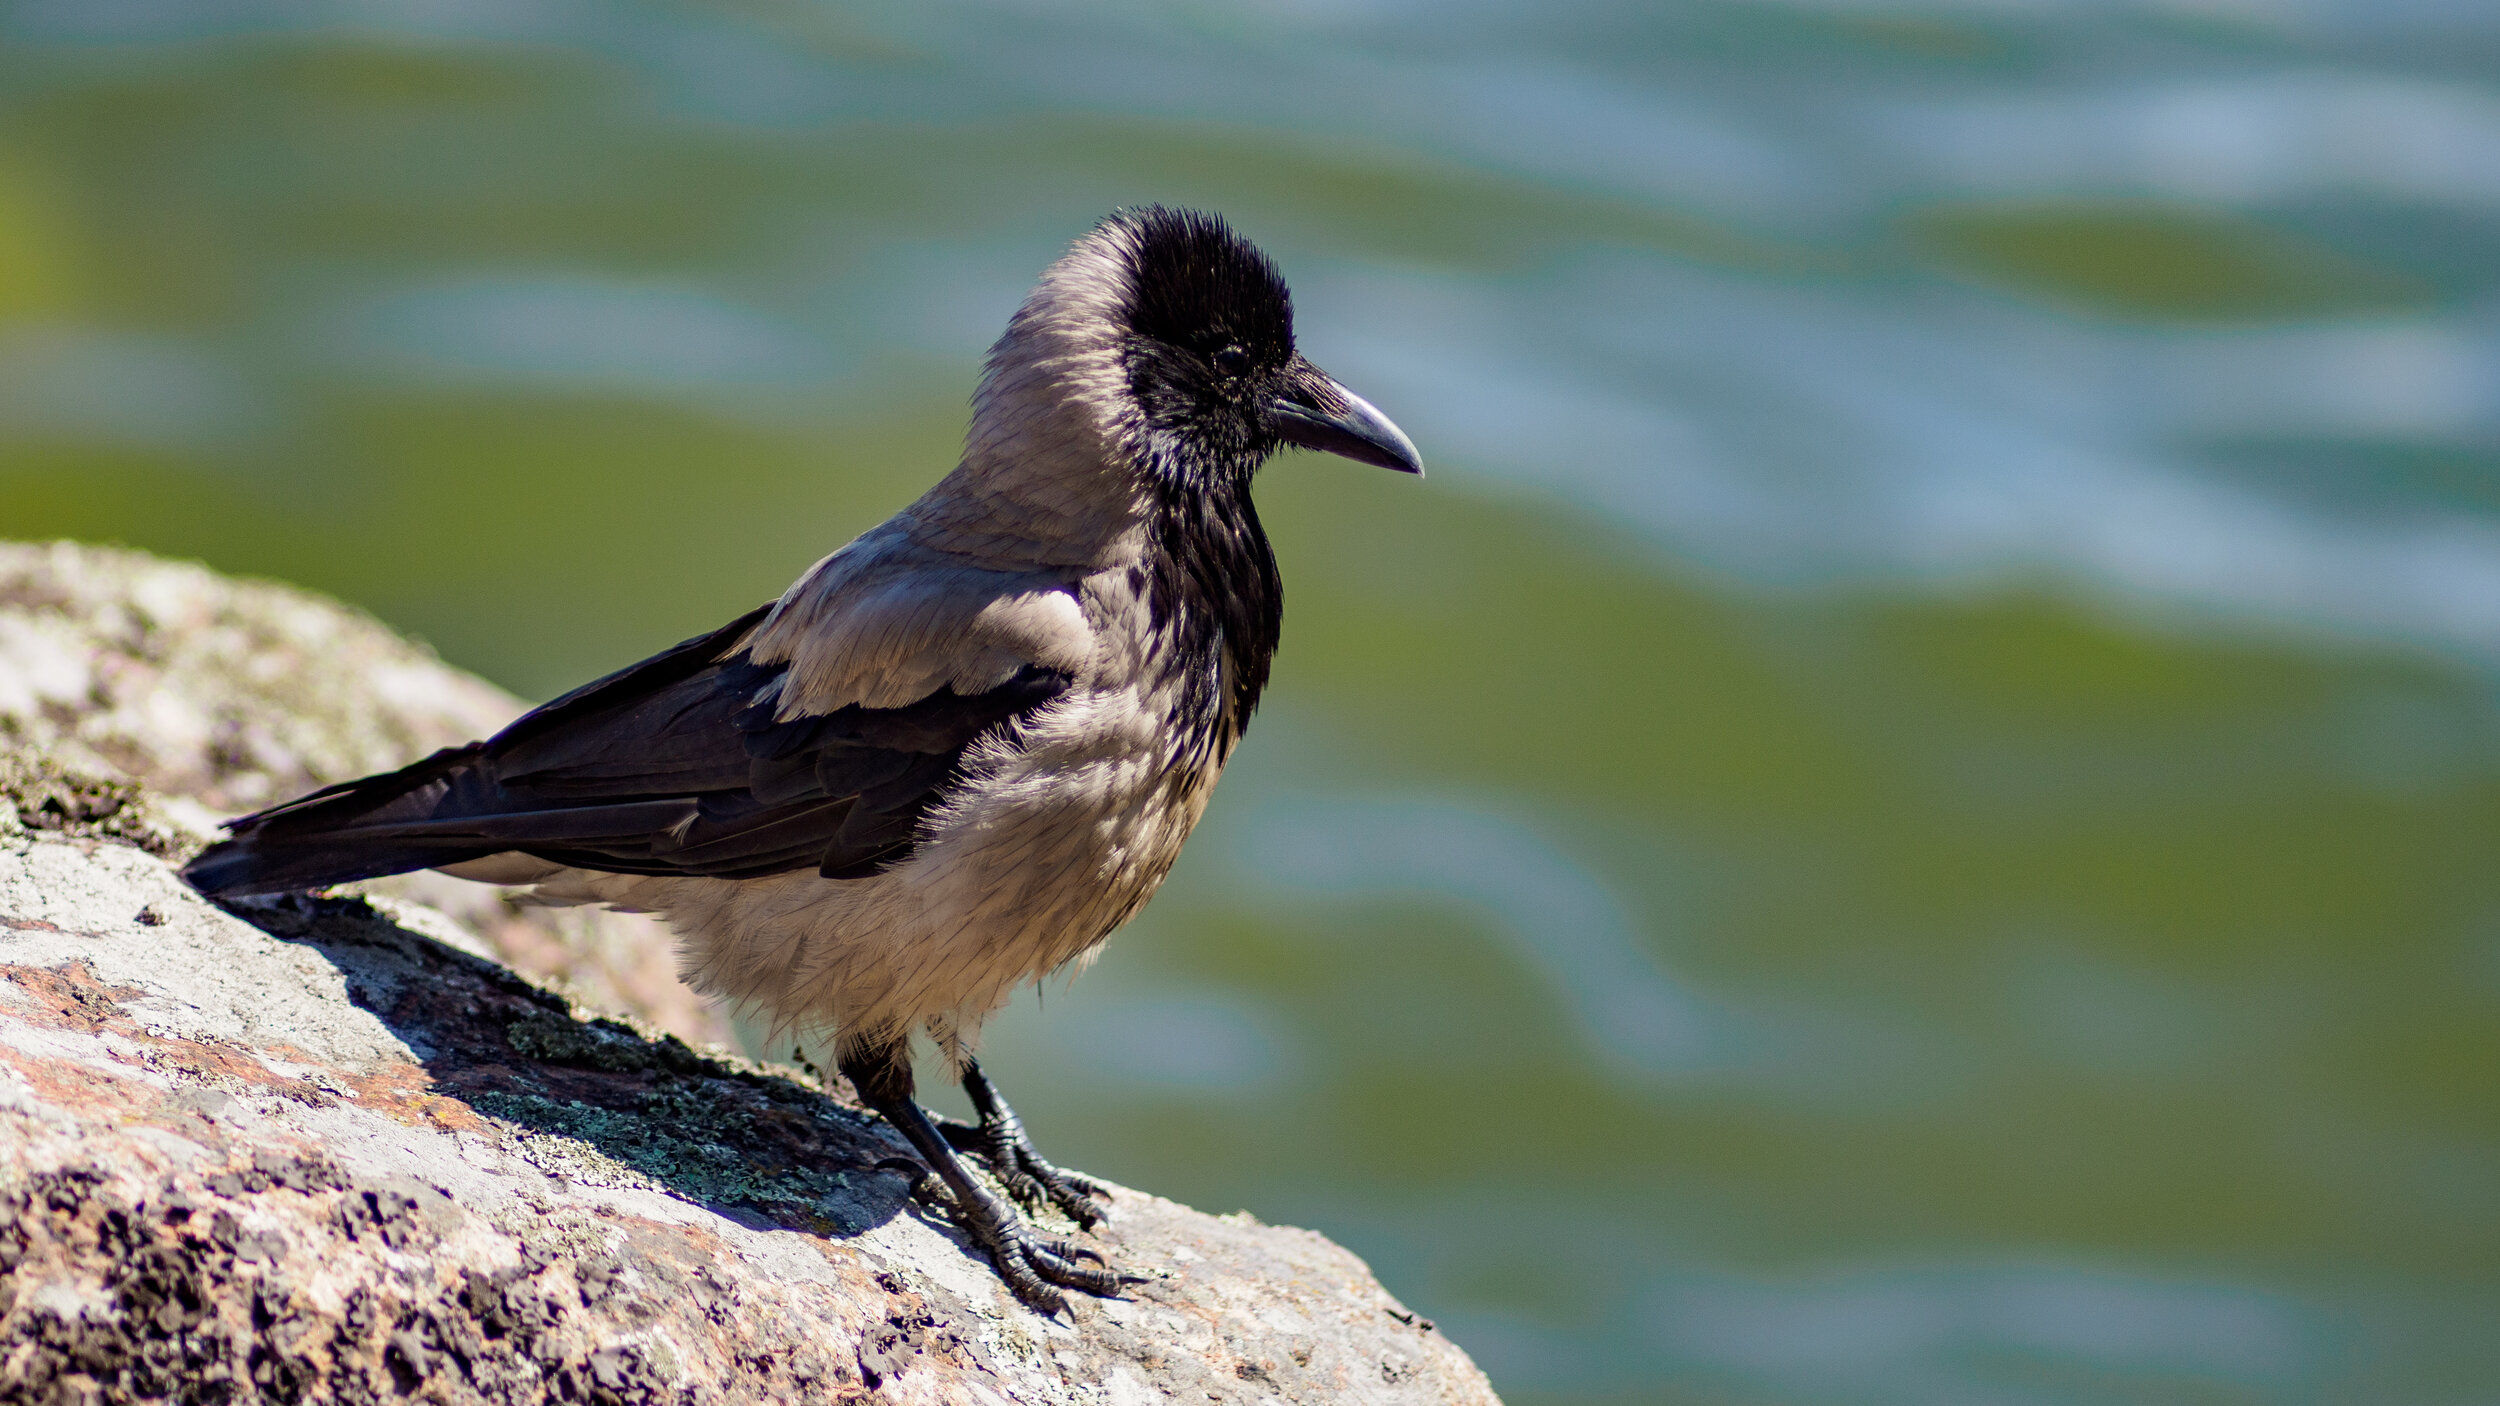
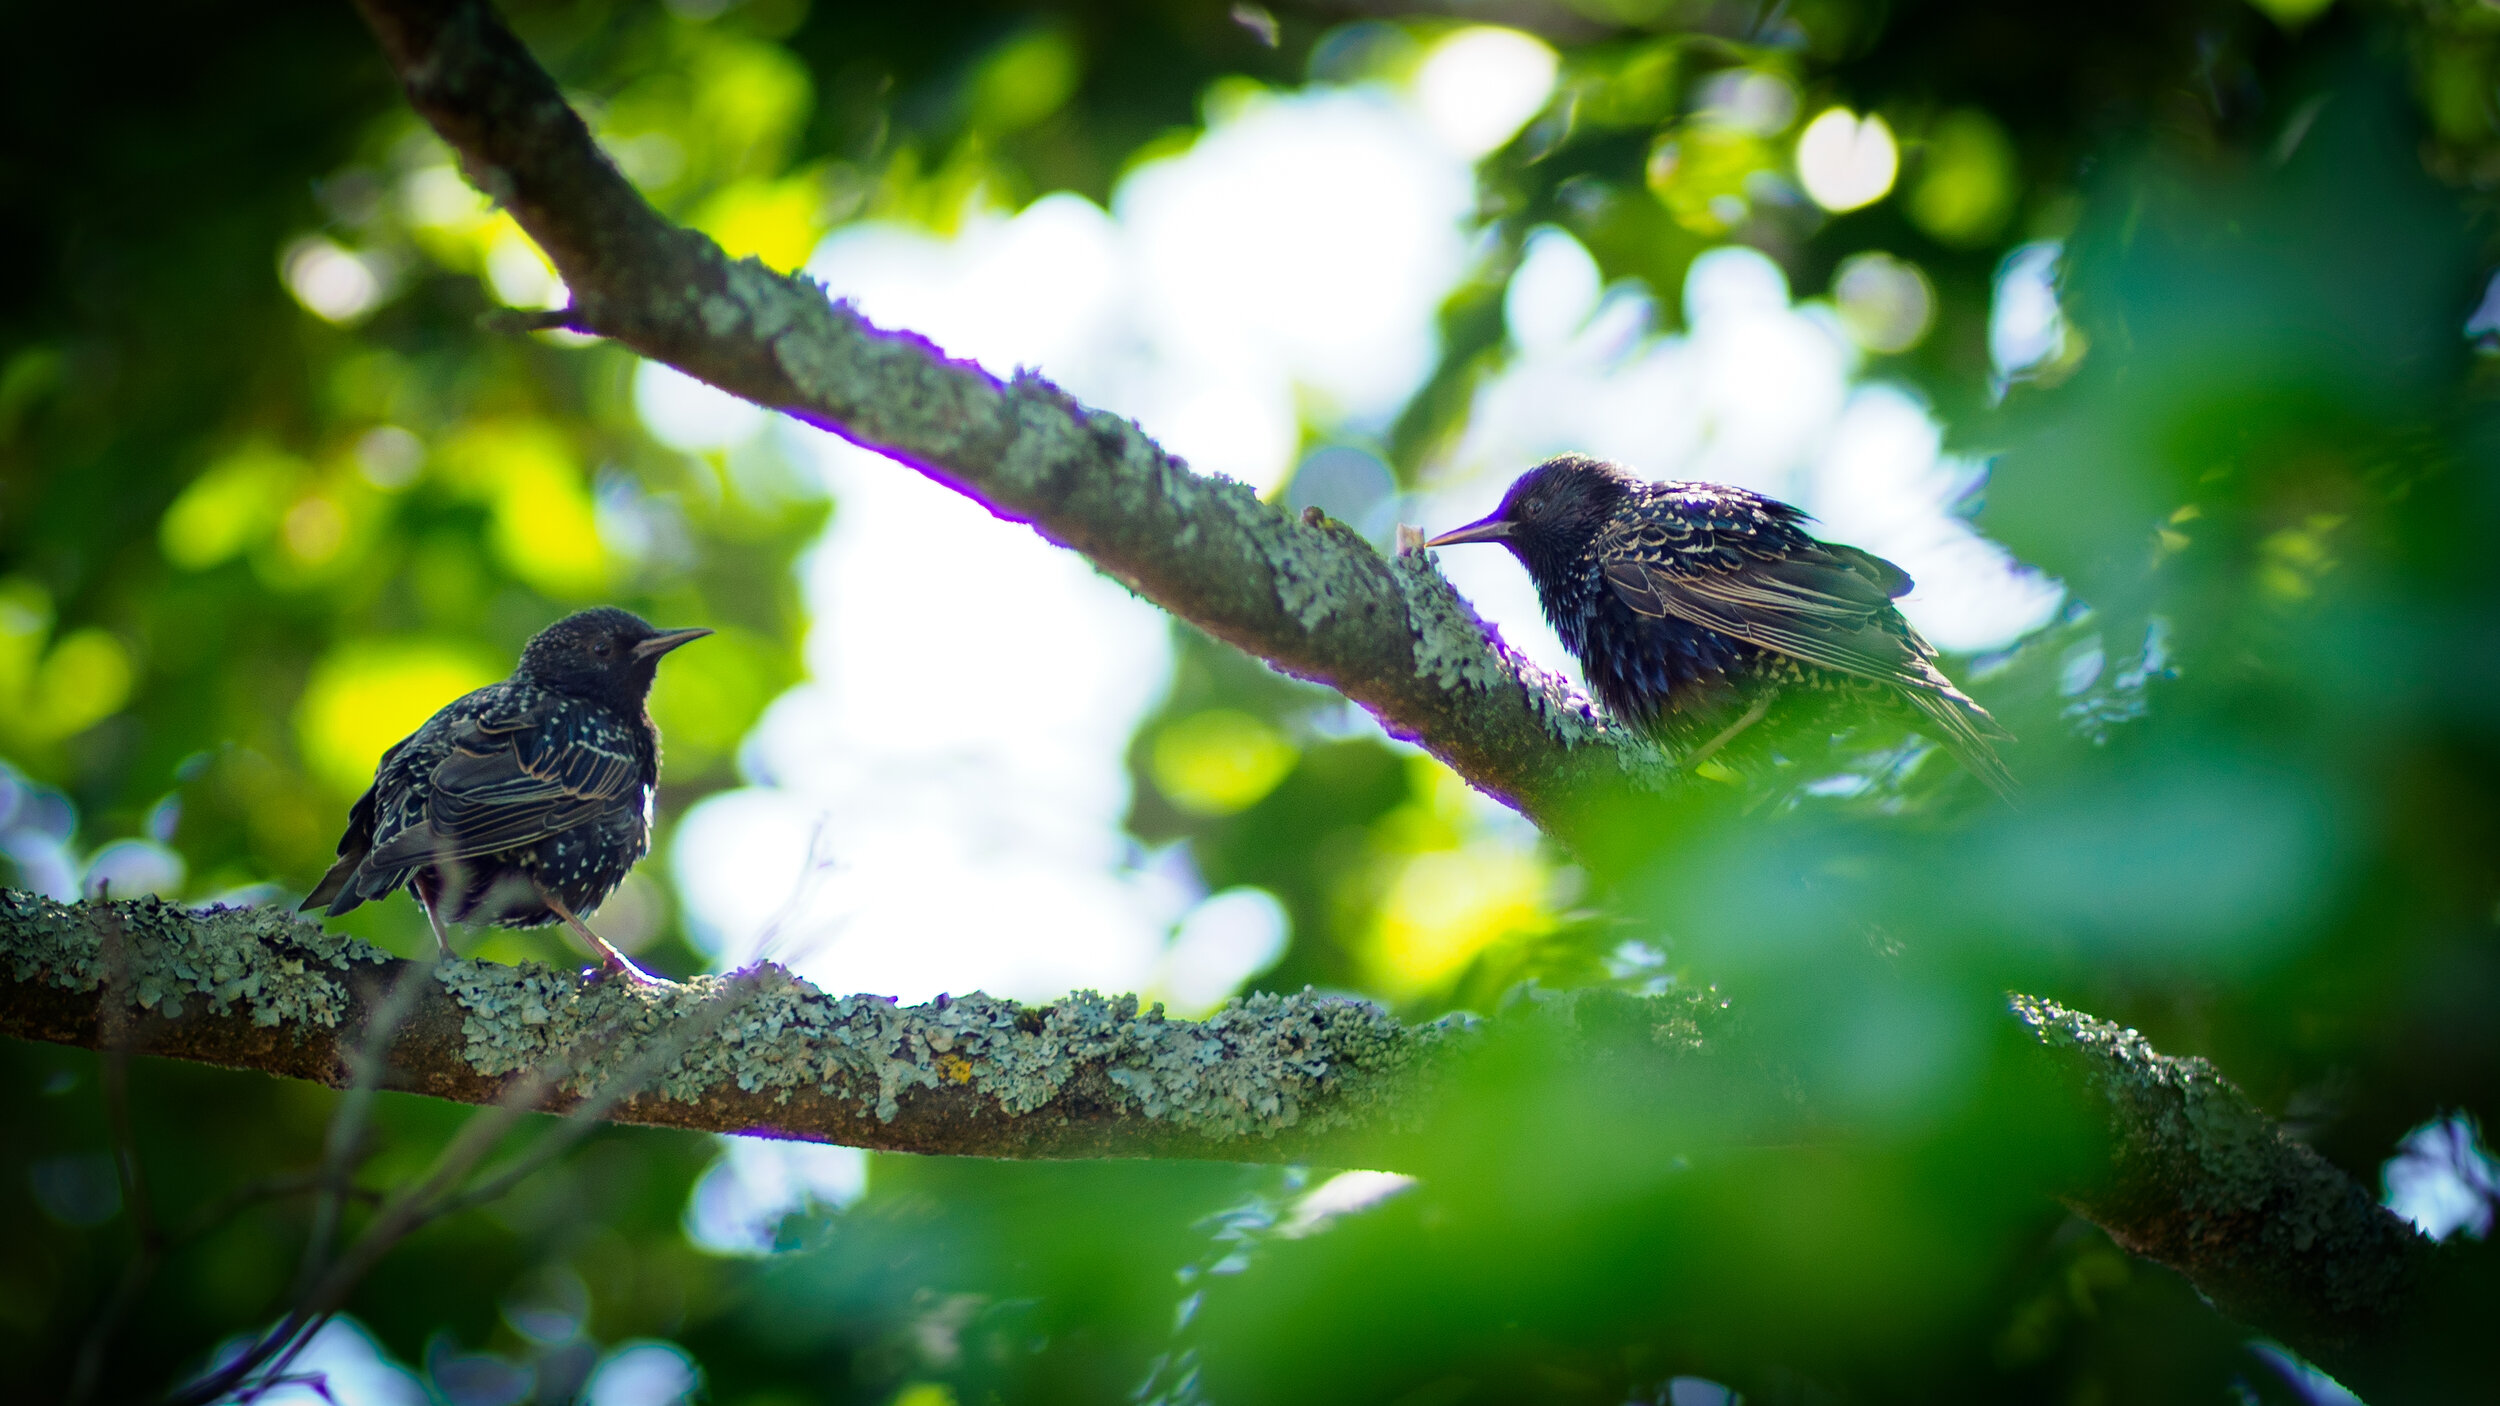
    Of course, I needed to try it for bird photography. That is the most likely genre that this lens would be used for.

    Olympus OM-D E-M1 MKIII, Zuiko 180mm f2, 1/1250s f2 ISO200, © Peter Forsgard
    Olympus OM-D E-M1 MKIII, Zuiko 180mm f2, 1/1250s f2 ISO200, © Peter Forsgard
    Olympus OM-D E-M1 MKIII, Zuiko 180mm f2, 1/250s f2, ISO200, © Peter Forsgard
    Olympus OM-D E-M1 MKIII, Zuiko 180mm f2, 1/250s f2, ISO200, © Peter Forsgard

    All in all, it was a very exciting experience. Thanks so much, Olympus Finland for lending the lens for this test.

    Below is the video where I share my experience on the lens.

  • Info about the Mentoring Program

    Info about the Mentoring Program

    As you probably heard in my video about personal photo projects I am starting a mentoring program.

    It will be a one on one mentoring in your photography. You do not need to have a project. Mentoring your photography, in general, is also available.

    We will have monthly or weekly skype calls where we go through your images and I will feedback and assignments based on your progress.

    The goal is to get you to be a better photographer. It does not matter what your starting level is, you be just starting or have been making images for many years. The only requirement is that you want to be better.

    I still have a few issues to sort out, like the international tax etc. All that will determine the price of the programs.

    The different programs will be on this site as soon as I can get everything sorted.

    Please subscribe to my weekly newsletter so that you know when the mentoring is available.

    Here is a link to the Photo Project Ideas and why you SHOULD start one! video.