Tag: shutter speed

  • Want to be a Better Photographer 👉 Check out my New Course!

    I know you are reading this because you want to be a photographer. Learning new skills in a craft where you already have some knowledge is fun.

    My new course

    I have just launched a new or actually two new courses on the Retrieve platform. The courses that I have there are Improve Your skills and Know your gear. Both courses can be bought as a bundle at a reduced price.

    Improve you skills

    Like the name indicates in this course we will concentrate on your skills. The course includes lessons about exposure, manual focus, shooting modes, and tips about different things in Photography.

    Know your gear

    Know your gear is all about cameras and lenses. You will learn how the image differs if you are using a wide-angle or a telephoto lens. You might think that it is only about the field of view, but there is more to it.

    How does it work?

    The courses are structured like in many other similar platforms. The content is a mash-up from my YouTube video. Wait a minute? Can’t I get that for free on YouTube? Yes, you can, but if you can wait a minute I will explain.

    The content is searchable from the transcript and with your voice. There is also a possibility to ask questions. There is also a transcript in Spanish. You can also choose to listen to me in Spanish if you prefer. Isn’t great to be able to find that video that you have found useful? On YouTube, it is sometimes impossible to remember where that piece of information was. Retrieve and my course is the answer for some of my videos.

    The best way to see how it works is to watch the video clip below.

    How cool is that!

    If you are interested in this course click this link to get the course.
  • Question YOU NEED TO ASK Before Clicking The Shutter!

    Commonly, we rush to our images. What I mean is that we make images without thinking about the process of making the image.

    aloituskuva.jpg

    In my 🎥 latest video, I go through things you need to ask before clicking the shutter. It is quite a lot. The video was inspired by a blog post on the B&H blog. The blog post was: 30 Questions You Should Ask Before You Take a Photograph. It was a very inspiring blog post.

    There is a lot to think about before clicking the shutter. It starts with the most obvious question: What is the subject?

    Unfortunately, it is not always clear what was photographed. There are a lot of images that have no subject. It’s just because the photographer has not thought about it.

    The second thing is that the image must be photographed to make the subject obvious. You can do some things when photographing to ensure the subject is obvious.

    Those things are Light, Composition, and controlling the depth of field—more about these in my latest video.

    B&H blog post had 30 questions, but it can be reduced to 3 things. What, Why, and How. Those three questions are important. Do not make the image if you cannot answer those three questions. Most likely, it won’t be exciting.

    Always think about what to photograph, why you photograph it, and how to photograph it so that the subject is obvious. That will make your images a lot more interesting. You will be better.

  • Mastering Exposure – [3 Tips to Get the Right EXPOSURE]

    Mastering Exposure – [3 Tips to Get the Right EXPOSURE]

    Getting your exposure correct is one of the most important things if you want your image quality to be the best possible. Of course, a great image is more than just exposure, but it is an important thing.

    3 tips for better exposure

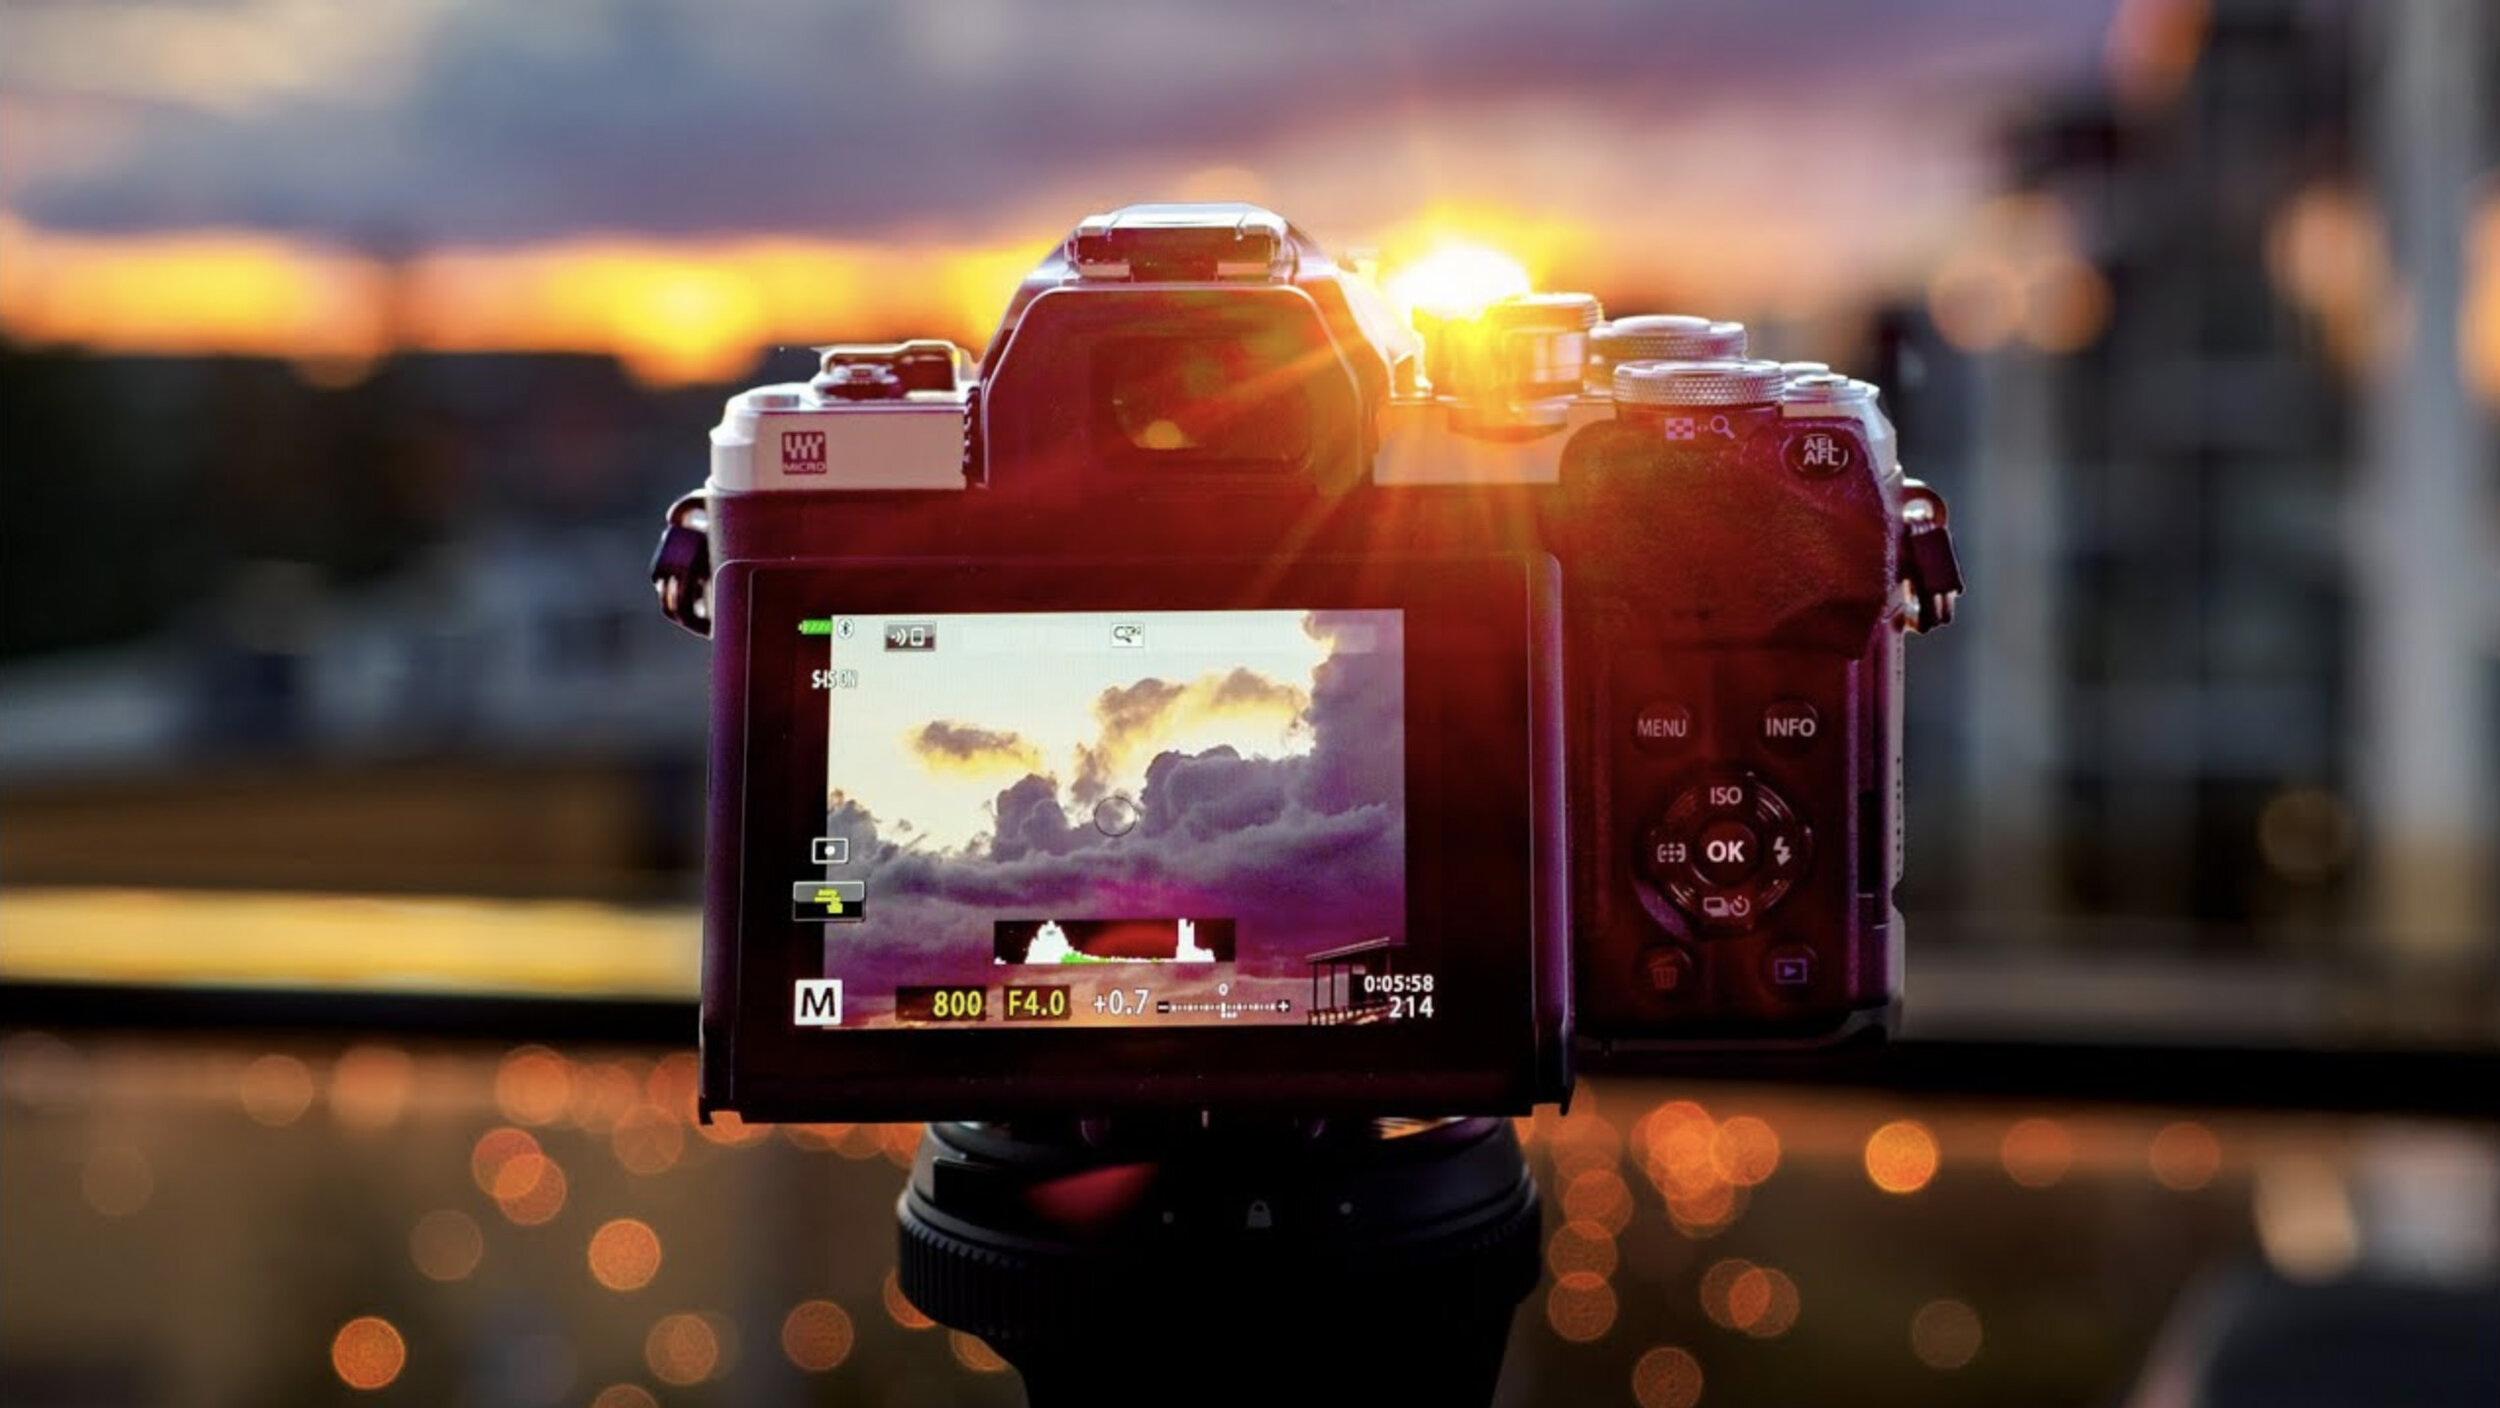
    The first tip is to learn the way your camera makes the exposure. What I mean by that is the different metering modes. Learn the different metering modes to get the best exposure.

    image_001.jpg

    The second tip is to use raw and ETTR. Using raw you have the possibility to expose to the right. The reason to use ETTR (Exposure to the Right) is that then the sensor is capturing the most amount of data. The image quality is the best possible. The reason for that is the way the sensor captures data. There is more information in the highlights than there is in the shadow areas.

    An image that is exposed using ETTR will look a bit washed out. It is too bright. The image needs post-production. Lowering the exposure and highlights will make the image better looking.

    This only works for raw and should not be used when shooting jpegs.

    When using ETTR it is crucial that you do not clip the highlights like always, no matter what the exposure method is.

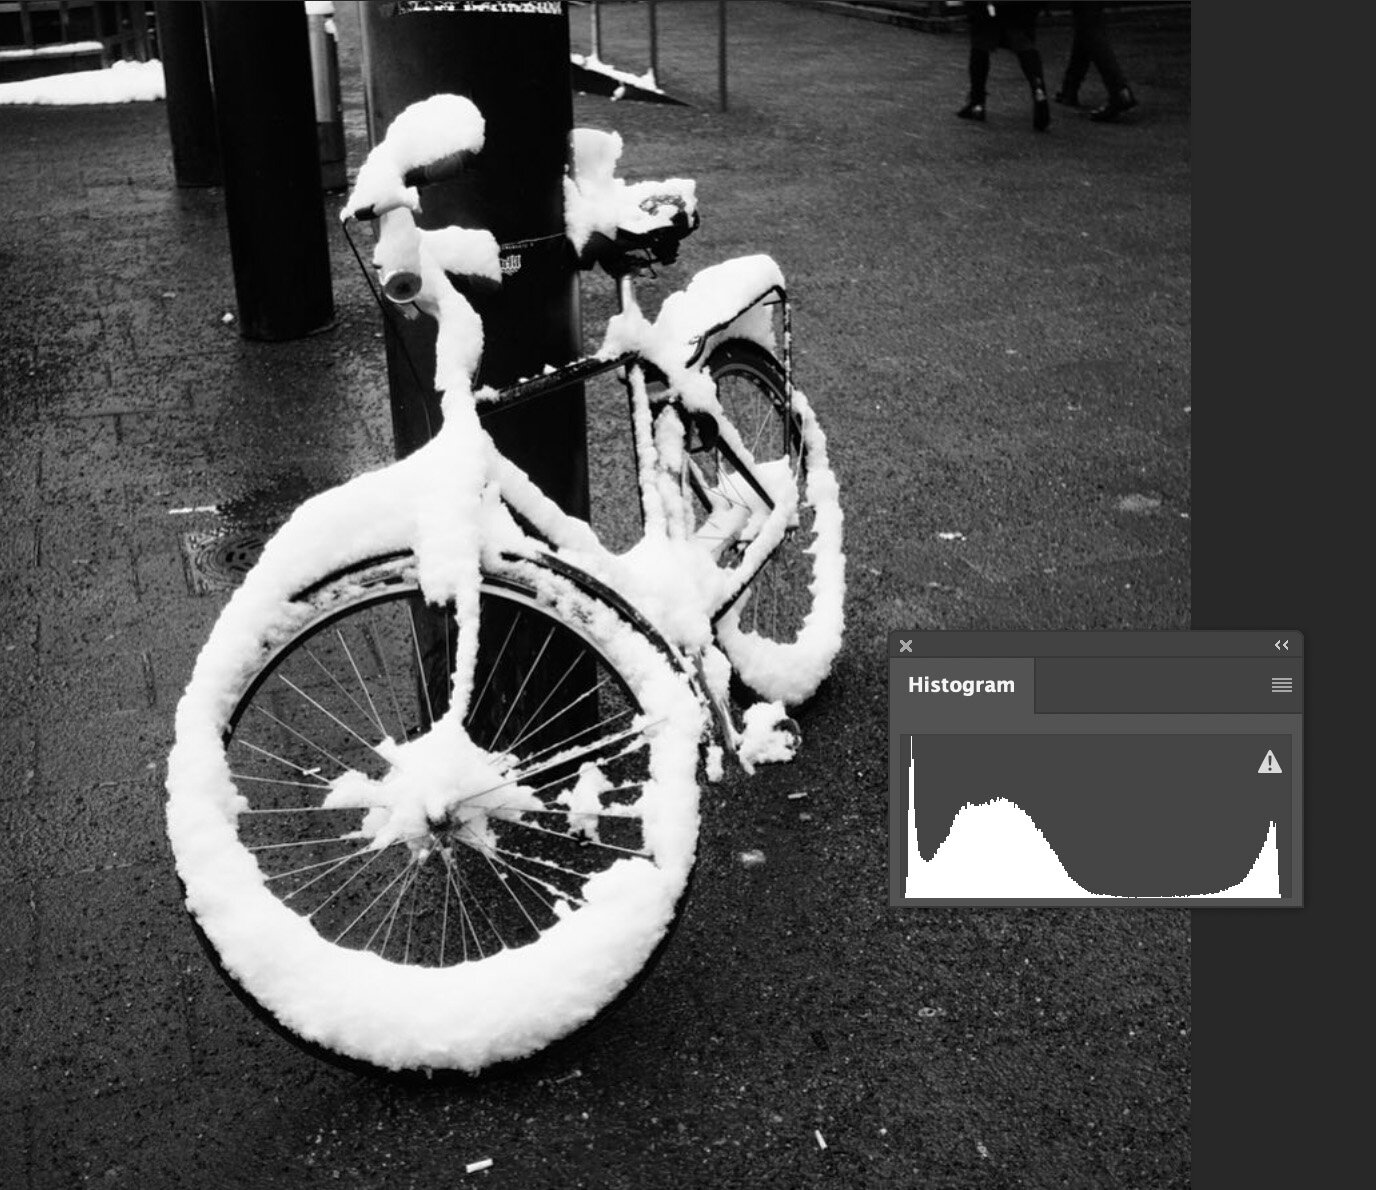
    Usually, an image that has been photographed using ETTR has most of the info on the right side of the histogram. But if you have an image where you have a white bird and a dark background will have a lot of info on the shadow. The histogram looks like the image is exposed to the left. But it still can be an ETTR image. It depends on where the brightest spot is on the histogram. If it is just on the histogram value 254-255 then it is ETTR.

    This is an example of an image that is ETTR even though the histogram might not look like it. As you see the snow on the bike is not over exposed. The whites pixel is around 254.
    This is an example of an image that is ETTR even though the histogram might not look like it. As you see the snow on the bike is not over exposed. The whites pixel is around 254.

    The third tip is to use Exposure Bracketing. This is very handy when you use jpg as your file format. This is the way to make sure you have the best possible exposure for your jpg. Having 5 or 3 different exposure from the same scene will help you get the perfect shot.

    More tips on my video about Mastering Exposure.