

Peter Forsgård

photographer

  • Simple Tricks with Forced Perspective in Photography

    Forced perspective is a fun way to take pictures that make things look different than they are. It makes small things look big and big things look small. It’s like magic but with a camera! Let’s learn about this cool way of taking pictures.

    What is Forced Perspective?

    Long ago, people in movies and plays started using forced perspectives to make things look bigger or smaller. An excellent example of this is the Lord of The Rings movies. It’s like seeing a movie character who looks like a giant or very tiny, but they are not. You can do this in photos, too. You can make a toy look as big as a house or make yourself look as small as an ant!

    How Does it Work?

    Forced perspective is about tricking our eyes. When you put something close to the camera and something far away but line them up perfectly, they look like they are the same size. It’s all about where you stand and where you put your camera.

    Tips for Taking These Fun Photos:

    1. Think First: Consider what you want to show before taking a photo. Where will things be in your picture?

    2. Move Around: Try standing in different spots and moving your camera. Small changes can make a big difference.

    3. Good Light is Important: Make sure your light is the same on both the front and back things in your photo.

    4. Use Toys and Other Things: You can use toys, food, or anything you like to make fun pictures.

    5. Be Patient: Sometimes, you must try many times to get the perfect photo. Don’t give up!

    Conclusion:

    Forced perspective is a great way to have fun with photos. You don’t need to be a pro; you can do it with any camera, even your phone. Try it out and see what cool pictures you can create! I realized that I have never really done any forced perspective photos myself. Need to fix that this week!
  • Capturing Beauty in Decay

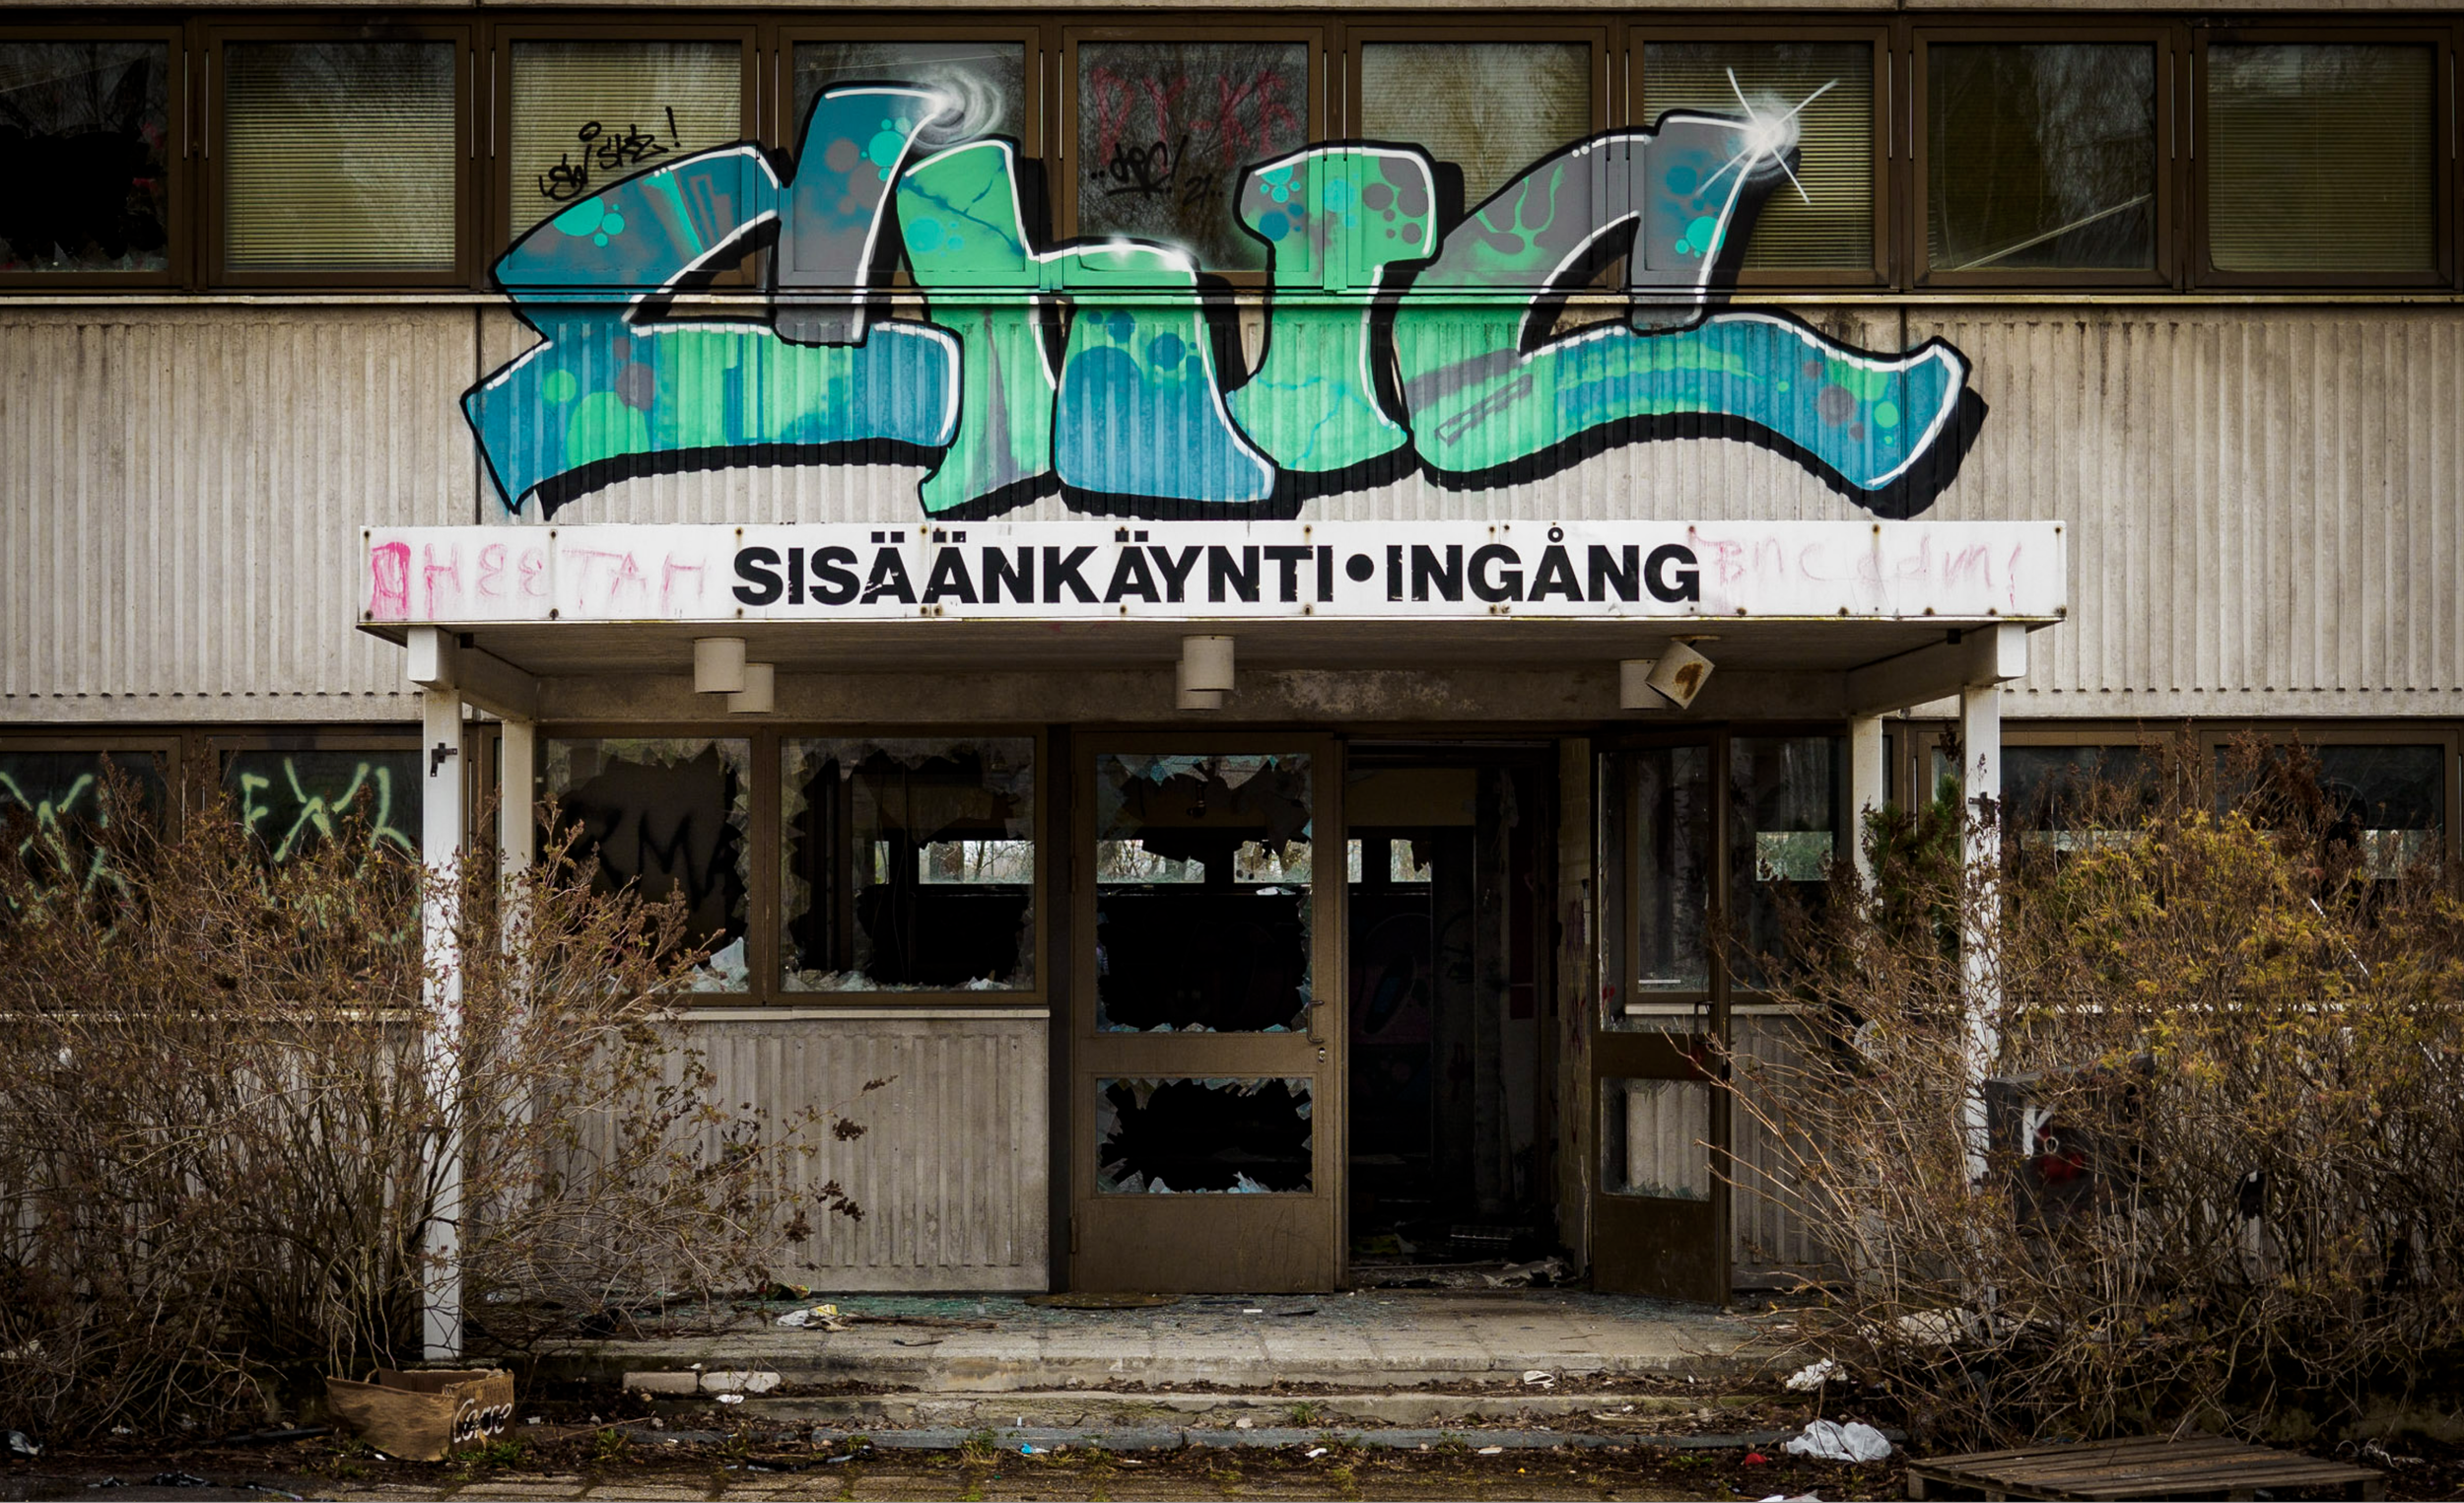
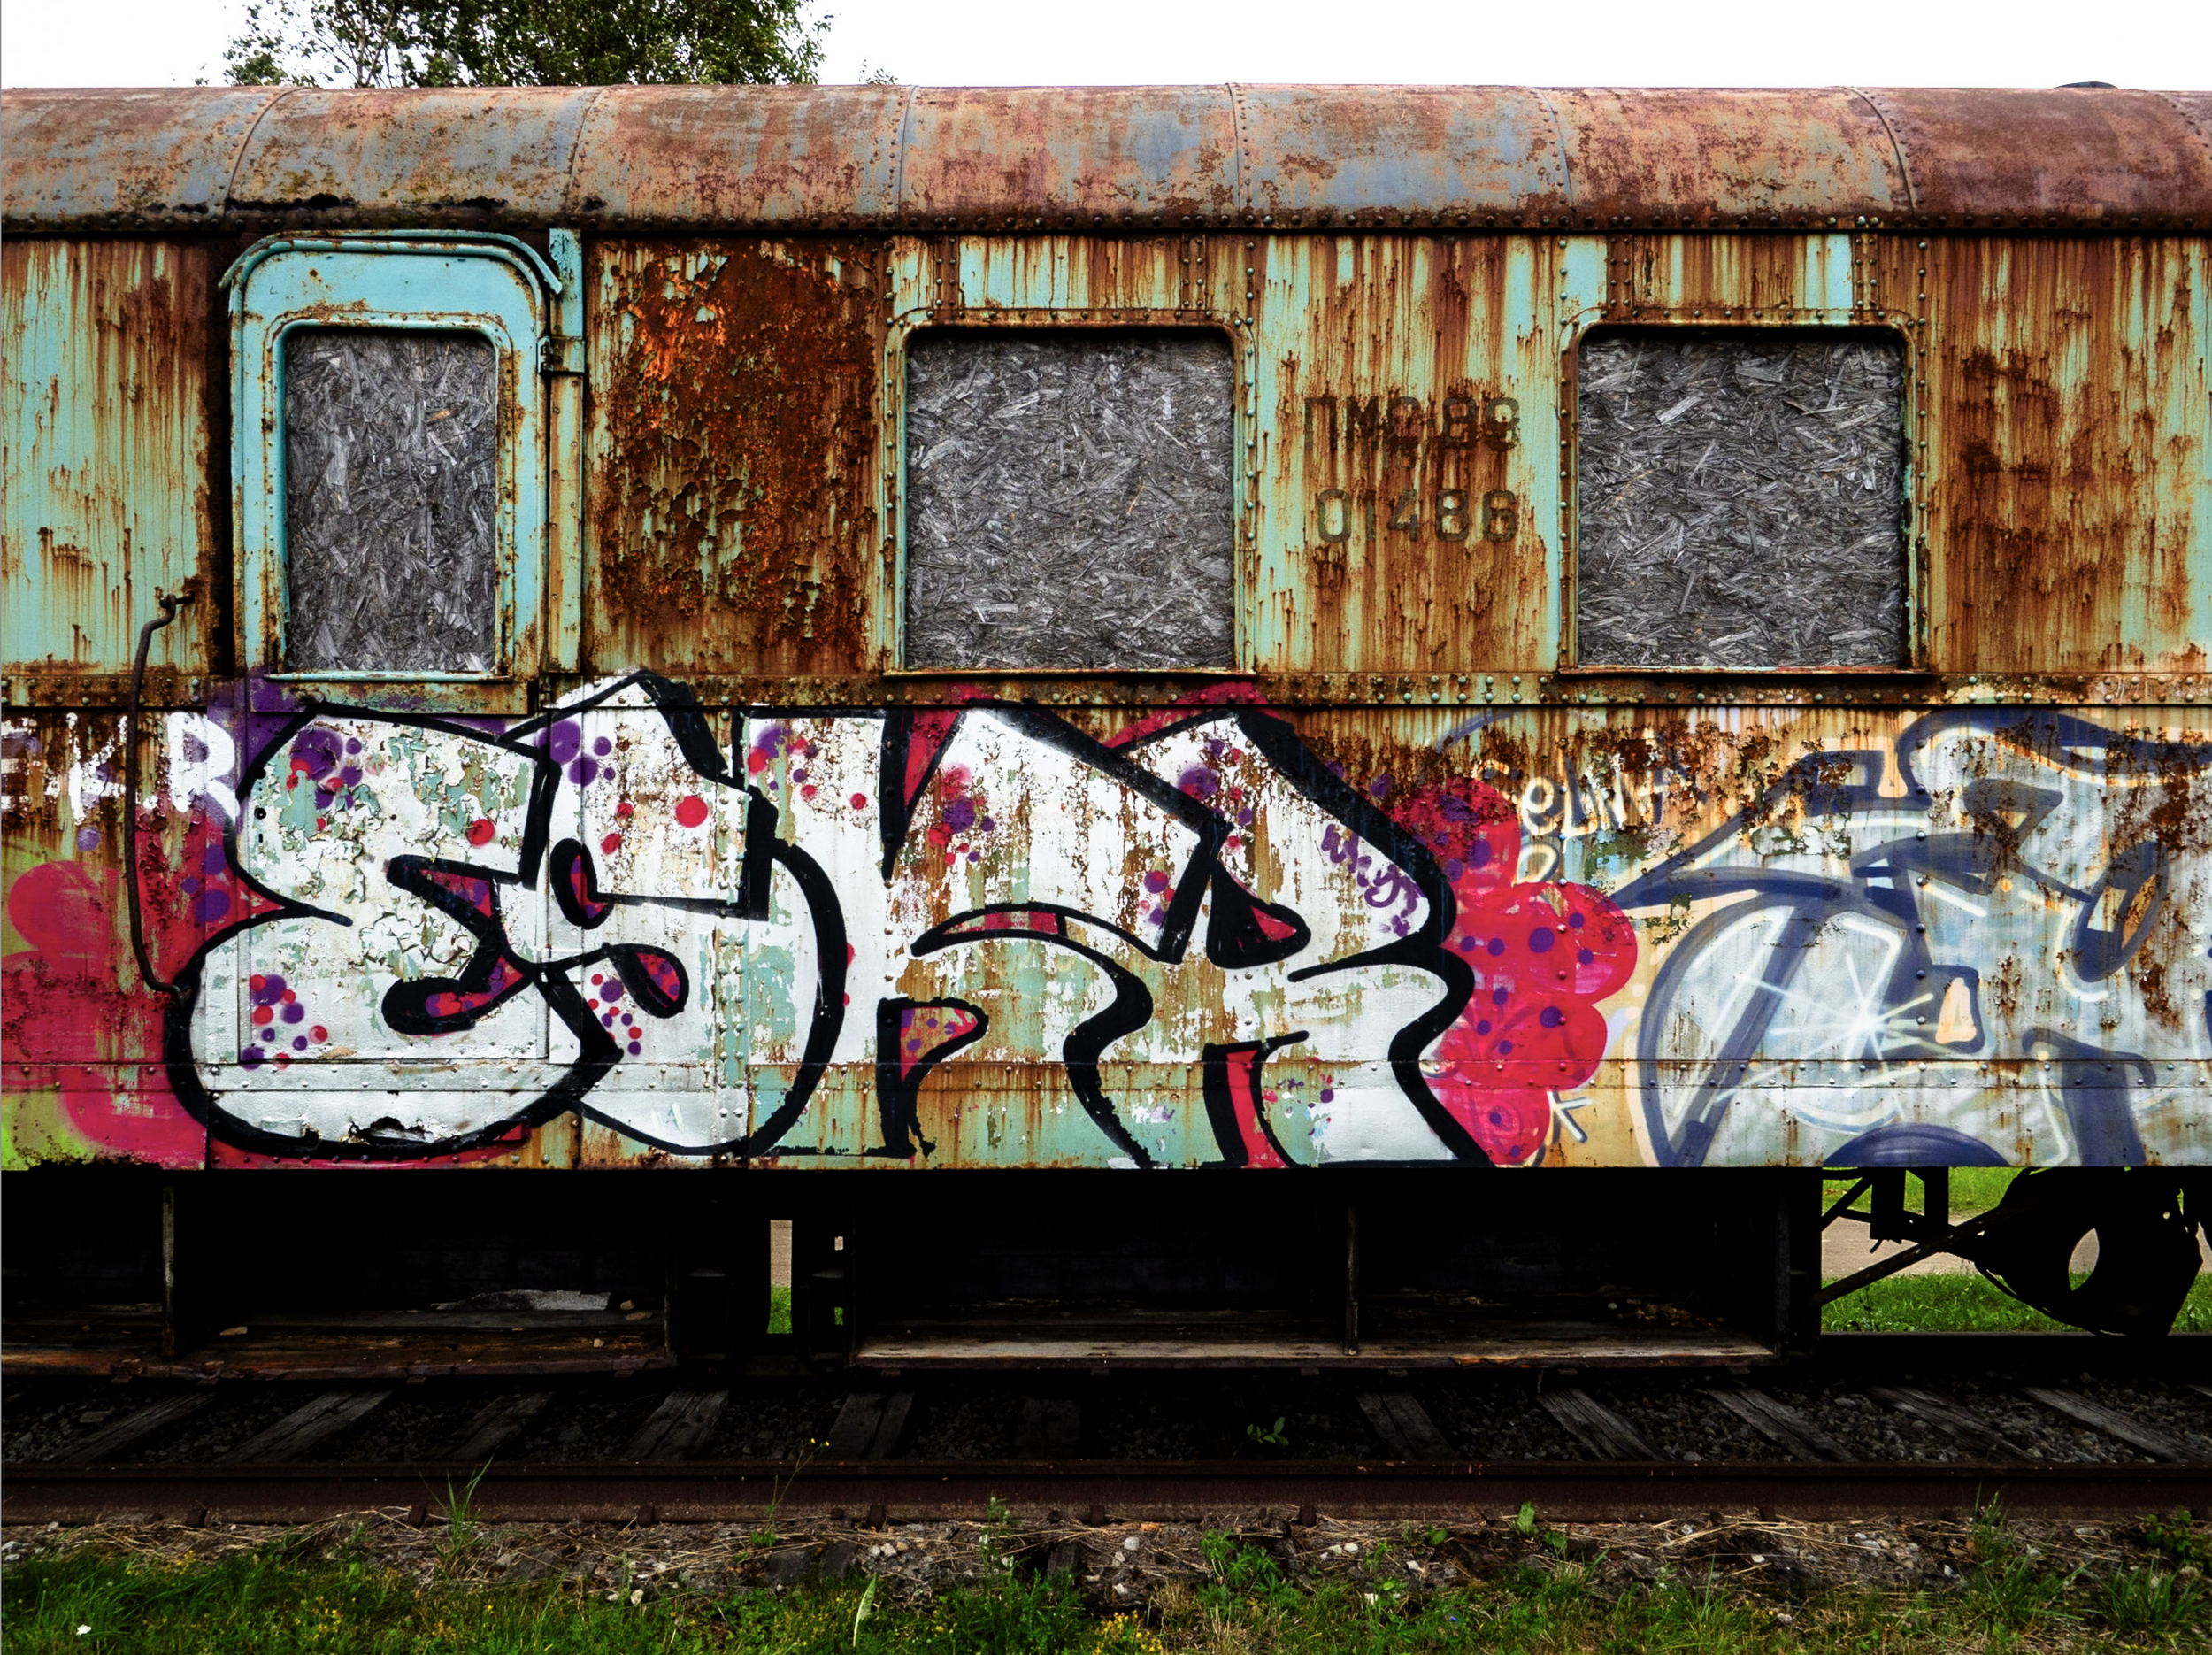
    Decay may not be the first thing that comes to mind when you think about photography. It offers a unique and intriguing opportunity to explore the passage of time, transformation, and profound beauty in the most unlikely places.

    This blog post will delve into the art of photographing decay, offering tips and insights to help you capture the essence of aging and deterioration in your images. Decay is the assignment for week 5 in 52 Assignments. If you are new to it, here is a link to my video about it.


    Endless supply of subjects

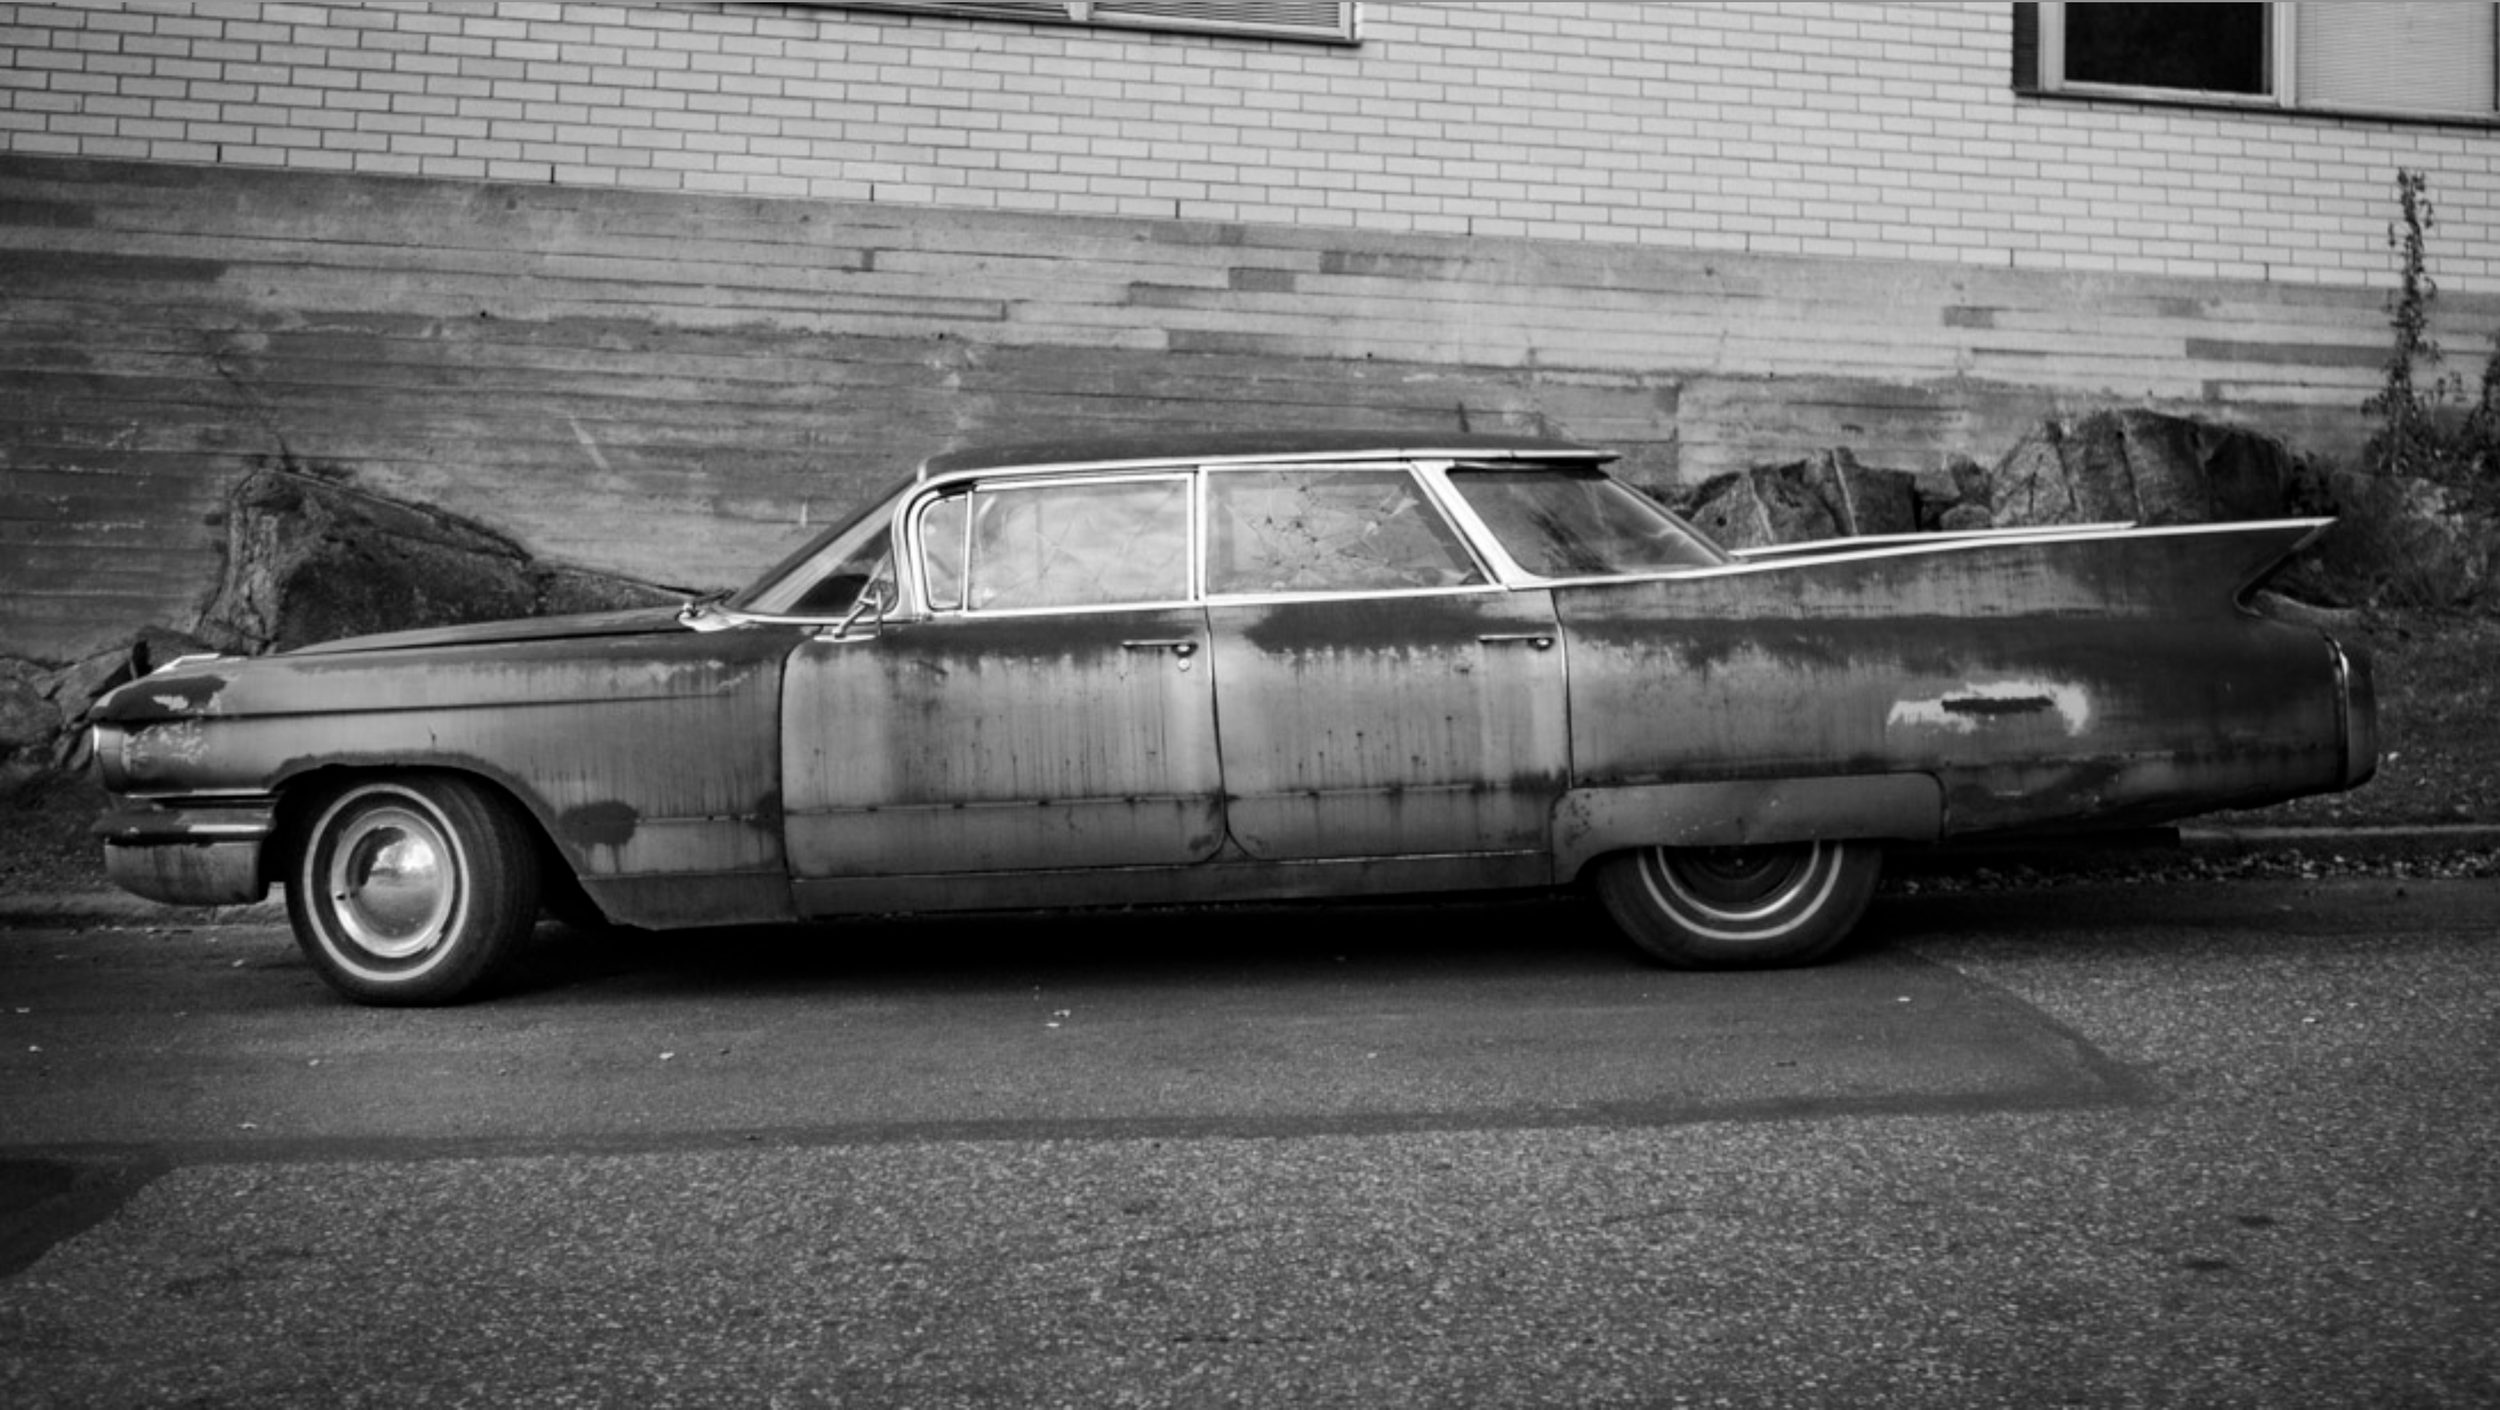
    When it comes to photographing decay, there are endless possibilities for subjects. Abandoned buildings, rusted cars, decaying leaves, or weathered sculptures can all be excellent subjects. Each offers its unique story and aesthetic, so selecting subjects that resonate with you personally is essential.


    Study the Details

    Decay often presents intricate and fascinating details that can be easily overlooked. Before you start shooting, take the time to observe your subject closely. Look for textures, patterns, and the interplay of light and shadow. These details can add depth and richness to your photographs.


    Embrace the Patina

    Decay often results in a patina of age that adds character to your subject. Whether it’s the peeling paint on an old barn or the rust on a forgotten bicycle, these signs of aging can be incredibly photogenic. Don’t be afraid to get up close and personal to capture the patina in all its glory.


    Play with Lighting

    Lighting is always a critical element in photography, and it can significantly impact how decay is portrayed in your images. Experiment with different lighting conditions, such as soft natural light, dramatic shadows, or artificial lighting, to create your desired mood. Backlighting can be particularly effective in highlighting textures and emphasizing the decayed elements.


    Use Depth of Field to Your Advantage

    Controlling depth of field is crucial in photographing decay. A shallow depth of field can isolate the decaying elements and blur the background, drawing attention to the details you want to emphasize. Conversely, a deep depth of field can bring the entire scene into focus, allowing viewers to appreciate the context and setting.

    Tell a Story

    While individual decayed objects can be visually stunning, they become even more compelling when they are part of a larger narrative. Consider the history of your subject and its place in the world. What stories does it tell? Try to convey these narratives through your photographs, adding depth and meaning to your work.

    Conclusion

    Photographing decay is a unique and rewarding endeavor that allows you to explore the aesthetics of aging, transformation, and the unexpected beauty of deterioration. By carefully selecting your subjects, paying attention to details, mastering lighting, and using post-processing techniques effectively, you can create captivating images that tell stories of time’s passage and the enduring allure of decay.


  • The Art of Seeing: Capturing Abstract Textures in Photography

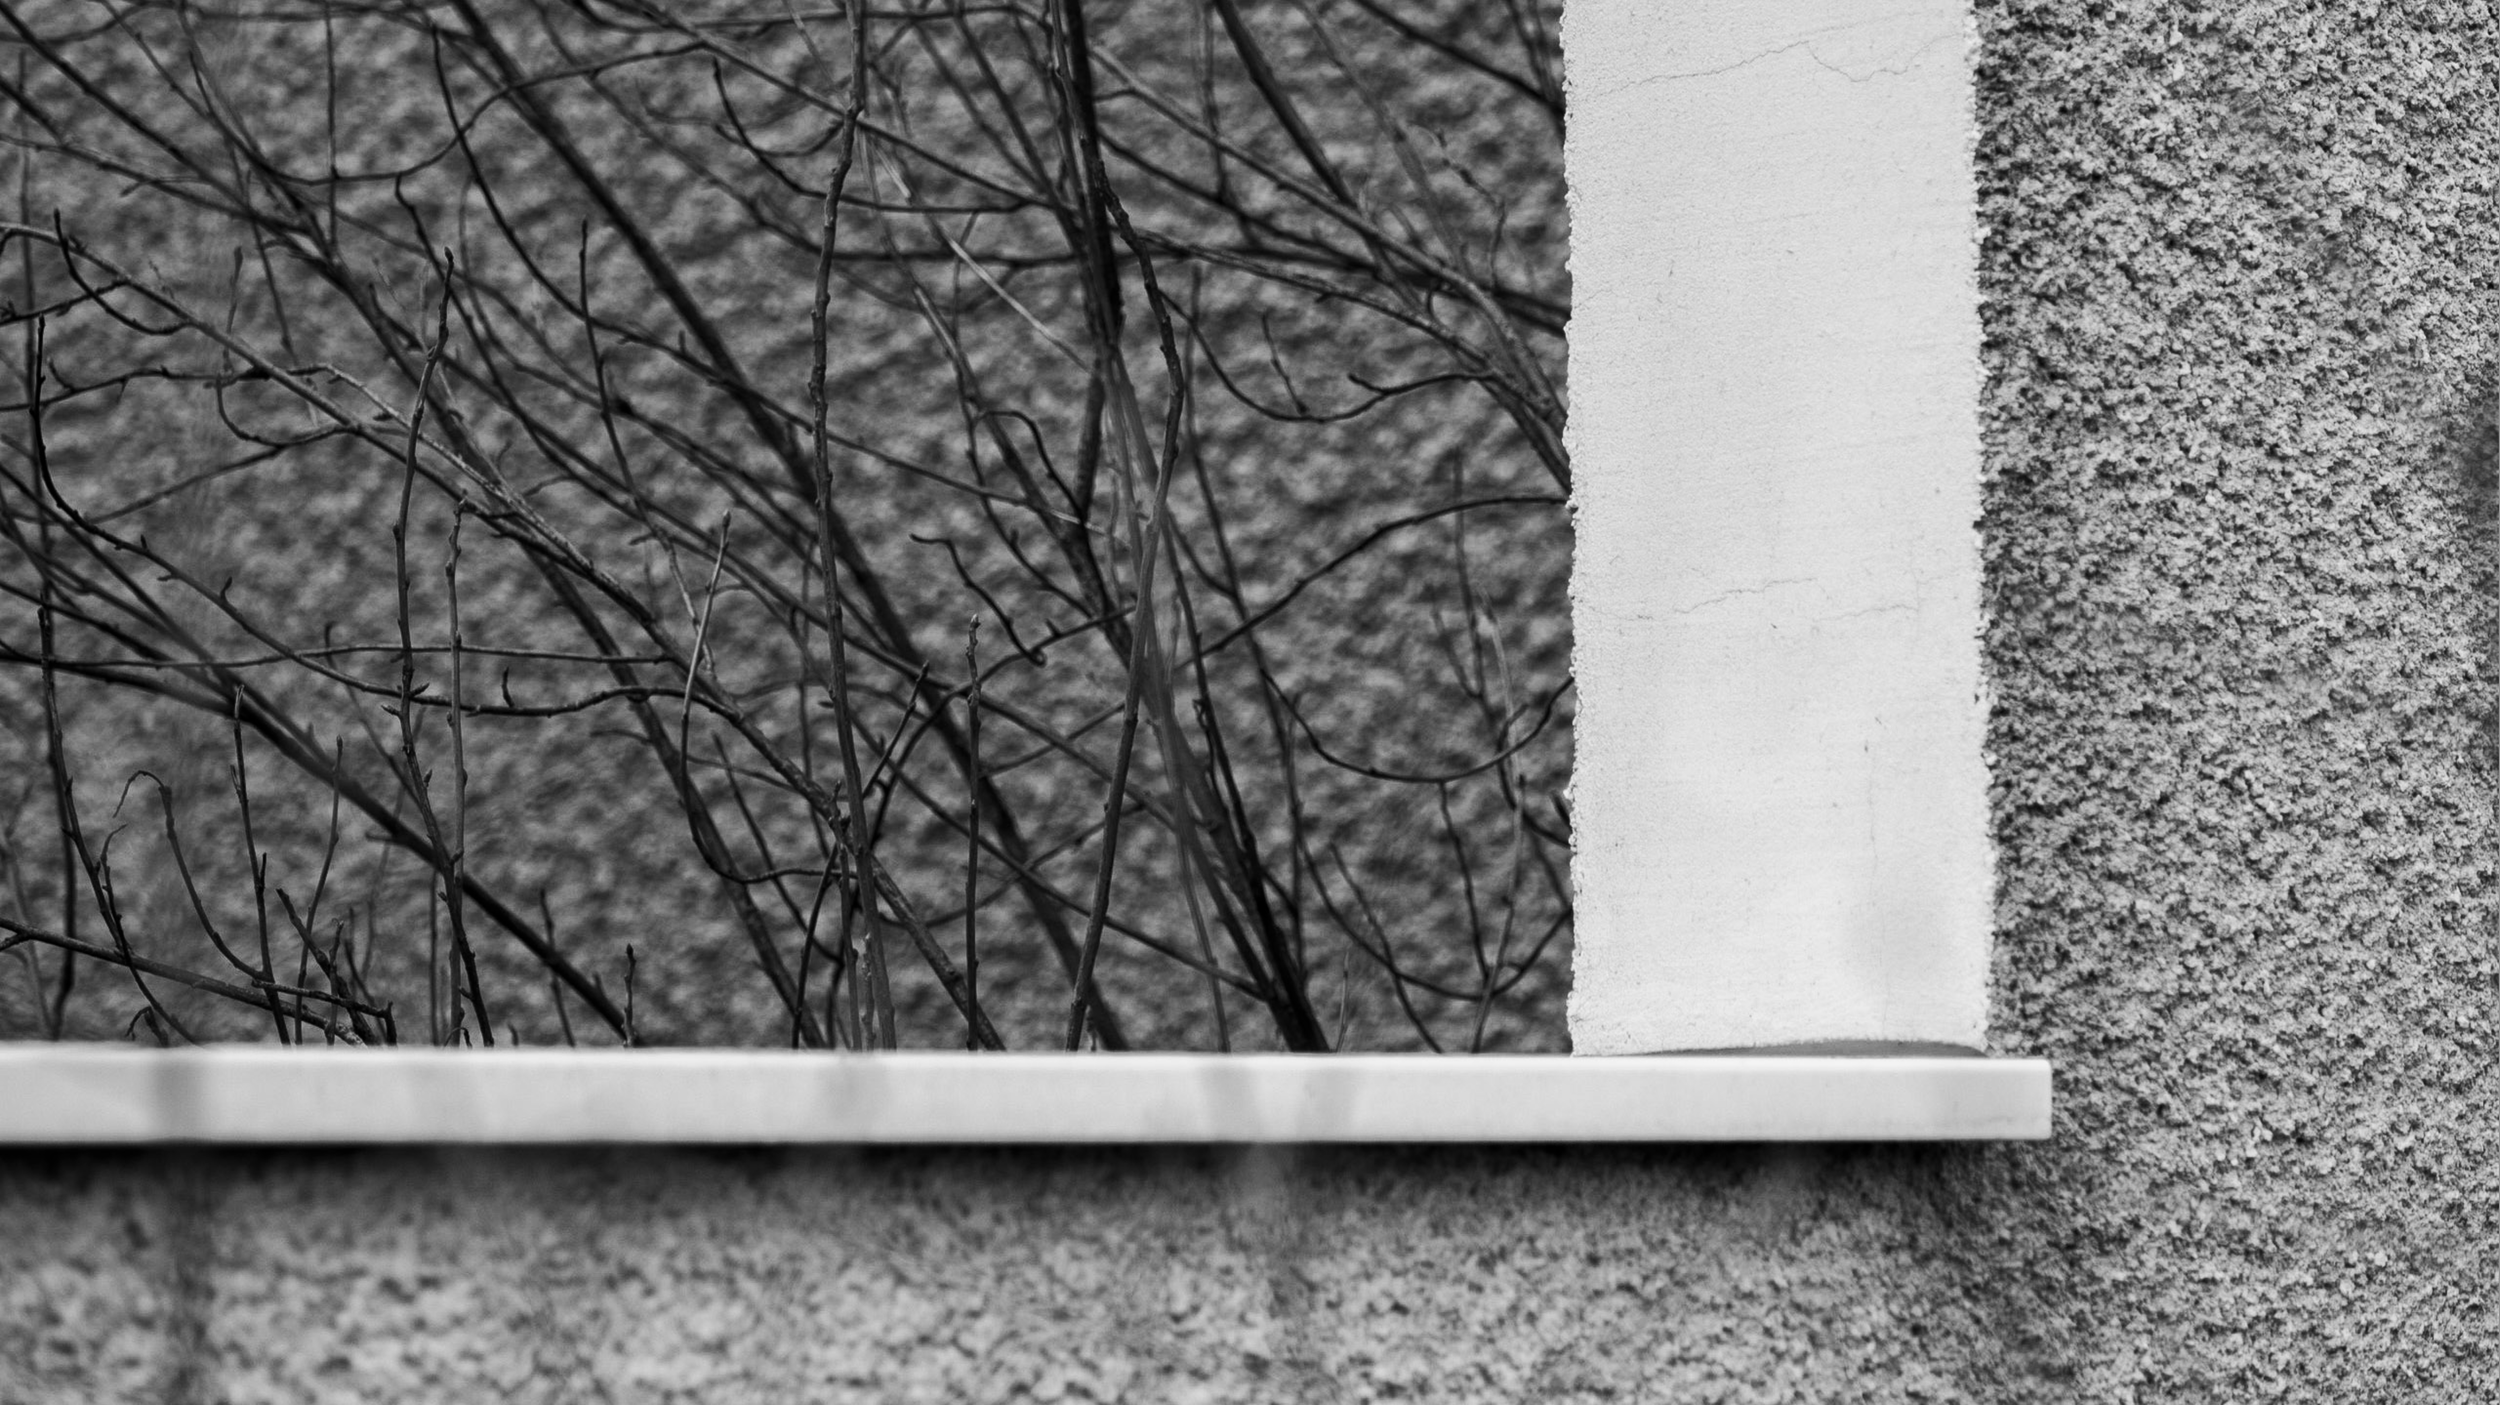
    Photography is not just about capturing what we see; it’s about revealing how we see. Abstract texture photography does exactly that, transforming ordinary surfaces into extraordinary images. This focuses on the patterns, colors, and textures that make up our world, turning them into captivating visuals.

    What is Abstract Texture Photography?

    Abstract texture photography isolates patterns, textures, and forms, often removing them from their familiar context. This form of photography can turn the mundane into the magnificent, emphasizing the beauty in details often overlooked.

    Tips for Capturing Abstract Textures

    1. Look for Patterns and Textures: Explore your environment for interesting patterns and textures – rust on metal, peeling paint, reflections in water, or shadows on a wall.

    2. Play with Light: Observe how different lighting conditions affect textures. Side lighting can enhance texture, while backlighting can create silhouettes and shadows.

    3. Get Close: Use macro lenses or zoom in to fill the frame with texture.

    4. Composition Matters: Even in abstract work, composition is key. Experiment with different compositions to find the most visually appealing arrangement.

    5. Experiment with Angles: Shooting from different angles can completely change the way a texture appears.


    Creative Exploration

    • Mixing Elements: Combine various elements like water, metal, wood, and fabric to create layered images.

    • Post-Processing: Experiment with color adjustments, contrast, and filters to enhance or alter the texture.

    • Abstract Portraiture: Use textures in combination with portraits for a unique twist.


    Challenges and Solutions

    • Finding Subjects: Look beyond the obvious. Textures are everywhere – it’s about how you see them. Notice things around you.

    • Overwhelm in Details: Focus on one element at a time to avoid clutter.

    • Lighting Issues: Use reflectors or diffusers to manage harsh lighting.


    Conclusion

    Abstract texture photography invites us to look closer, to appreciate the art hidden in the details of our everyday world. It challenges photographers to reinterpret their surroundings, transforming the ordinary into extraordinary works of art. With a curious eye and a creative mind, the world of textures is yours to capture.