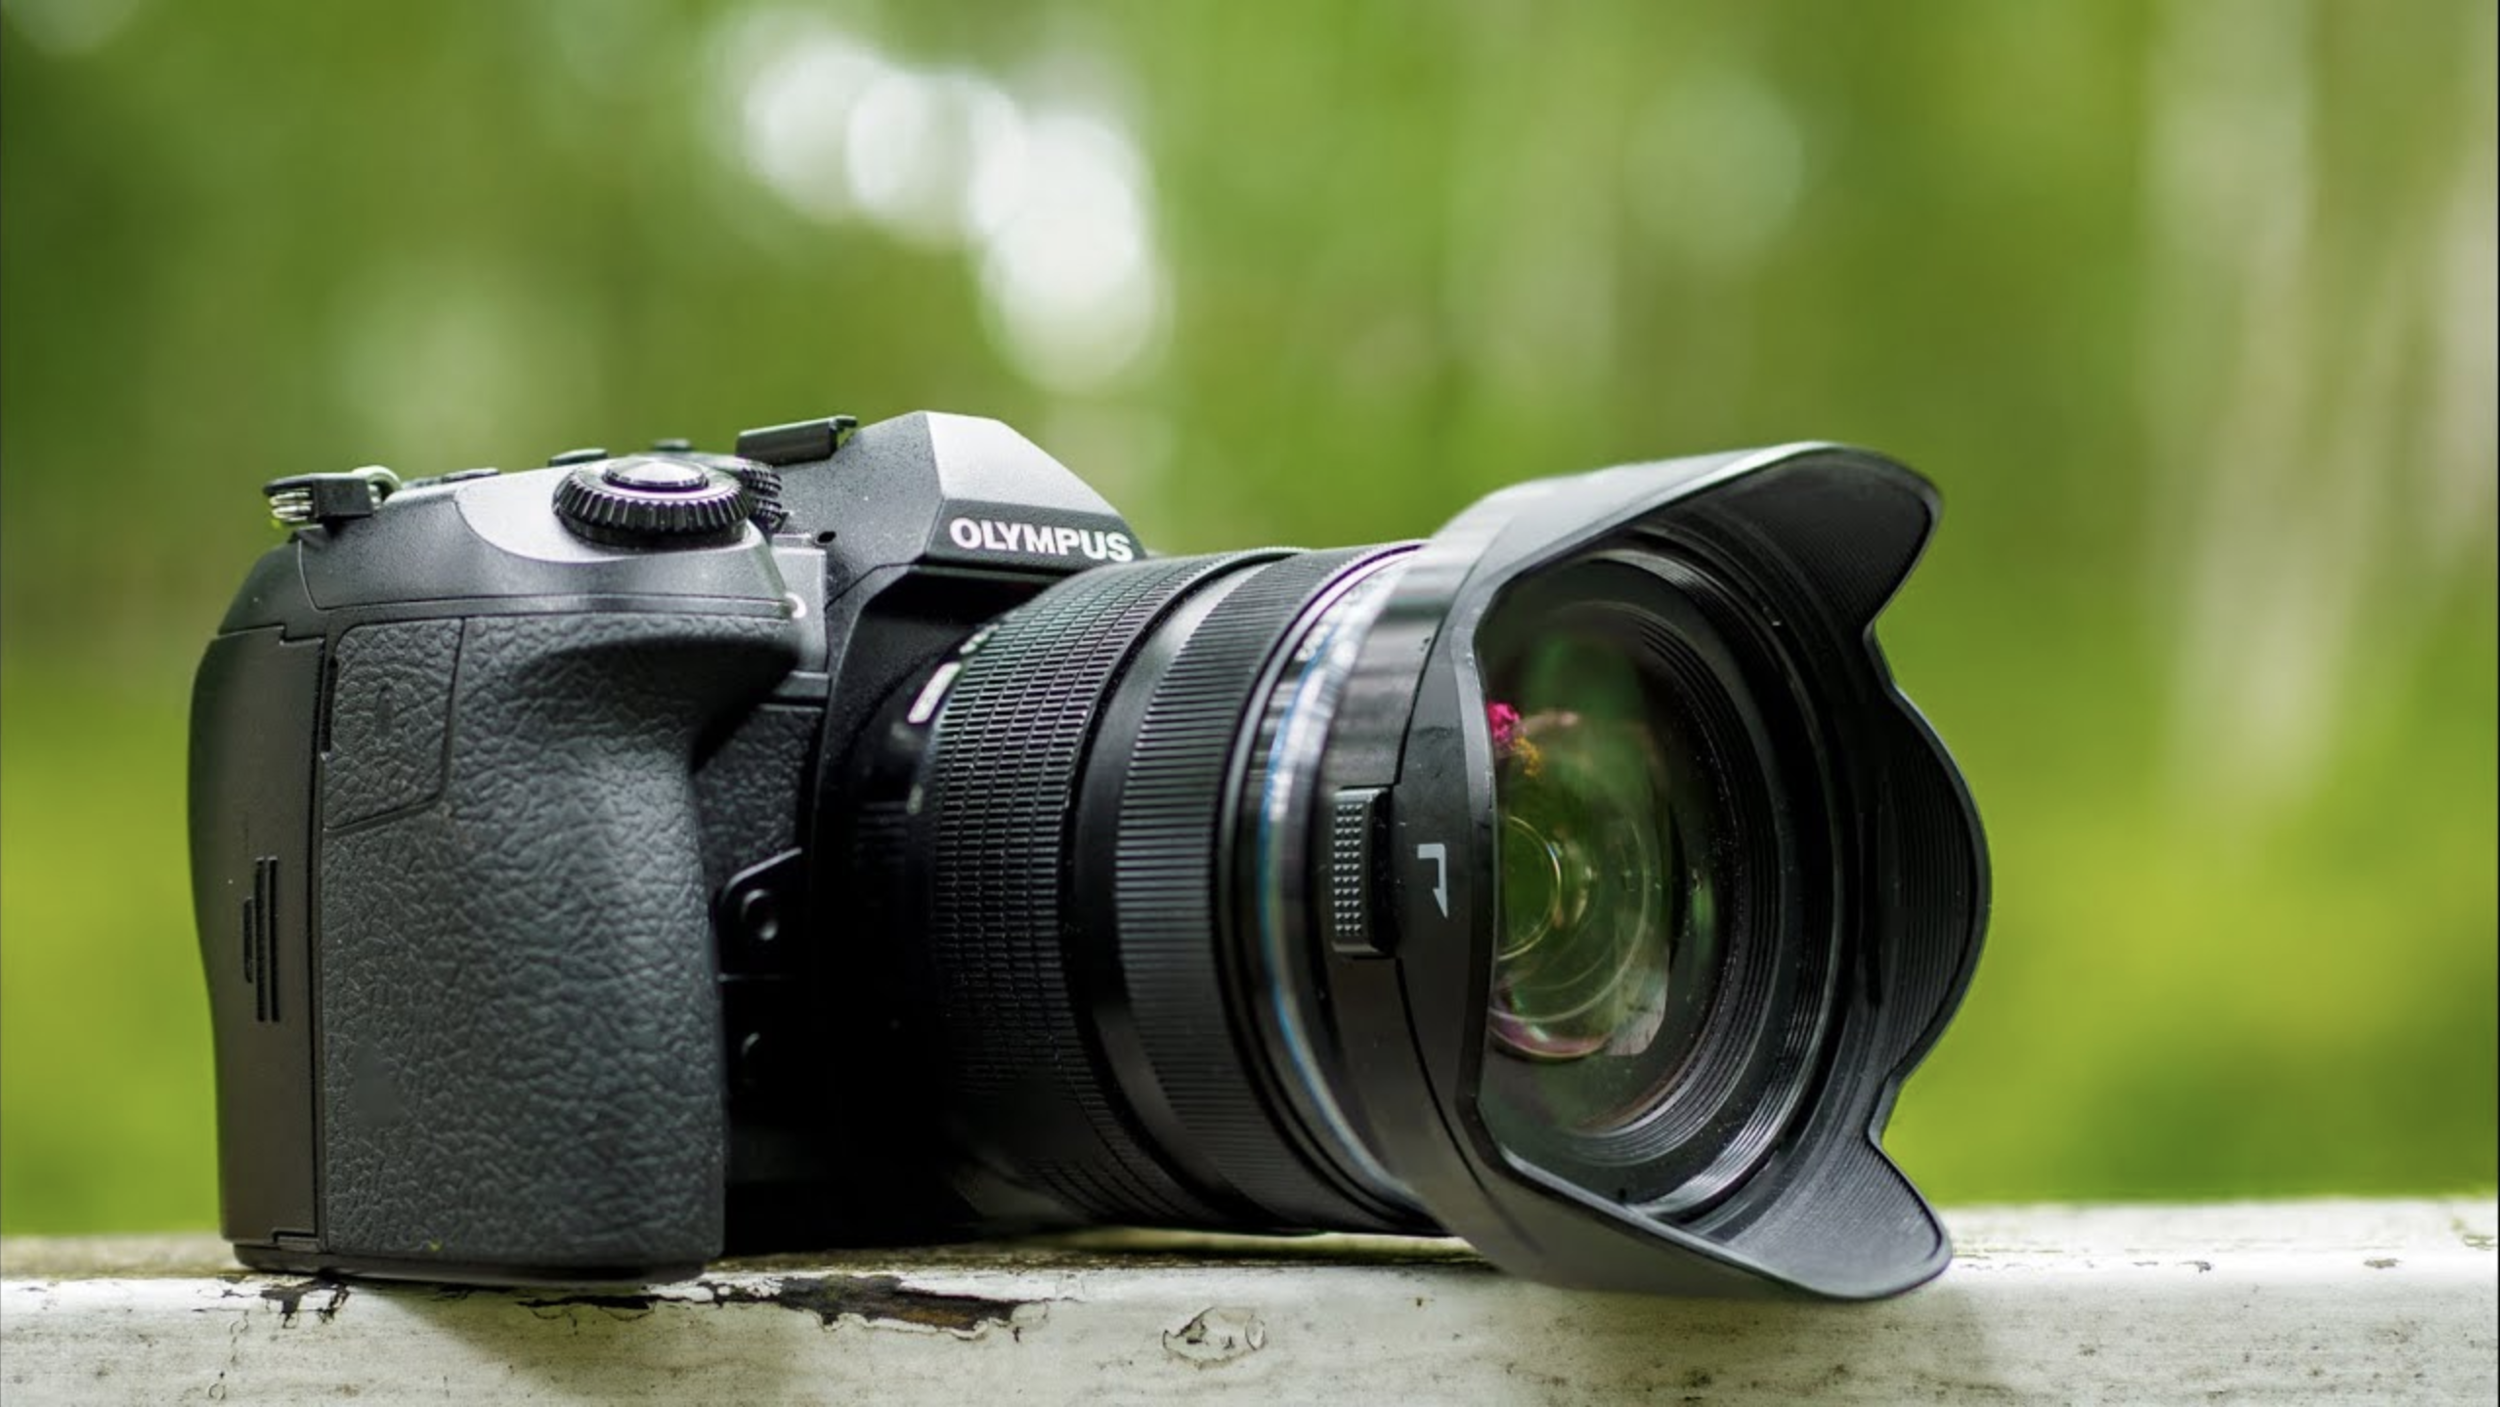
In this sponsored video about the E-M1 MKII 12-40 f2.8 PRO KIT I go trough the most important things to consider if you are planning to get this great combo with this great deal.
Always when people are talking about lenses sharpness comes up. How sharp is it? That is a ubiquitous question. I understand that image sharpness is essential in many cases. Client work is one example. Presenting unsharp images to a client might be the last time you present images to that particular client unless the unsharpness is the style agreed on in the brief before the photoshoot.
What do I mean about unsharp? It is not slightly out-of-focus images, but it is intentionally soft images where softness is a big part of the story.
What can you do to make sure that you get sharp images?
1. Use quality lenses
The first thing to do is to use quality lenses. Unfortunately, sharp lenses are more expensive than unsharp lenses. But then, of course, we must consider where those images are being published. The bigger the print, the better the lens (and camera) should be. But if the images are for, let’s say, shared Instagram, then the sharpness can be a bit less. Of course, sharpness can be important on Instagram, too. However, when images are published on social media, slightly out-of-focus images look sharp. The photos are pretty small when viewed on social media on a mobile phone.
2. Use image stabilizer
Modern cameras have excellent image stabilizers. The most common is the so-called IBIS, an in-body image stabilizer. The sensor moves and reduces image shake. That will help you achieve sharp images even with longer shutter speeds. Several-second shutter speeds are no problem with modern cameras. Gone are those days when the fastest shutter speed that could be used without the fear of a camera shake was equal to the focal length you used. If you had a standard lens like 50mm on your SLR, the fastest safe shutter speed was about 1/60s.
3. Know your cameras focusing method
It is essential to know your camera. The focusing method of your camera is one of the things that is good to know. Most modern lenses have autofocus. That is a good start. Choose the focusing point/points that you need to use. You should be okay in most cases, and the autofocus works perfectly. It is also a good thing to learn manual focus. Modern cameras have helped with that. Focus peaking and magnifying are suitable methods to get help from the camera. Learn your camera and see if your camera has focus peaking and/or magnification.
4. Have a firm grip when photographing
Holding the camera properly and having a steady body when making images it will help a lot. A lot of camera shake happens when you are not holding the camera properly when pressing the shutter. So, having a good grip when pressing the shutter button is essential.
When choosing a camera, you must test how it feels in your hand. The feel is, in many ways, more important than one other particular feature in a camera. Get a camera that feels good in your hand rather than choose it because it has a slightly faster image per the second number.
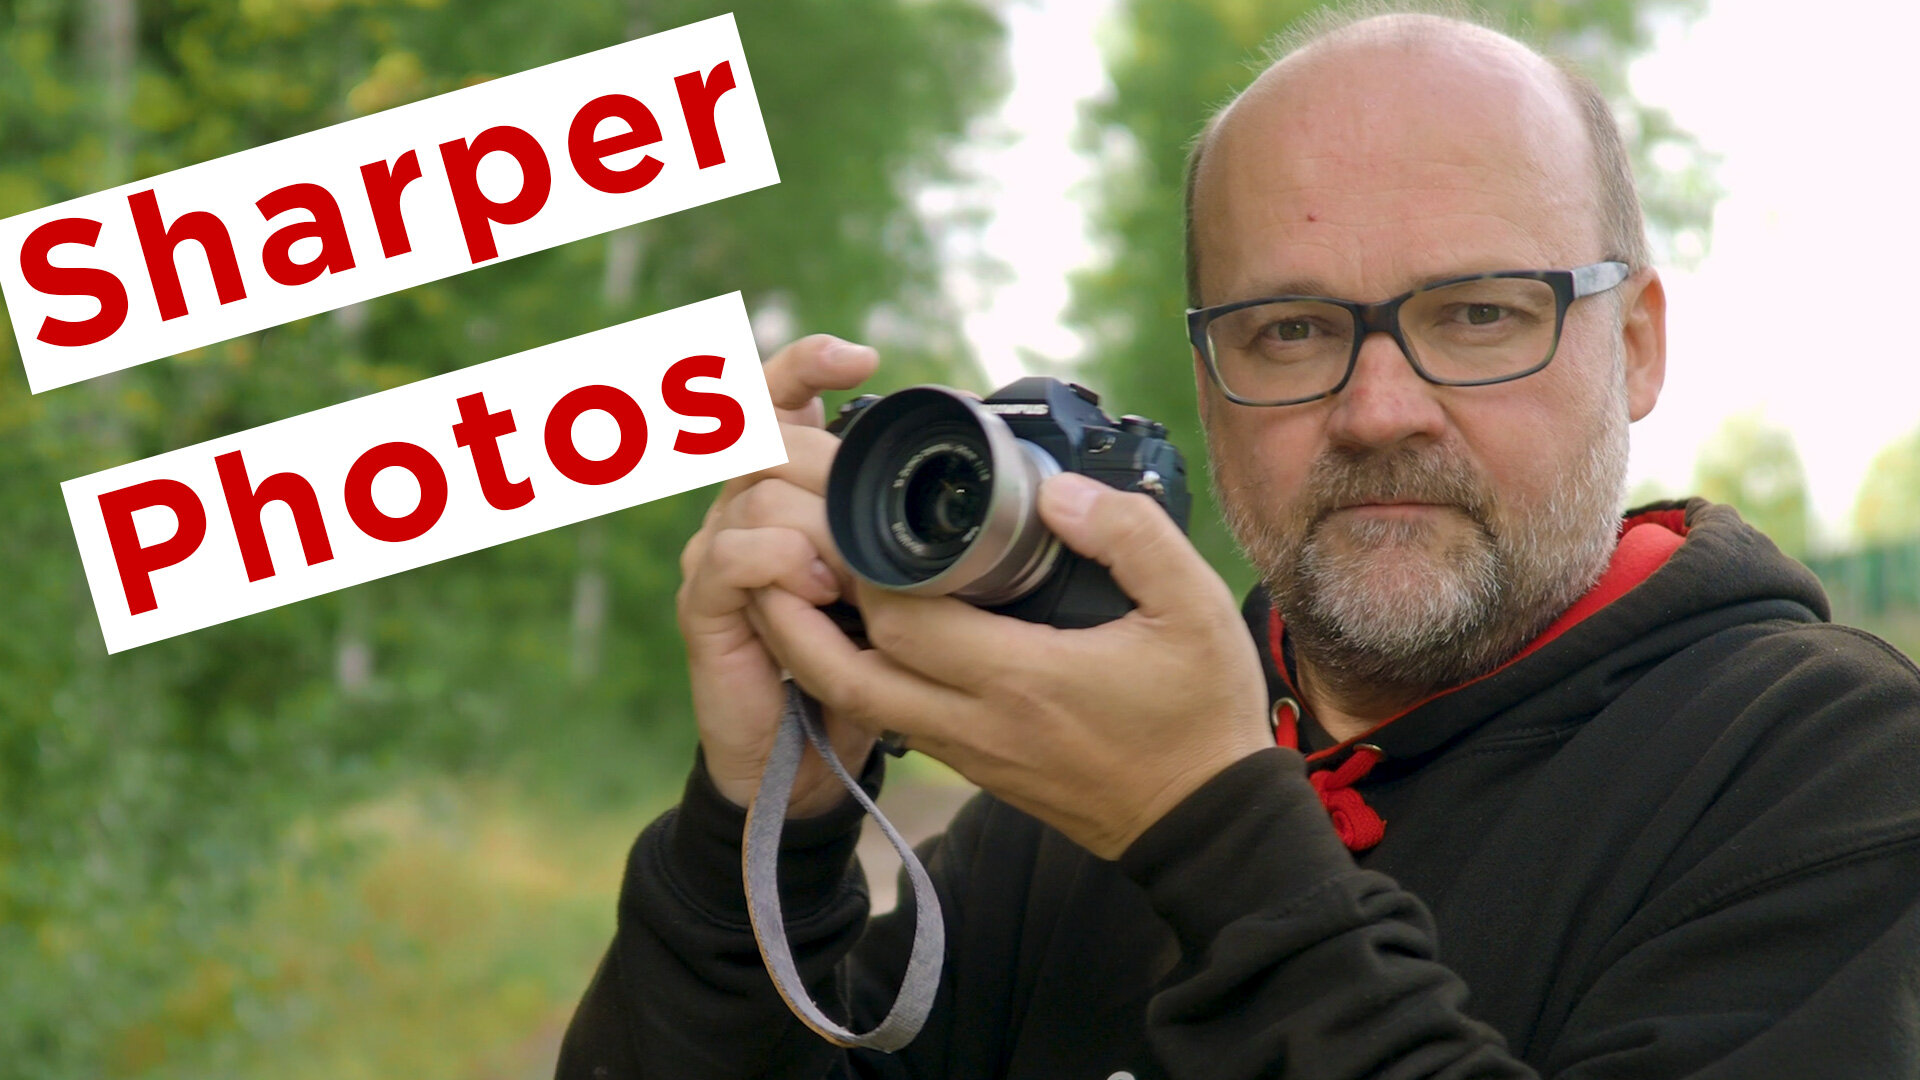
In the video at the beginning of this blog post are more tips about getting sharper images.
Do you have any tips of your own about getting sharper images?
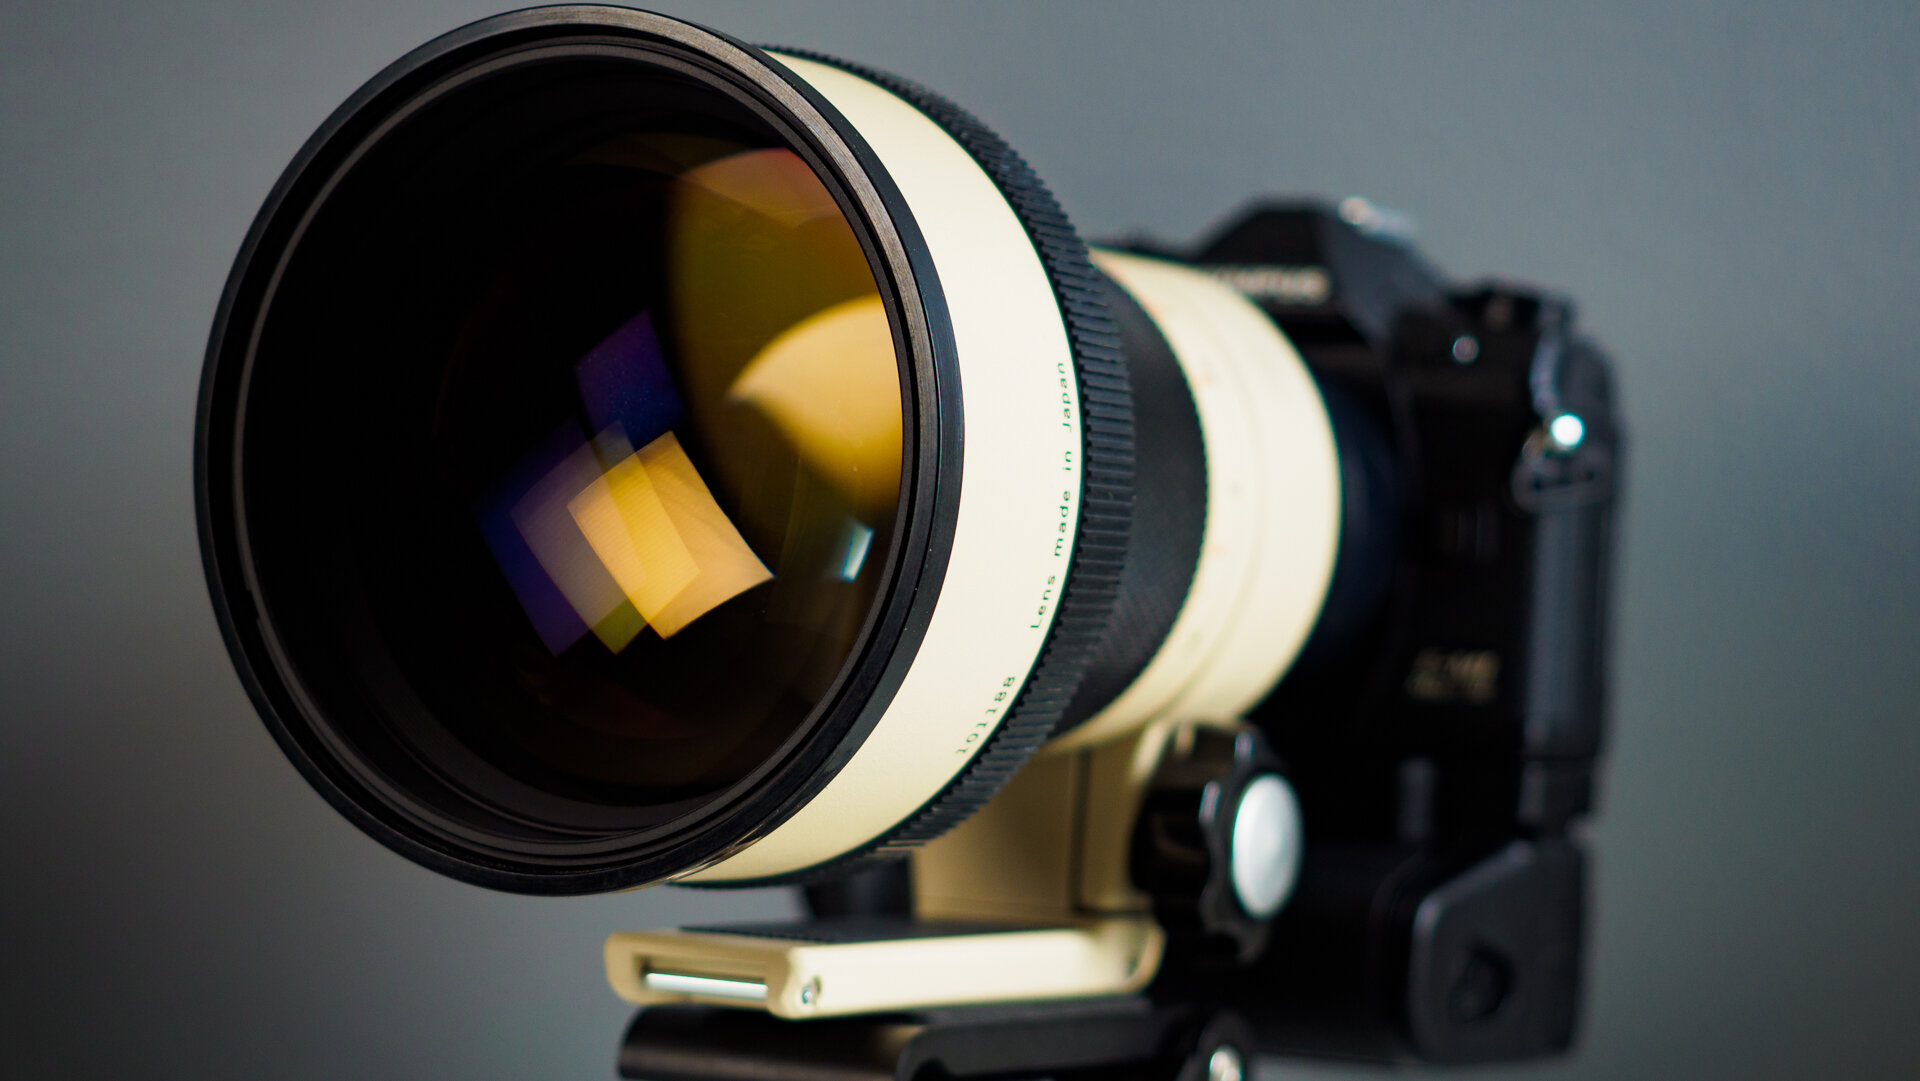
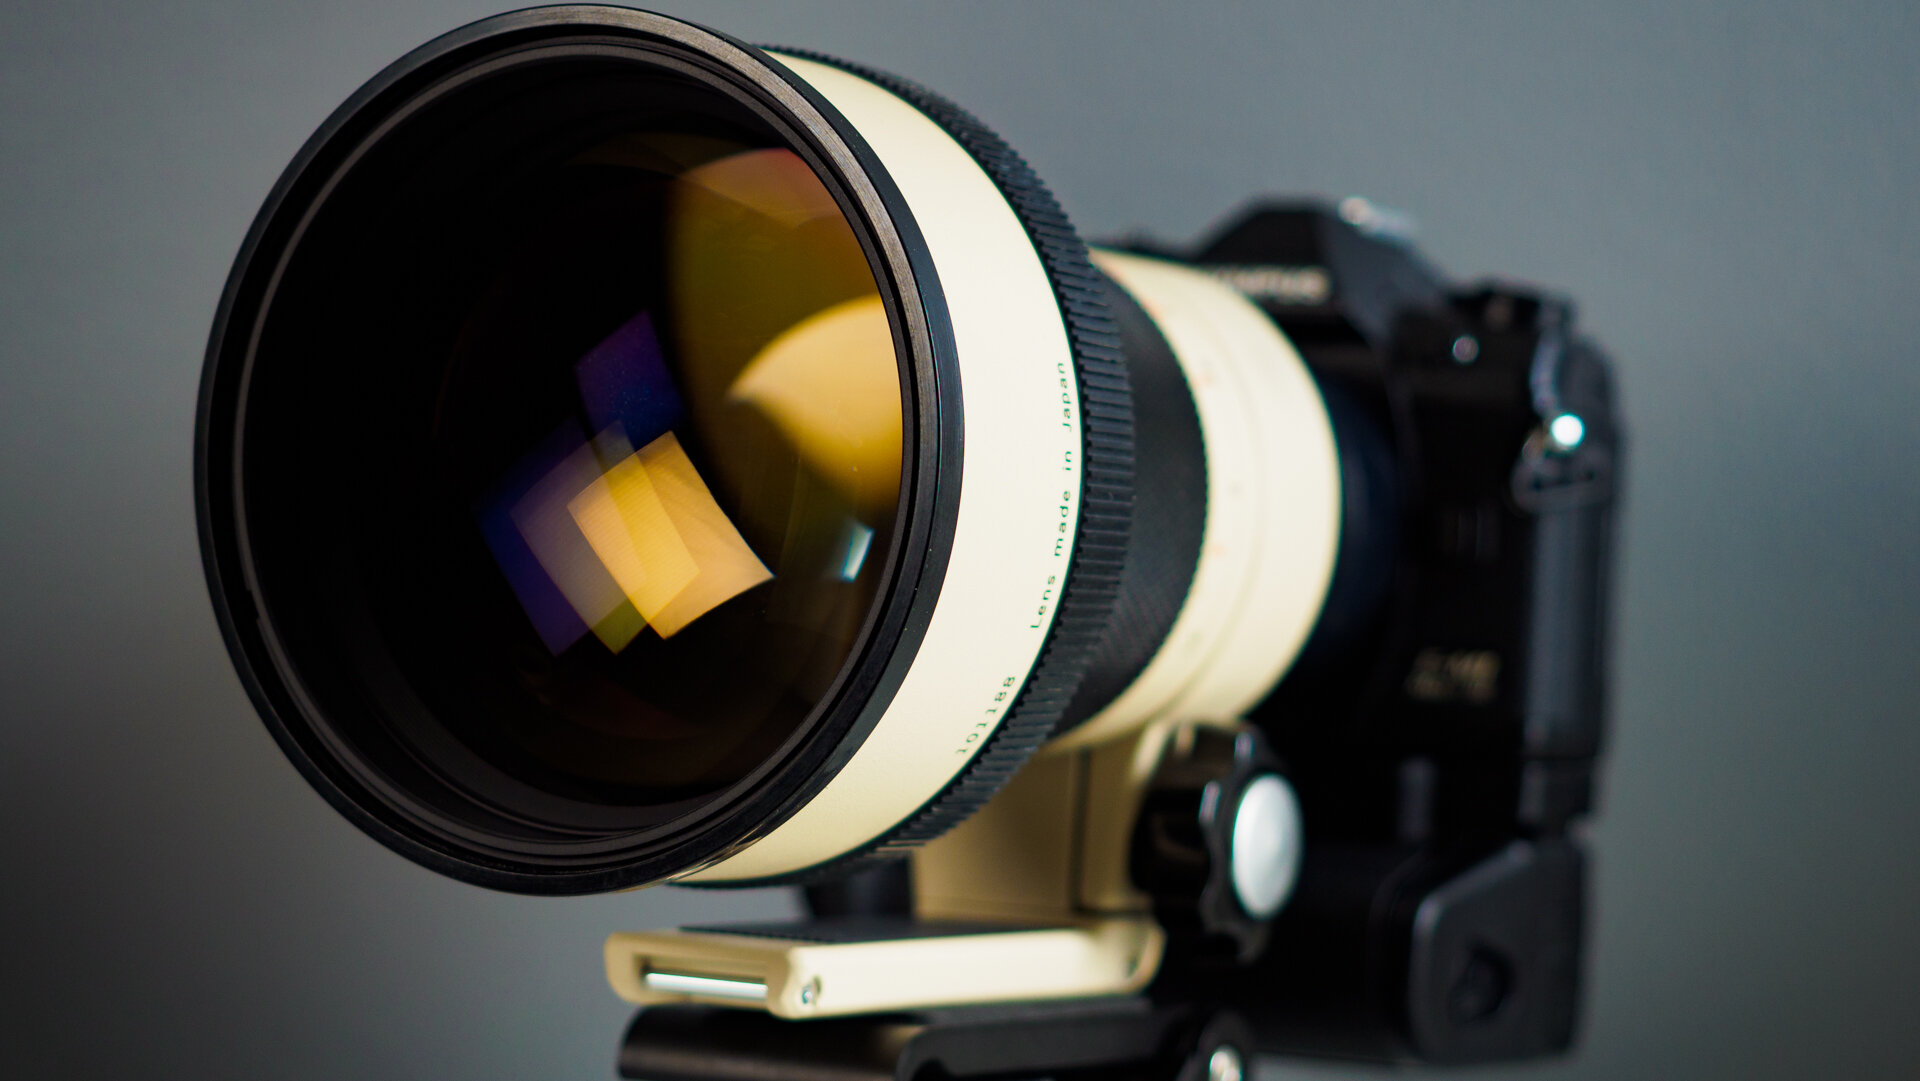
I had a chance to test a very rare lens. An Olympus super-telephoto lens from the early 80s. The lens is Zuiko Auto-T 180mm f2 ED-IF. Back then the OM-system bodies that Olympus had were OM-3 and OM-4. Olympus had a very nice line up of Zuiko lenses for those cameras and other OM-system bodies. The one line-up they did not have, was pro-grade fast telephoto lenses.
Olympus made several fast telephoto lenses. One of them was the 180mm f2 lens that I had the chance to test. Other lenses were 100mm f2.0, 250mm f2.0 and a 350mm f2.8. This way Olympus was able to offer fast telephoto lenses to pros. All these lenses are very rare and cost quite a lot of money.
You can still find them on eBay. The prices are from several thousand all the way up to 10K. That is a lot of money for a lens. Some of them were sold in Japan. That will add up to costs.
Of course, the lenses are full manual. The lens has an aperture ring and it is manual focus. I tried with two cameras. One of them was my Olympus M-1. The first SLR from Olympus. Unfortunately, the shutter was not very consistent and the images did no come out the way I wanted.
I was able to use it also with the E-M1 MKIII. I had an adapter from Novoflex. With that, it worked very well. The focusing was quite easy, thanks to focus peaking and magnify features that help a lot. I am not very experienced using manual focus for moving subjects so I concentrated on more easy subjects.
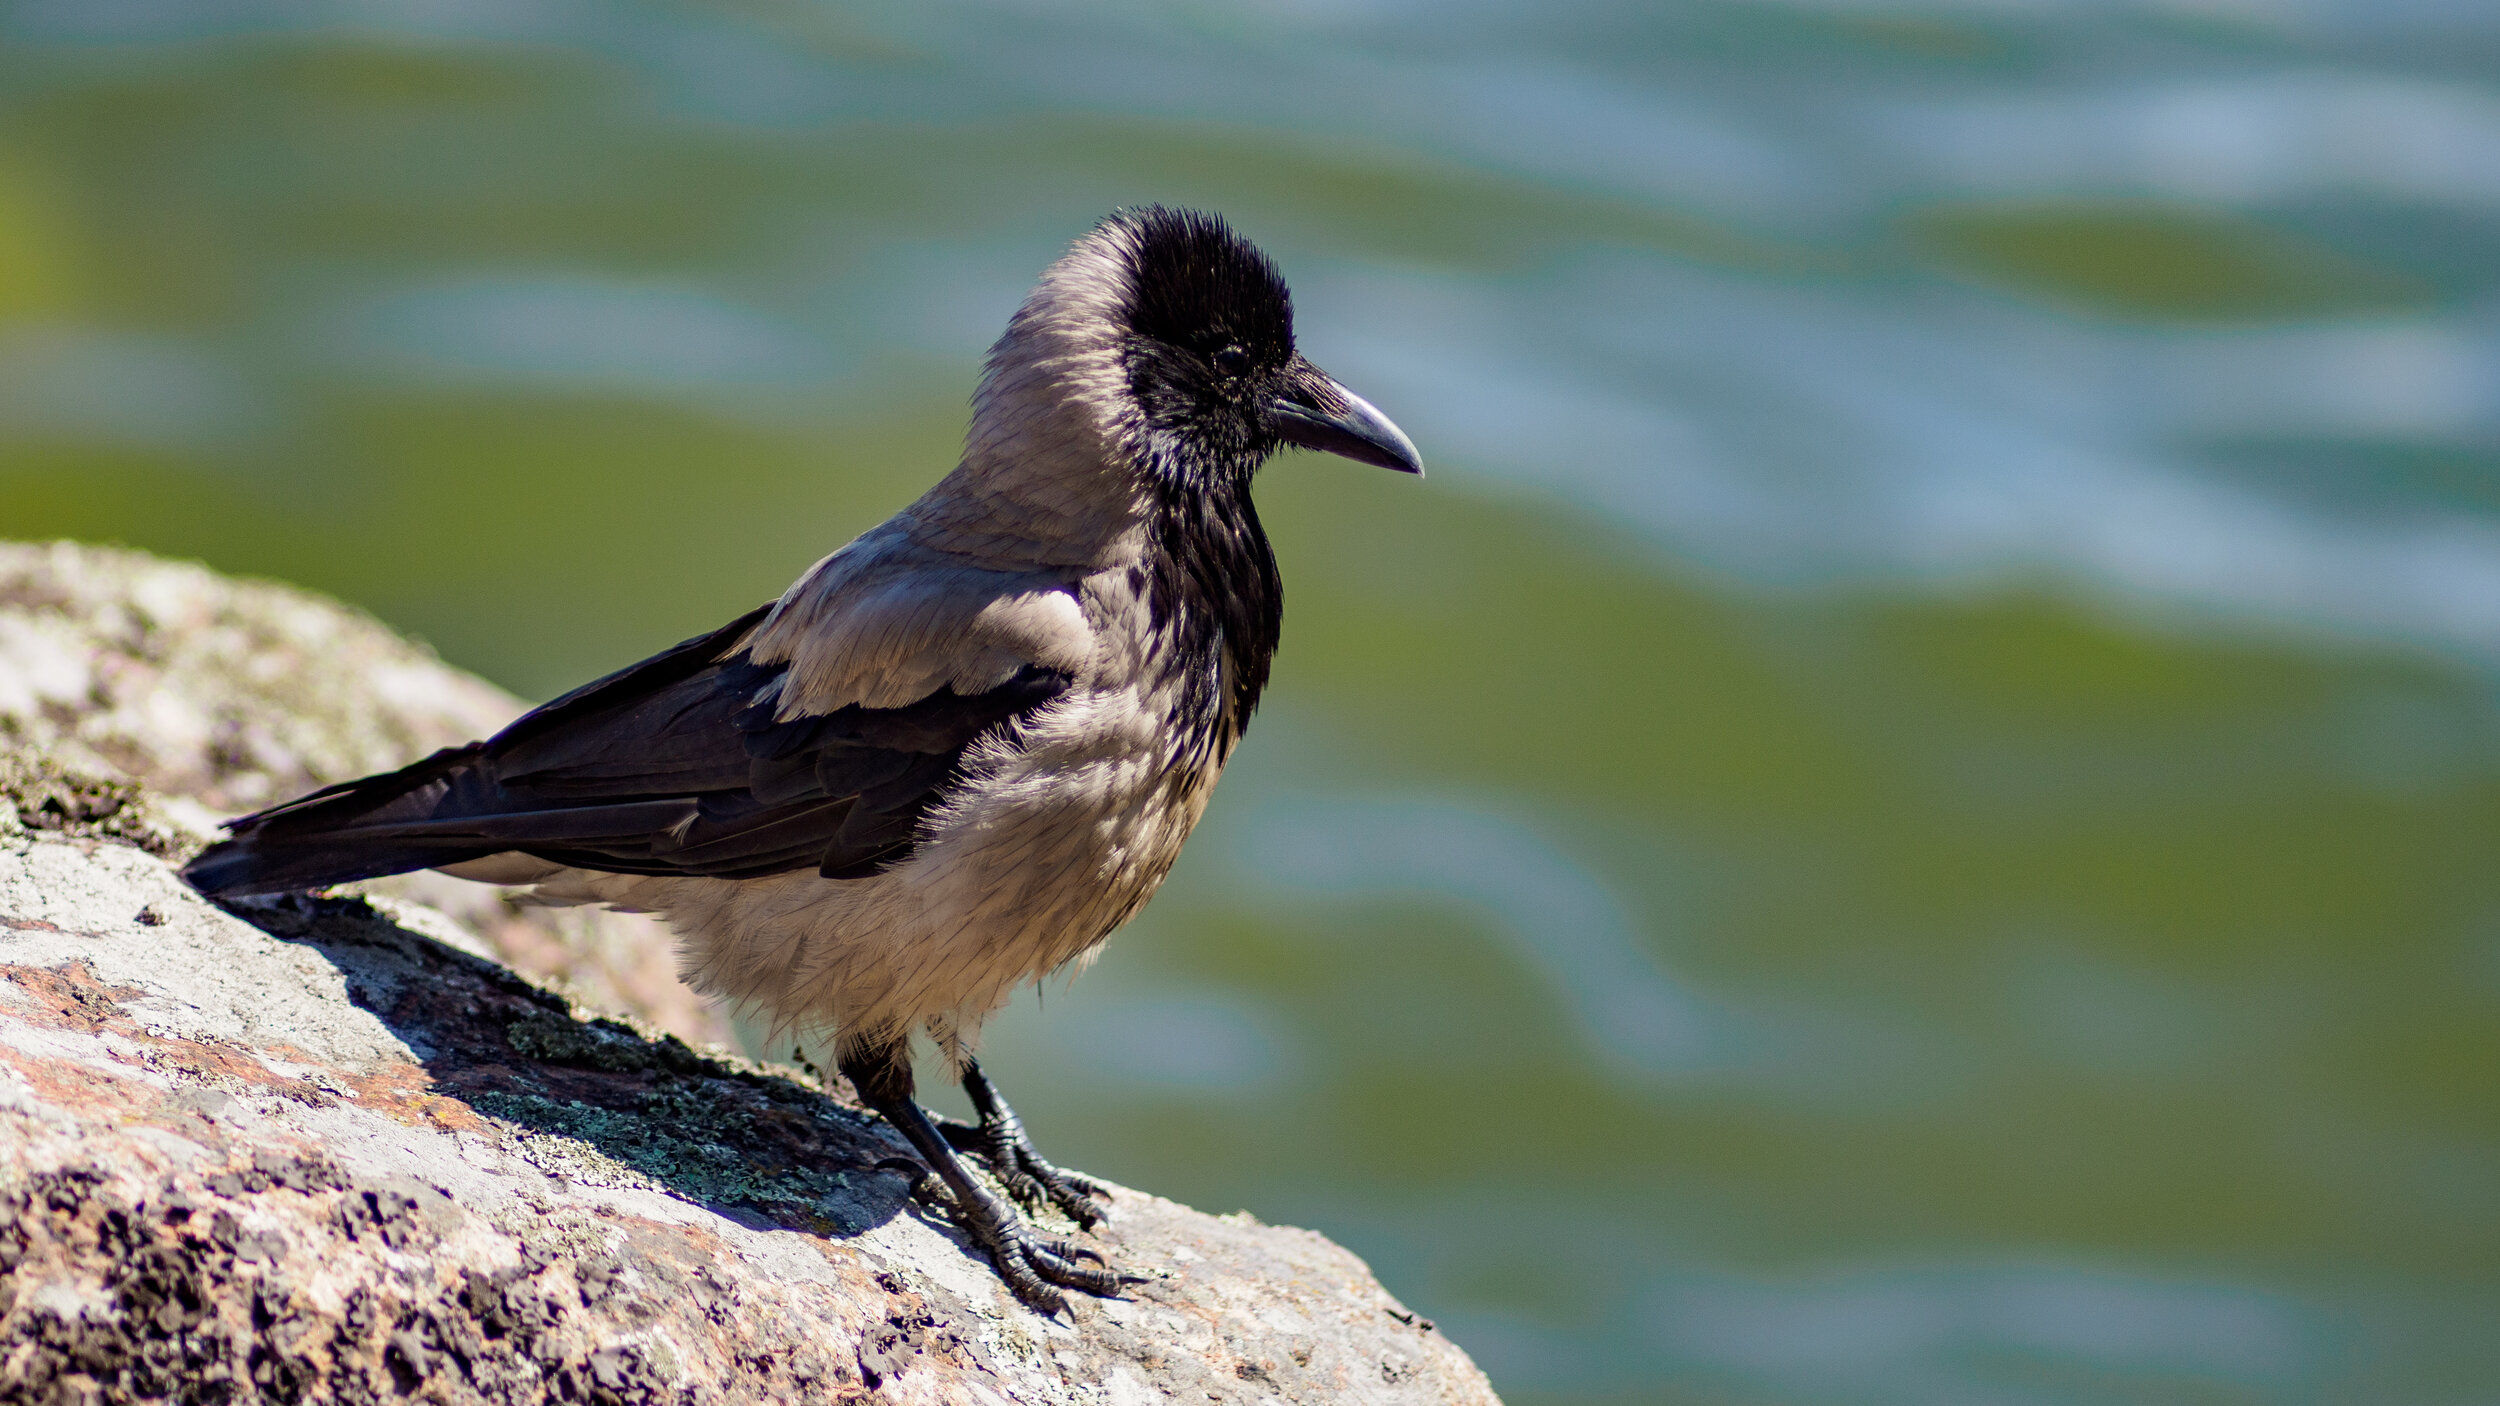
Of course, I needed to try it for bird photography. That is the most likely genre that this lens would be used for.