Category: Photography

  • How To Get Sharp Focus In Photography?

    Getting sharp images is most likely your goal. it is not easy sometimes, but with these few tips, it will a lot easier.

    The First tip is to use the right focusing mode.

    Modern cameras have a variety of different focus modes. Choosing the right focusing mode will help a lot. The normal focusing mode for everyday photography is S-AF, single autofocus. Then the camera will focus when you press the shutter button (or use the back focus button) and the camera will focus. This works best if the subject is not moving.

    Use C-AF or AF Tracking for moving subjects.

    S-AF will stay on the distance that it was when pressing the shutter button. If your subject is moving it will out of focus. Using C-AF or AF Tracking the camera will follow the subject and try to keep it in focus. This depends on how good your camera is in continuous autofocus and tracking.

    Use Face Priority and/or Eye Priority when photographing people.

    We usually want to focus on the eye of a person in portraits. Sometimes it can be a bit hard and take our attention away from the model. With Face and Eye priority, we do not need to worry about focusing. We can have our full attention on the model. This will make your photography a lot easier and better. One of the most important things in portraiture is the connection with the photographer and the model.
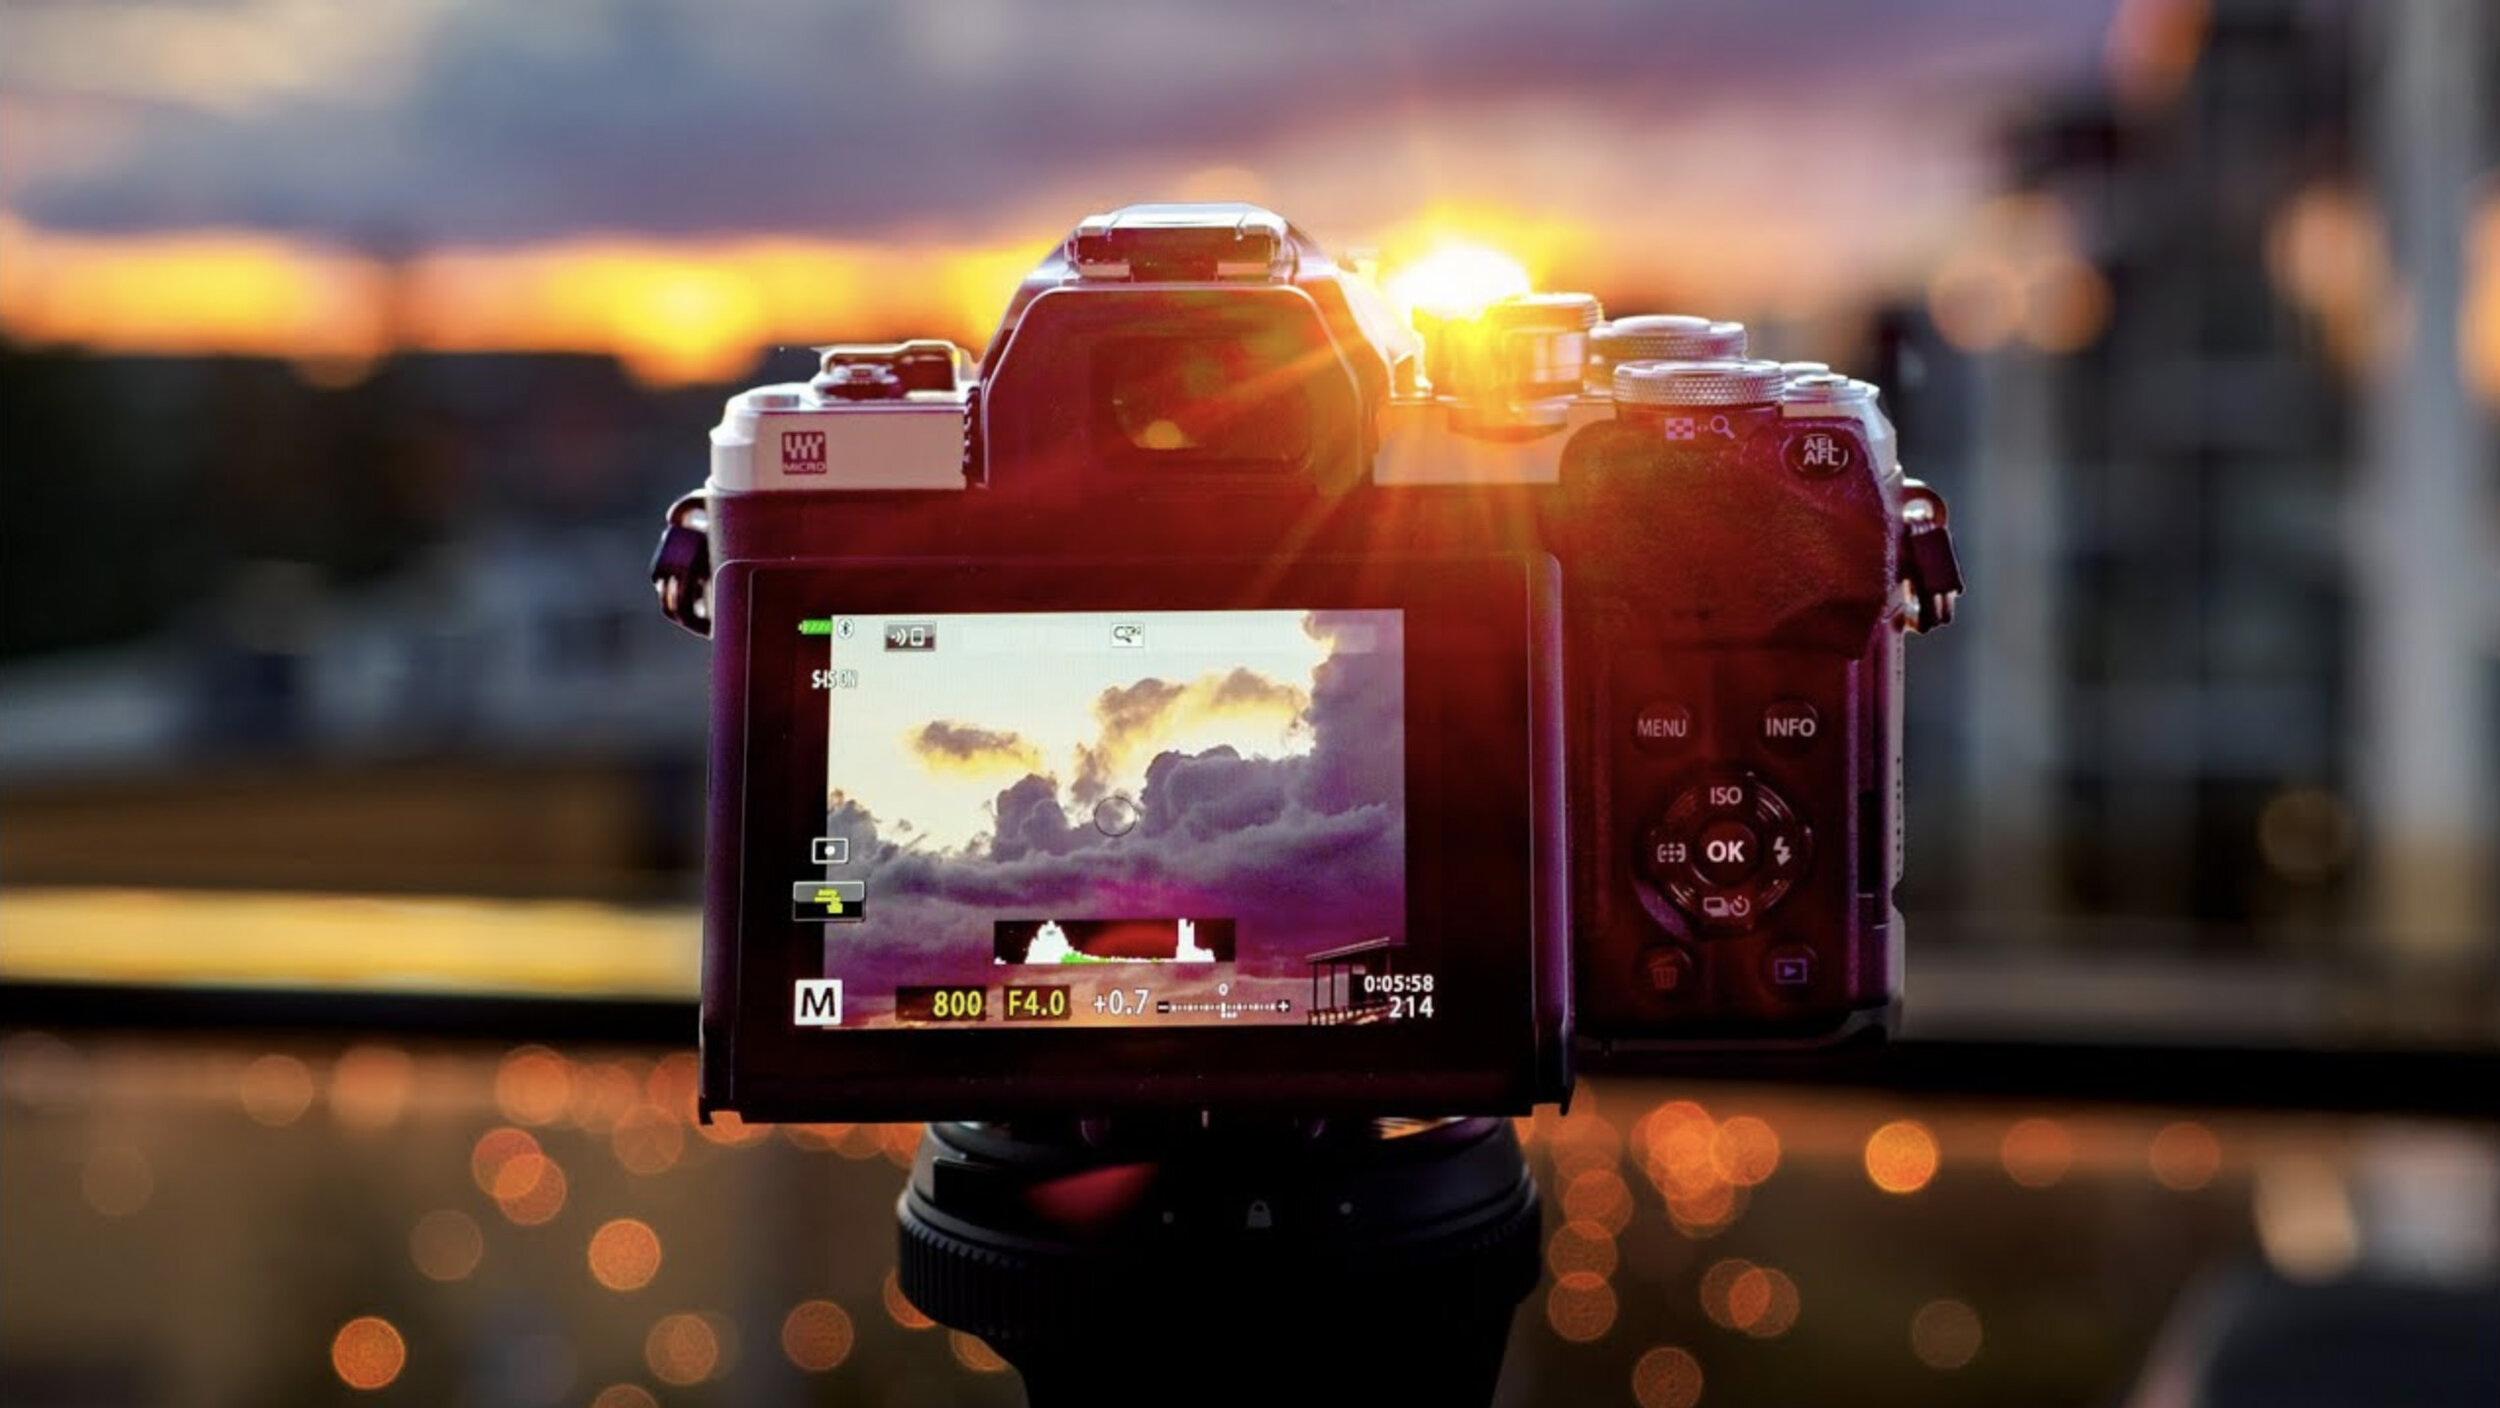
    The video about the same topic will have a few more tips.

  • Beginner Photography Mistakes.

    Beginner Photography Mistakes.

    We all make mistakes and that is nothing to be ashamed of. Without mistakes, we would not learn anything. We learn from our mistakes, but to learn we do not have to make mistakes.

    Beginners and a bit more experienced photographers make a lot of mistakes. Trying to avoid those mistakes will make your learning less steep.

    Here area few mistakes that I have noticed a lot of photographers make when they are starting out and these are the same mistakes I made when I started. (and I still make some of them…)

    There is no subject in your image.

    Try always to have something that interests the viewer’s eye. Without any places for the viewer’s eye to rest most likely the image is very boring. Having something in the foreground will lead the viewer’s eye into the image. Making a good composition is crucial. Having layers, something in the front, something in the middle, and in the back will make the image more interesting.

    Learning how to make a good composition makes a big difference.

    Learn how to make a perfect exposure

    Getting the exposure correct when making the image will give you the best possible image for editing. With modern cameras, there is no excuse to over or underexpose your images. I have plenty of videos about exposure on my YouTube channel. Watching those videos will help you to be better in your exposures.

    Check your background

    Having distracting elements in the background can ruin your image. Those distractions will draw attention to your subject. Always check around your subject that there are now elements that will steal the attention of the viewer.

    Learn more about how to avoid those mistakes that beginners make from the video below.

  • Mastering Exposure – [3 Tips to Get the Right EXPOSURE]

    Mastering Exposure – [3 Tips to Get the Right EXPOSURE]

    Getting your exposure correct is one of the most important things if you want your image quality to be the best possible. Of course, a great image is more than just exposure, but it is an important thing.

    3 tips for better exposure

    The first tip is to learn the way your camera makes the exposure. What I mean by that is the different metering modes. Learn the different metering modes to get the best exposure.

    image_001.jpg

    The second tip is to use raw and ETTR. Using raw you have the possibility to expose to the right. The reason to use ETTR (Exposure to the Right) is that then the sensor is capturing the most amount of data. The image quality is the best possible. The reason for that is the way the sensor captures data. There is more information in the highlights than there is in the shadow areas.

    An image that is exposed using ETTR will look a bit washed out. It is too bright. The image needs post-production. Lowering the exposure and highlights will make the image better looking.

    This only works for raw and should not be used when shooting jpegs.

    When using ETTR it is crucial that you do not clip the highlights like always, no matter what the exposure method is.

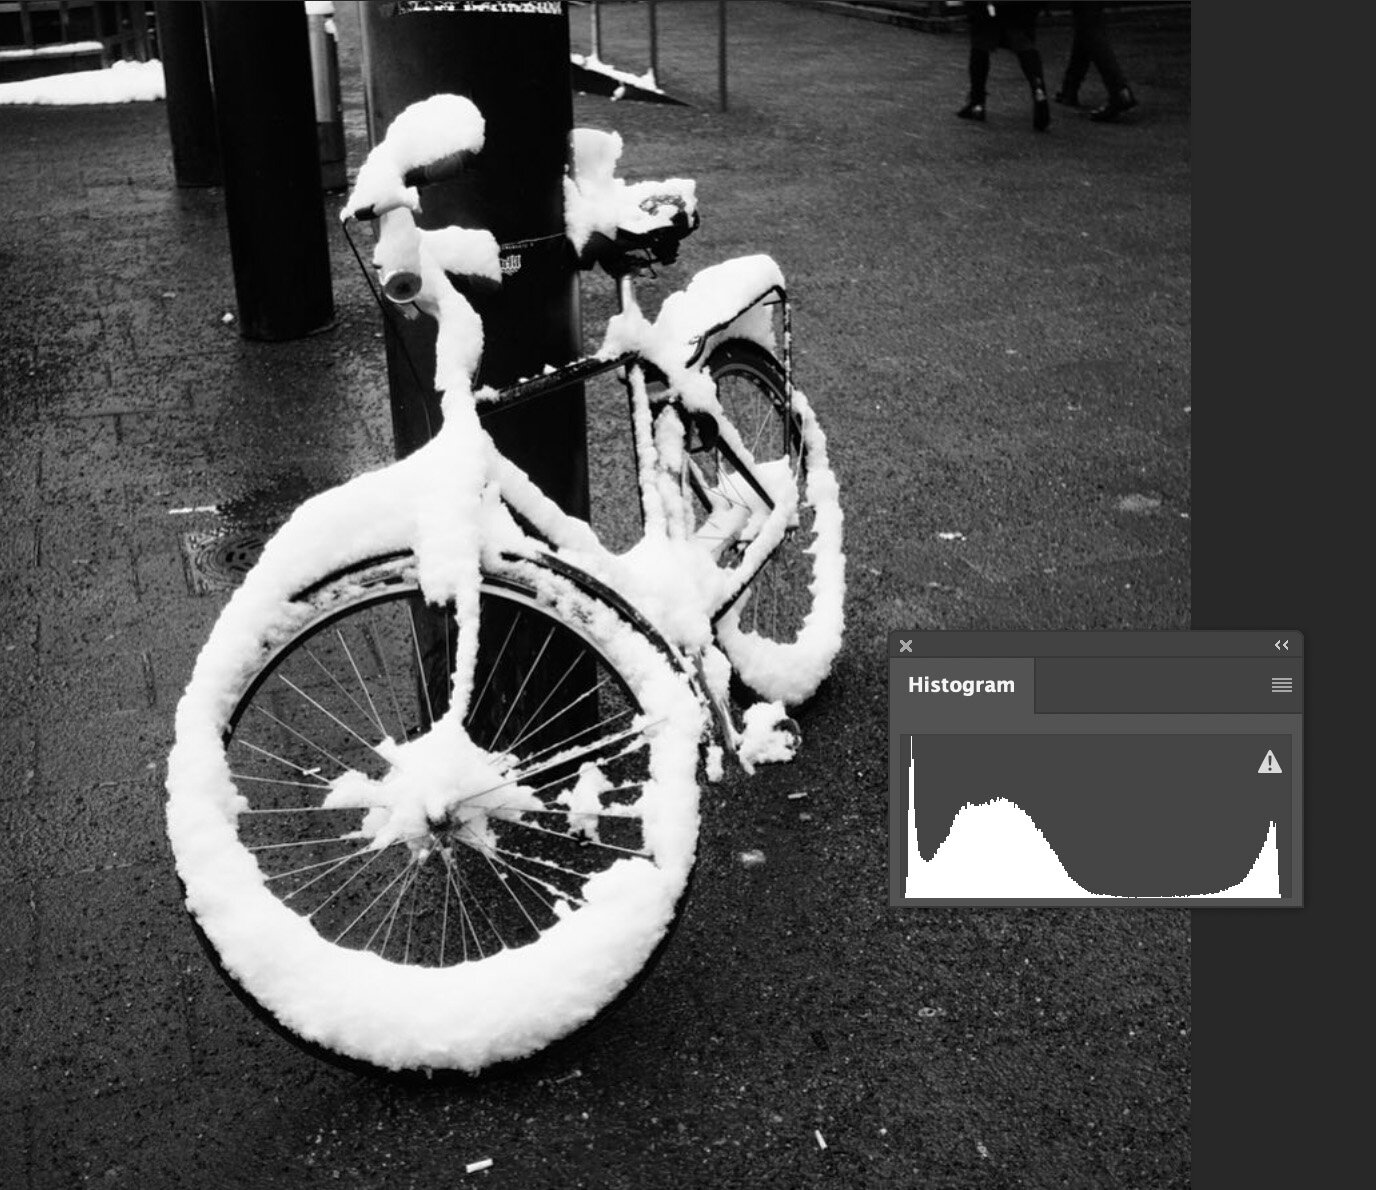
    Usually, an image that has been photographed using ETTR has most of the info on the right side of the histogram. But if you have an image where you have a white bird and a dark background will have a lot of info on the shadow. The histogram looks like the image is exposed to the left. But it still can be an ETTR image. It depends on where the brightest spot is on the histogram. If it is just on the histogram value 254-255 then it is ETTR.

    This is an example of an image that is ETTR even though the histogram might not look like it. As you see the snow on the bike is not over exposed. The whites pixel is around 254.
    This is an example of an image that is ETTR even though the histogram might not look like it. As you see the snow on the bike is not over exposed. The whites pixel is around 254.

    The third tip is to use Exposure Bracketing. This is very handy when you use jpg as your file format. This is the way to make sure you have the best possible exposure for your jpg. Having 5 or 3 different exposure from the same scene will help you get the perfect shot.

    More tips on my video about Mastering Exposure.